
Simpon Says Stamp Card Kit
I recently signed up for a Simon Says Card Kit of the Month and because I live in Canada, It […]
I recently signed up for a Simon Says Card Kit of the Month and because I live in Canada, It […]
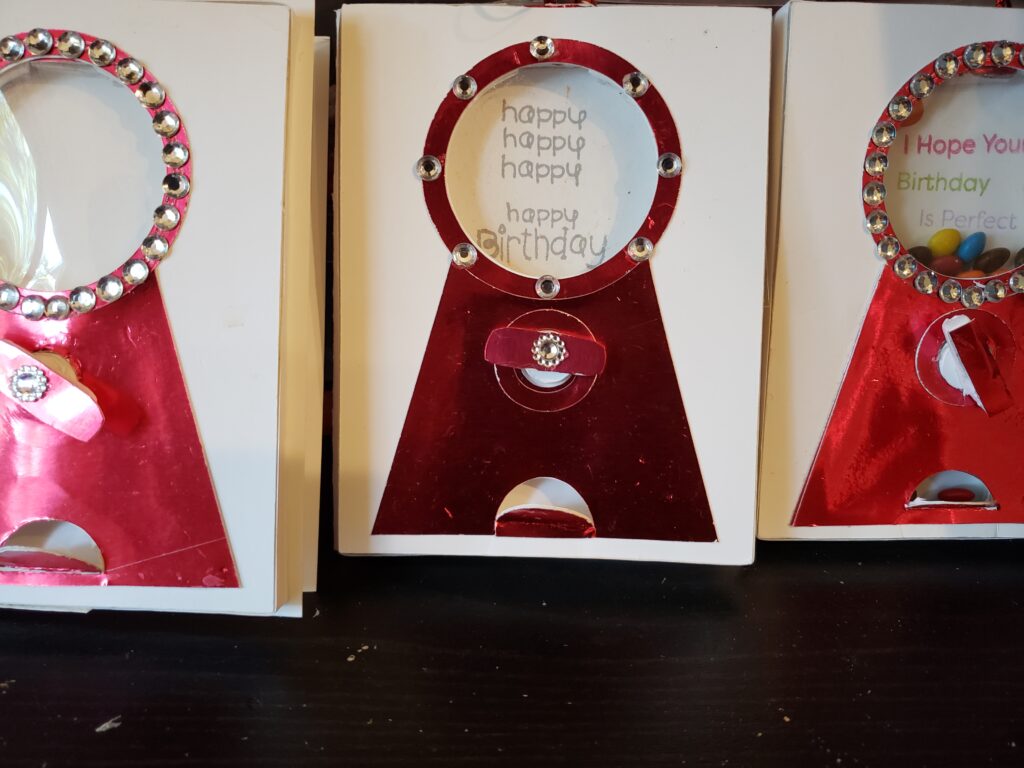
I was looking for an interactive card to make as I LOVE paper creations that move when I came across
By BEGINNERS 101 I do mean me! Yep, this is my journey into the world of stamping and what not
For those of you who know me, I try to help out with the local children’s class and provide the
Pocket page for my best template folio #5
choice of 2 free folio for you.grab it now!
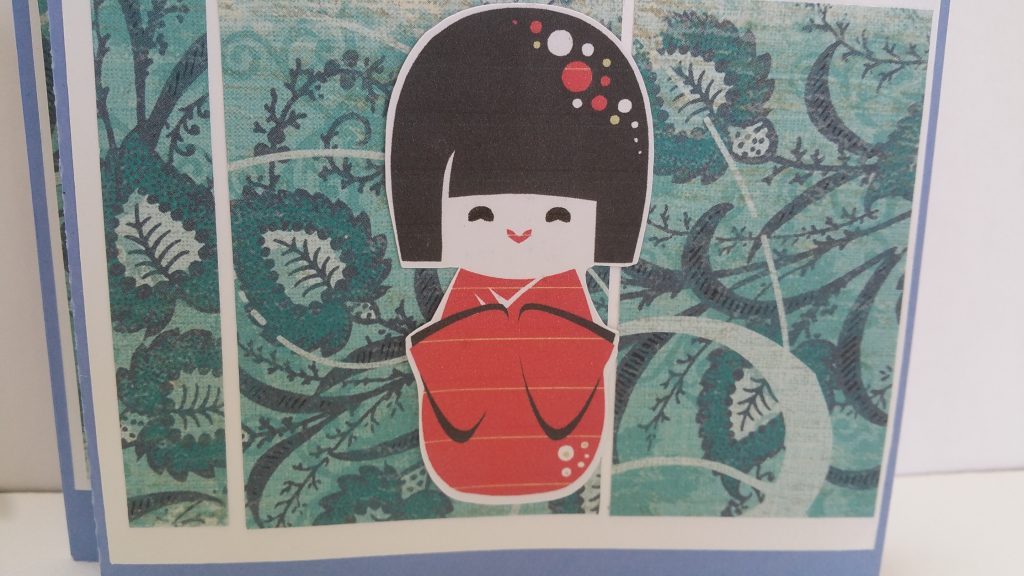
make a wiper card using any image. I use d cute kokeshi doll images from Silhouette design store.
Word Art Here is a fun and easy craft using word art . Use the images as you like or
My popup card was made by the children when they went to deliver gifts of old blankets to the animal

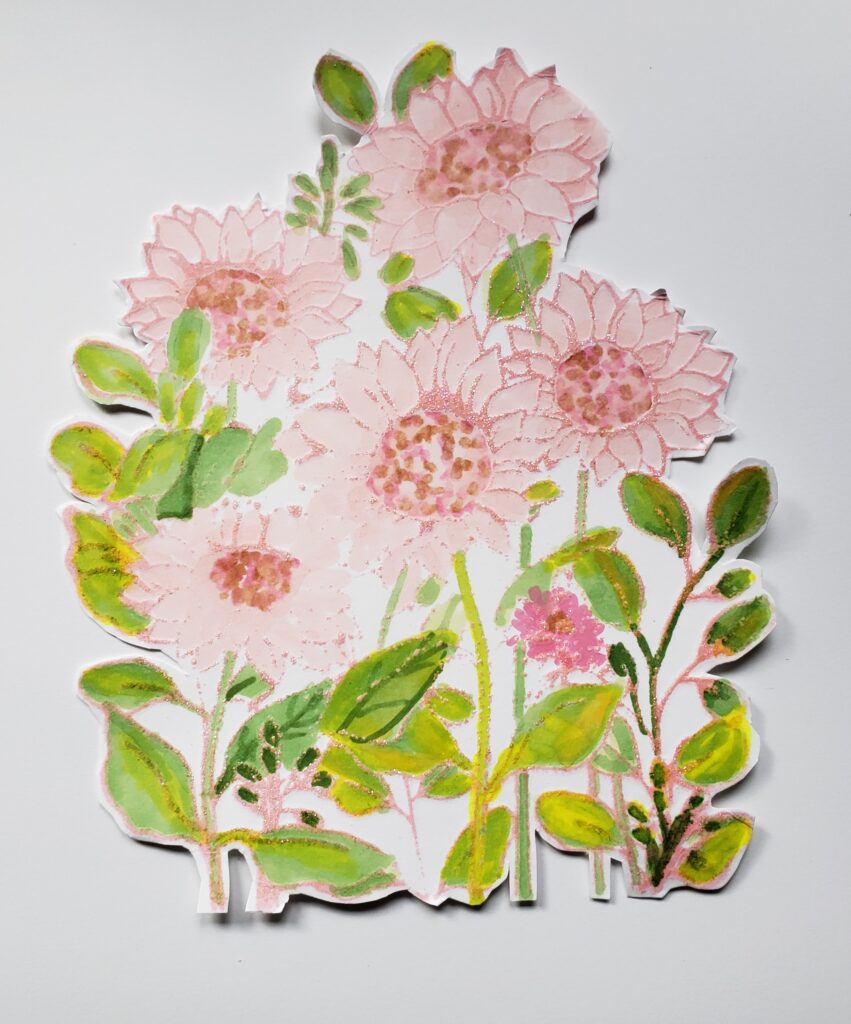
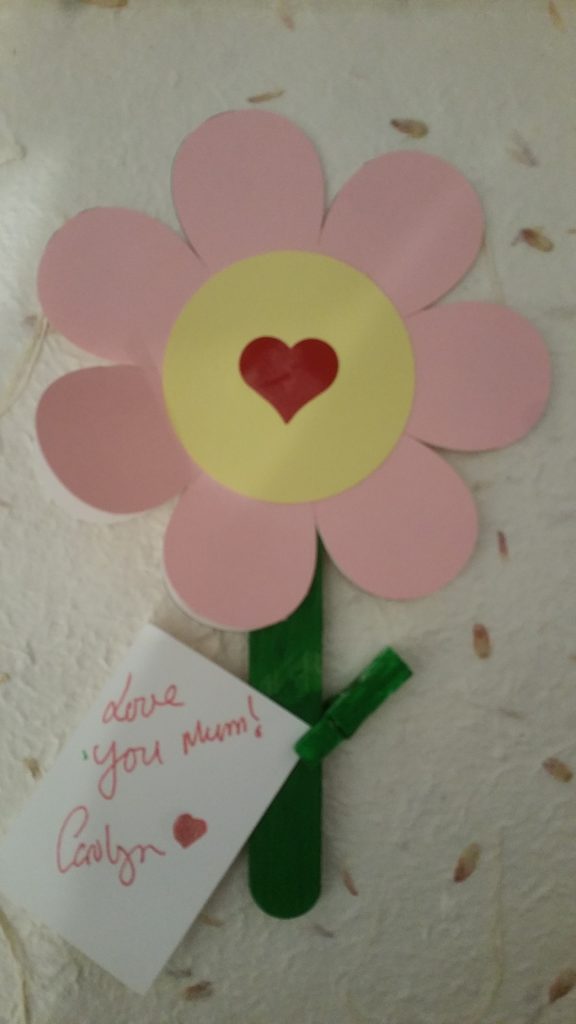
Tulips can be use for a Mothers Day card or Spring or get well card: It’s a pretty generic image.
I love to Pin stuff on Pinterest and I have many boards dedicated to paper crafts, templates, cards, journal ideas,
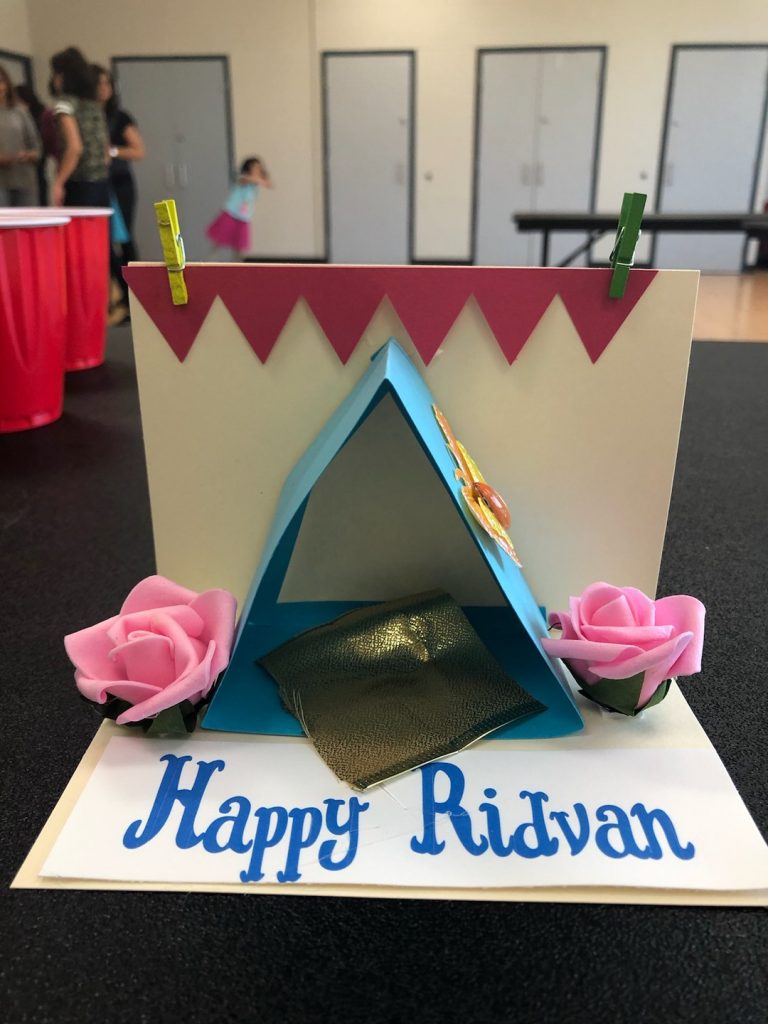
This is simple craft that you can print for Ridván for kids of all ages to do. This particular craft

Have you seen those awesome shadowbox cards that are 3 dimensional and look like an artist, graphic designer and engineer
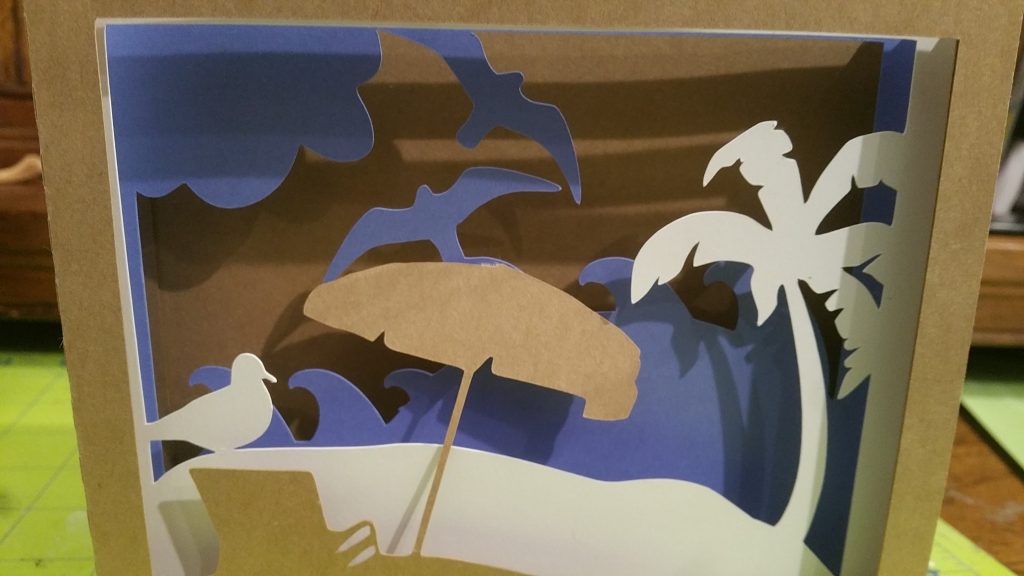
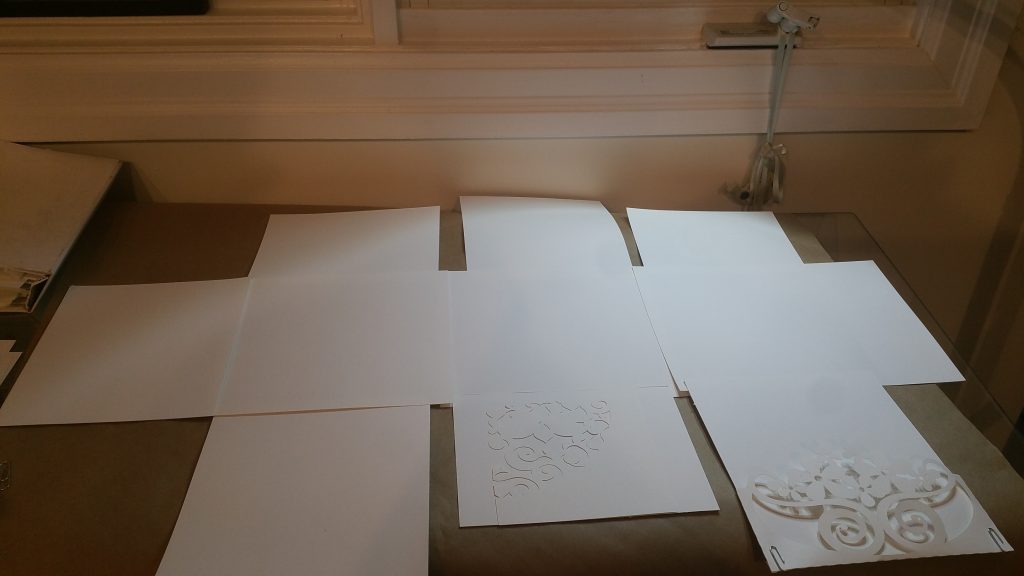
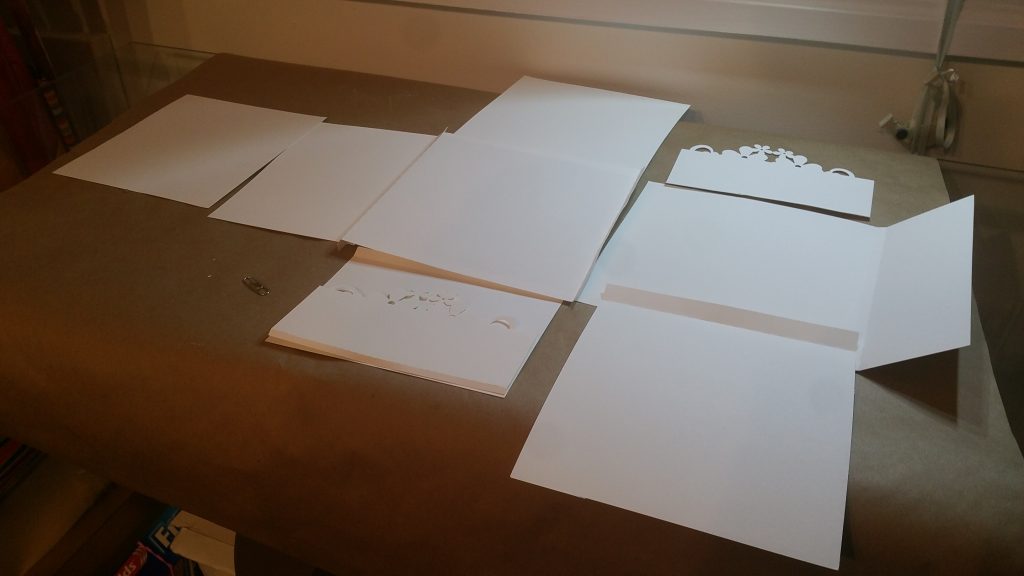
A template to download to make a shadow box card
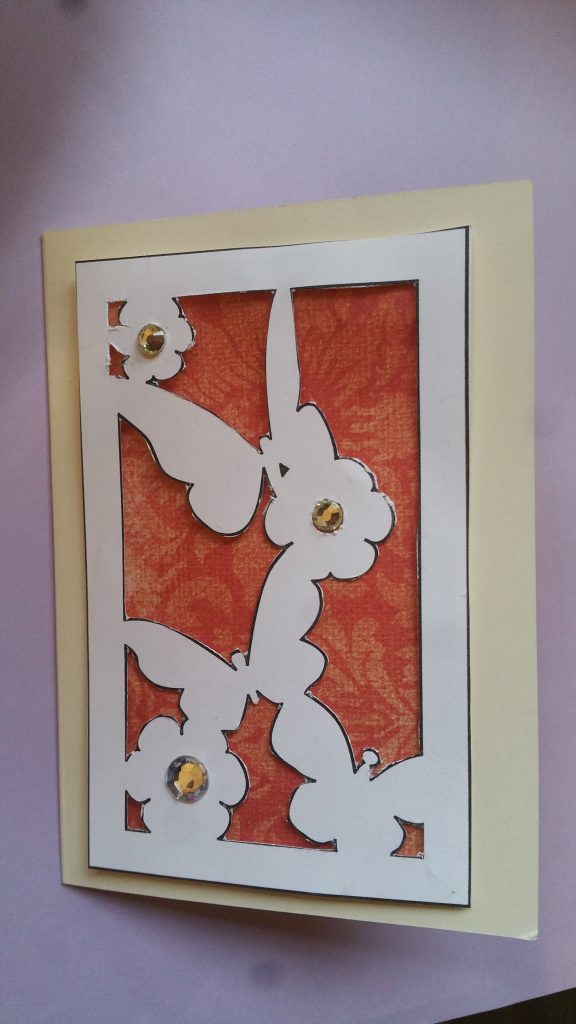
Beautiful paper cutouts add a unique touch to cards and wall hangings. Create your own beautiful cutout with my template design
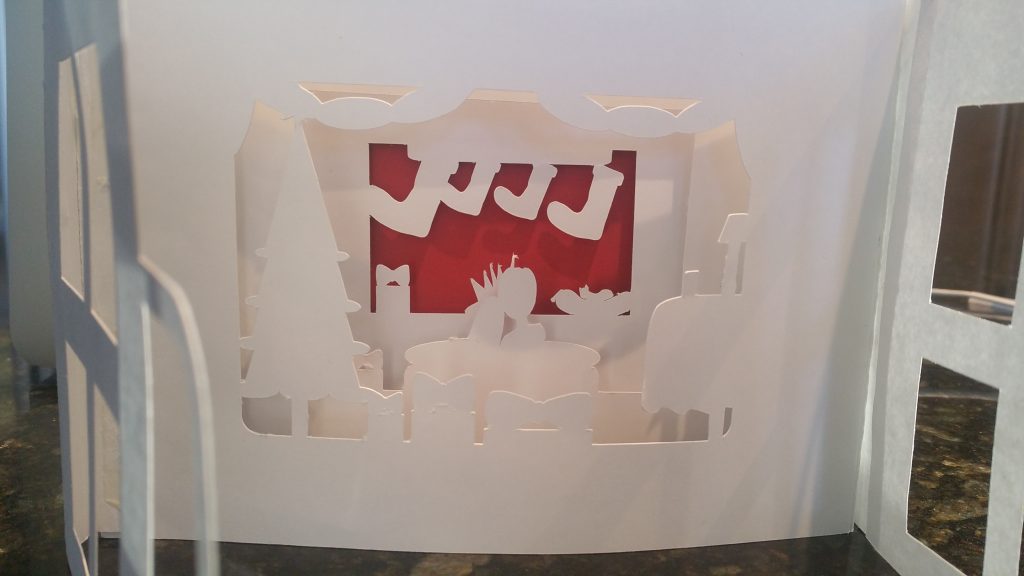
I made another version of a tunnel card with windows that open and close. When I made the card and