
How To Pray Grade 2 Set 1 Lesson 3
WELCOME The third lesson is exploring the topic of how we pray. We first need to have an attitude of […]
WELCOME The third lesson is exploring the topic of how we pray. We first need to have an attitude of […]
WELCOME Introducing the principal theme PRAYER QUOTE Be not forgetful of the law of God in whatever thou desirest to achieve,
RUHI BOOK 3 GRADE 3 SET 2 Welcome To Set 2: THE LIVES AND MISSIONS OF THE MANIFESTATIONS OF GOD
Honesty What does honesty mean to you? VISIT MORE LESSONS HERE We are Memorizing The Prayer: Blessed is the spot
Forgiveness What does forgiveness mean to you? Forgiveness means letting go of hard feelings like anger, sadness, or frustration that
Craft for the virtue of Cleanliness. Lots more on the children class platform: https://bahaichildren.coachzippy.com/p/ChildrenClass
I recently shared with a facebook group, the prayer beads the children made for Ayyam-i-Ha and gave to each Baha’i

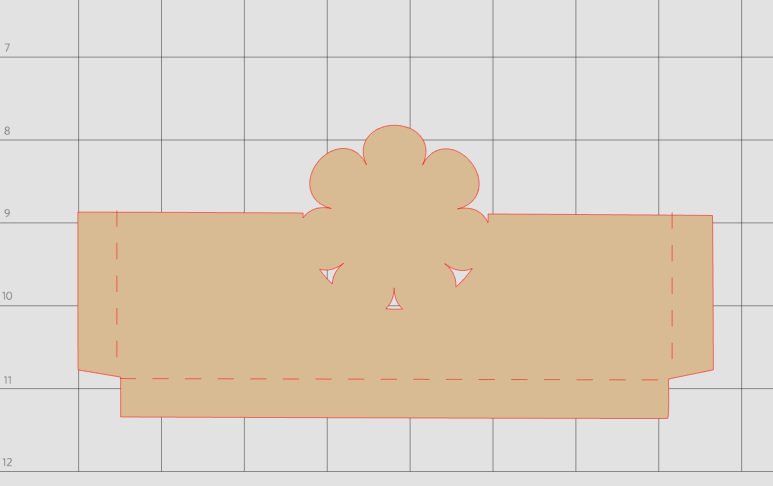
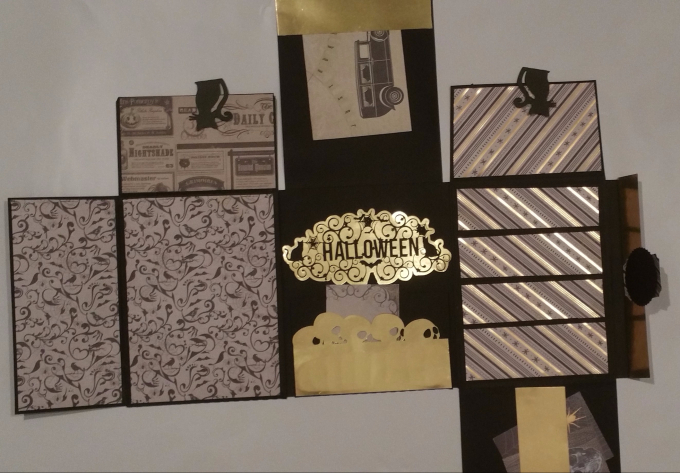
The steps are how I make my cover, spine and binding. These instructions are not the only method on how to construct a brag book and can be modified as you see fit so that different binding methods, types of base page and closures for covers can be used.
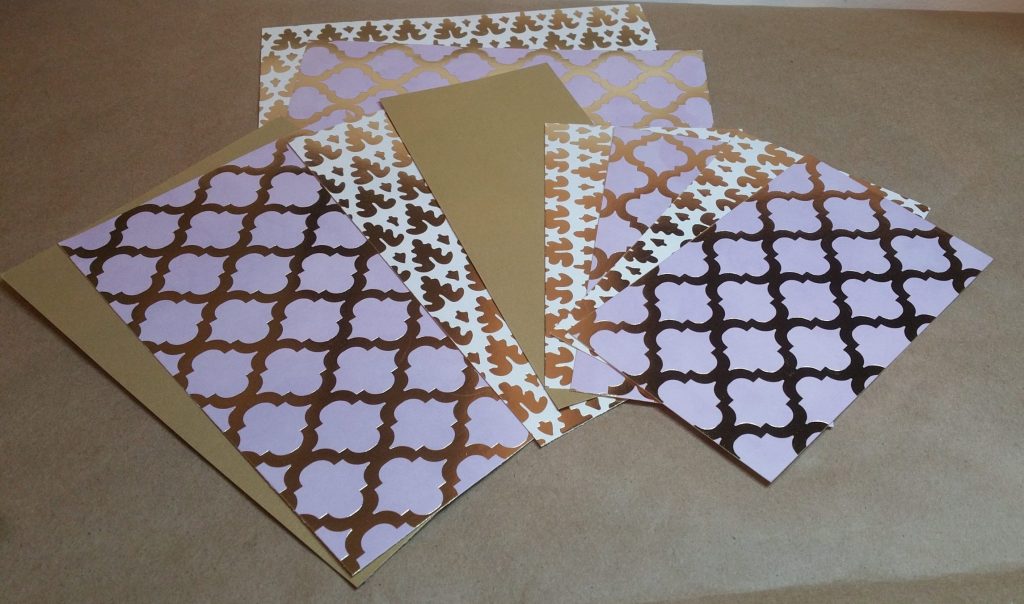
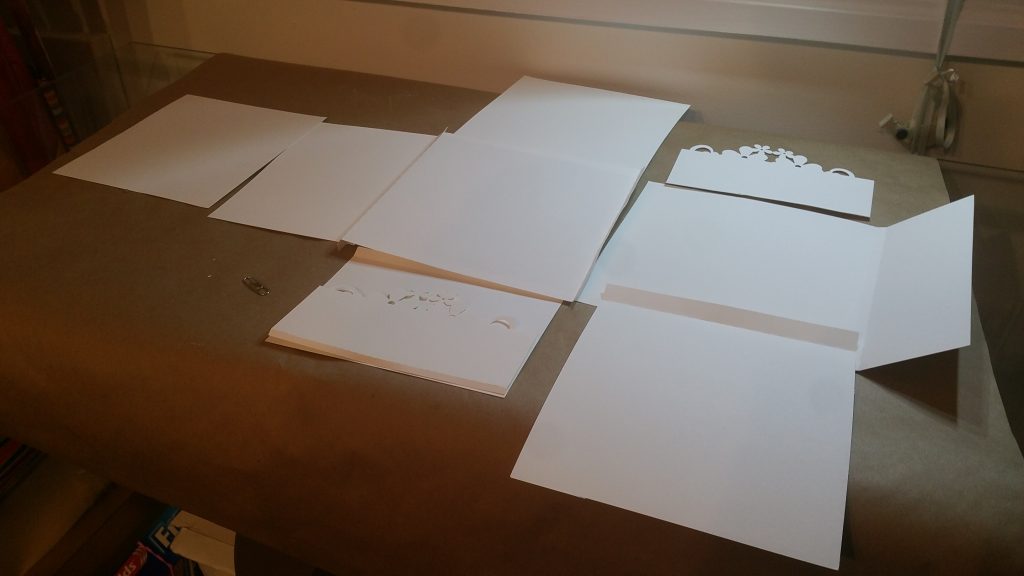
All the Matting is cut for both sides of small, medium and large flaps as well as for both envelopes.
Template pages can be unique each time with custom paper and embellishments.
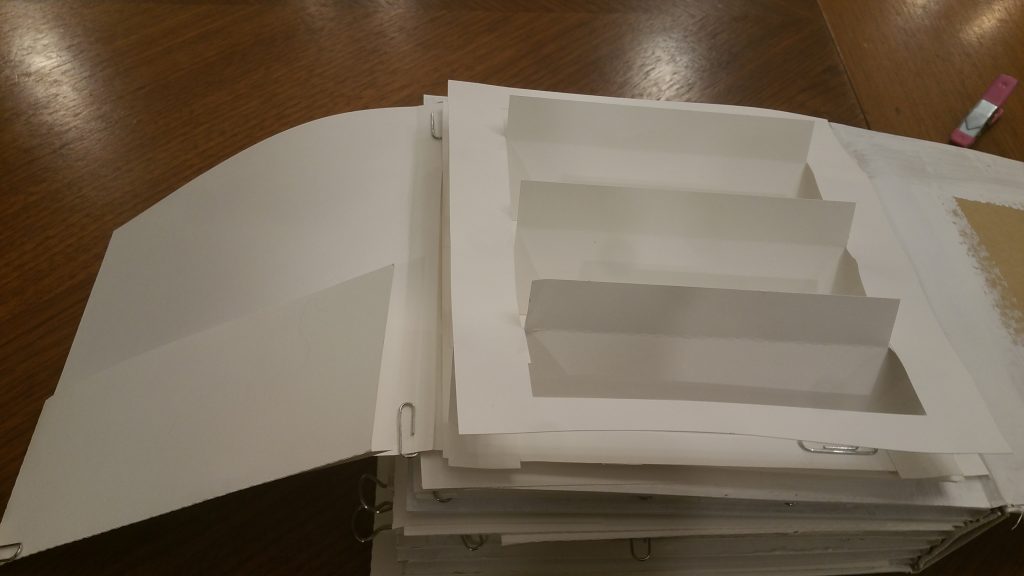
easy to customize a page with this cool insert
For my brag books I use templated pockets, tags, pages etc. and customized them for each brag book that I
choice of 2 free folio for you.grab it now!
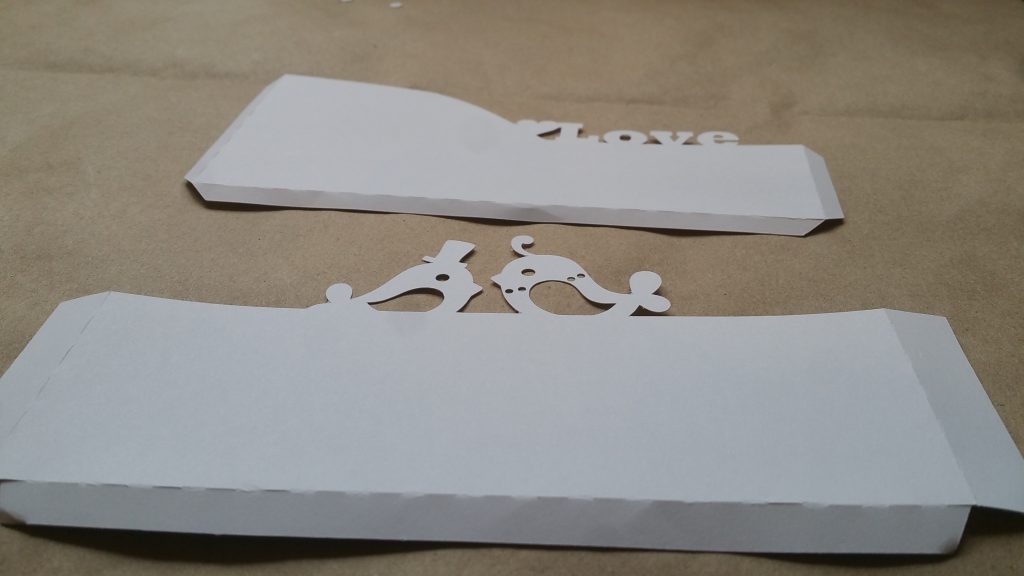
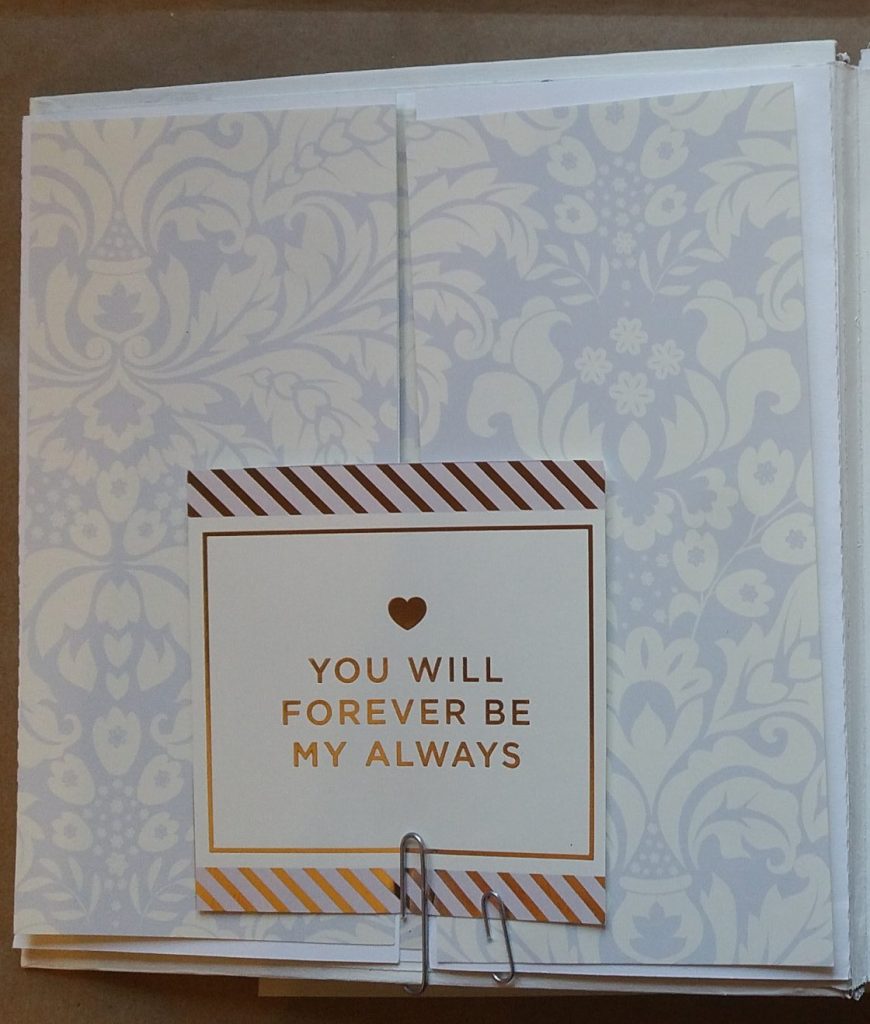
Easy to assemble brag book template is just a small part of what this beautiful wedding brag book is all
We had a children’s class this past weekend and the theme was Courage. After doing a quick search online I
At Last, At Last! The Last Page! Or is it “Alas Alas” ??? I think I just did not want
Still thinking about my cat everyday missing him lots! I have so many crafts to post that are all cat
Last few pages. Getting to the last few pages and I am wondering if I will need to redo the
Folio page that is flexible in use and makes a beautiful gift as an album or greeting card.

Upwards and Onwards as they say! Page 4 side 1 is complete and I found an owner for it! One