
Patience Ruhi BK 3 Grade 1 Lesson 23
Patience VISIT MORE LESSONS HERE In the next 2 lessons, we will memorize the prayer “O Thou kind Lord! I […]
Patience VISIT MORE LESSONS HERE In the next 2 lessons, we will memorize the prayer “O Thou kind Lord! I […]
Enkindlement VISIT MORE LESSONS HERE This is the last lesson for us to practice the prayer “Thy Name Is My
Courage From lessons 17 to 24 we will be memorizing a new prayer and of course, each lesson will have
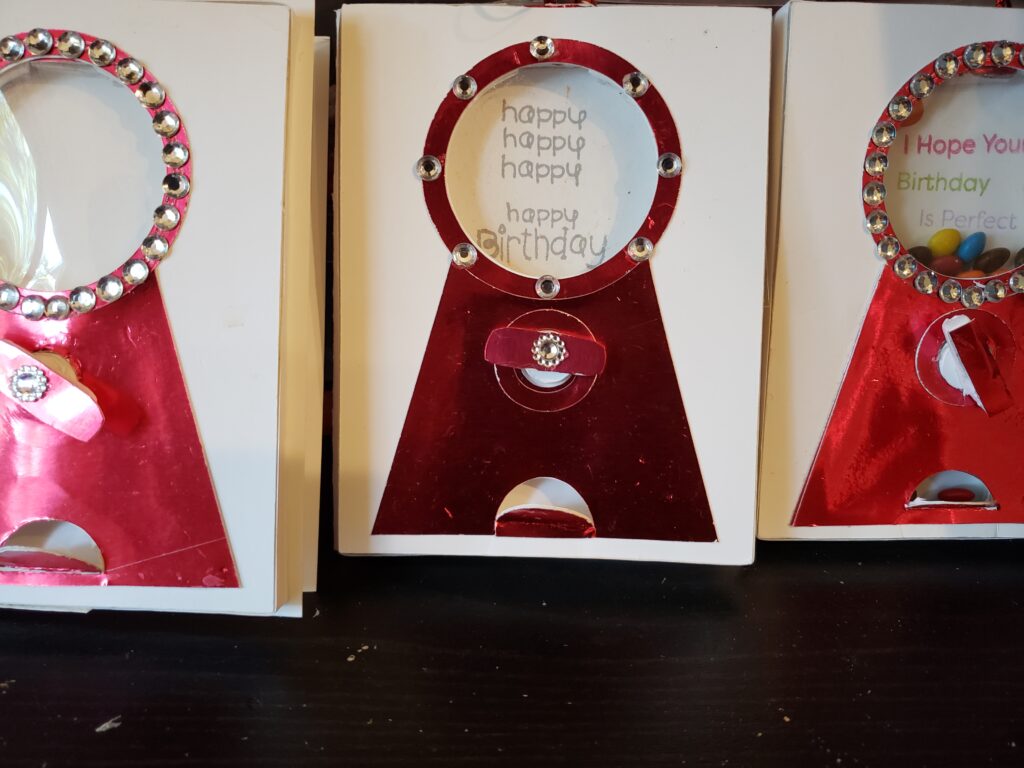
I was looking for an interactive card to make as I LOVE paper creations that move when I came across
By BEGINNERS 101 I do mean me! Yep, this is my journey into the world of stamping and what not
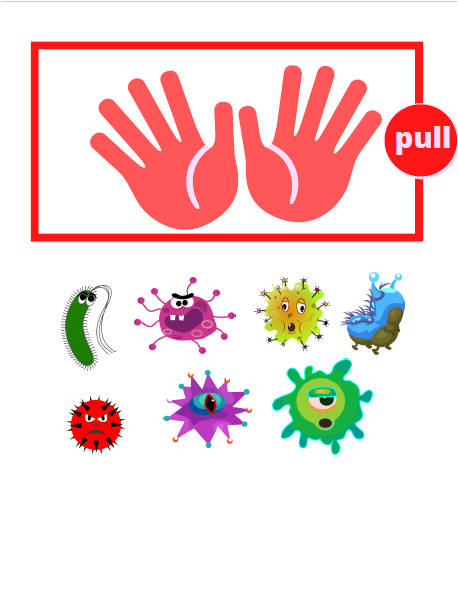
Craft for the virtue of Cleanliness. Lots more on the children class platform: https://bahaichildren.coachzippy.com/p/ChildrenClass
I recently shared with a facebook group, the prayer beads the children made for Ayyam-i-Ha and gave to each Baha’i
Crafting is a great way to spend quality time with those you love while self isolating. We want to keep

The steps are how I make my cover, spine and binding. These instructions are not the only method on how to construct a brag book and can be modified as you see fit so that different binding methods, types of base page and closures for covers can be used.
Is my Brag Book page 3 and 4 now too big? This will always a concern and issue for me
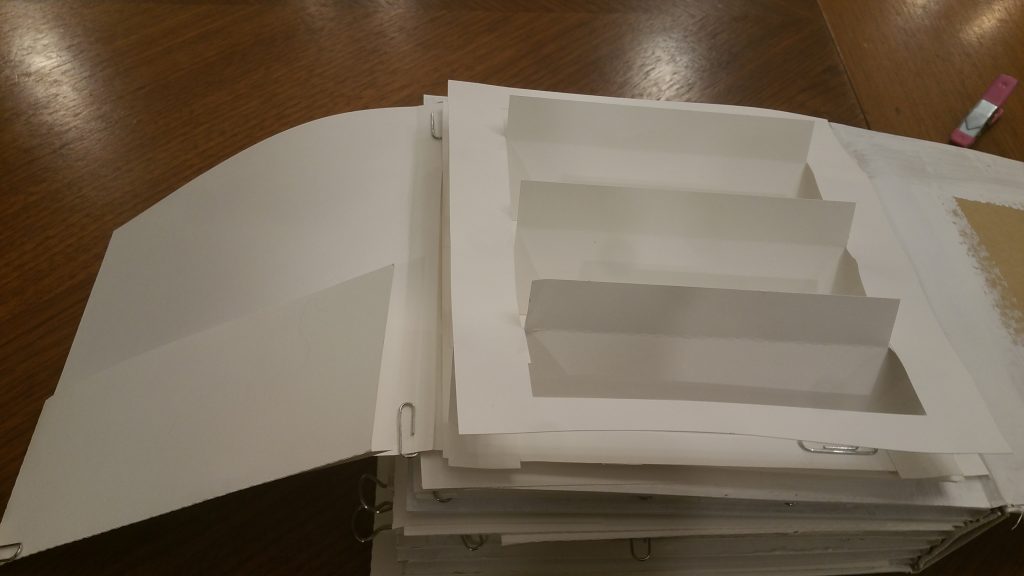
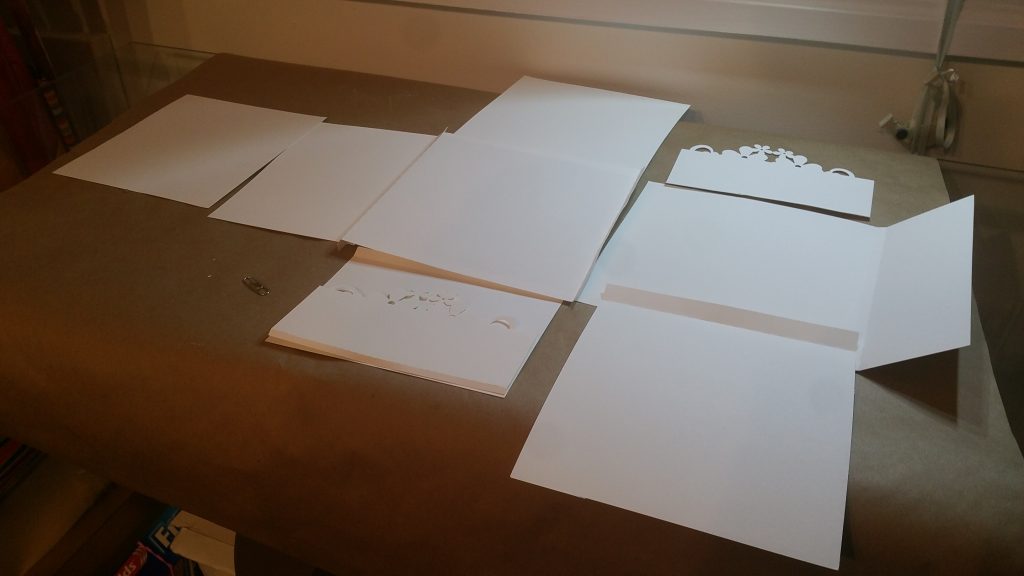
All the Matting is cut for both sides of small, medium and large flaps as well as for both envelopes.
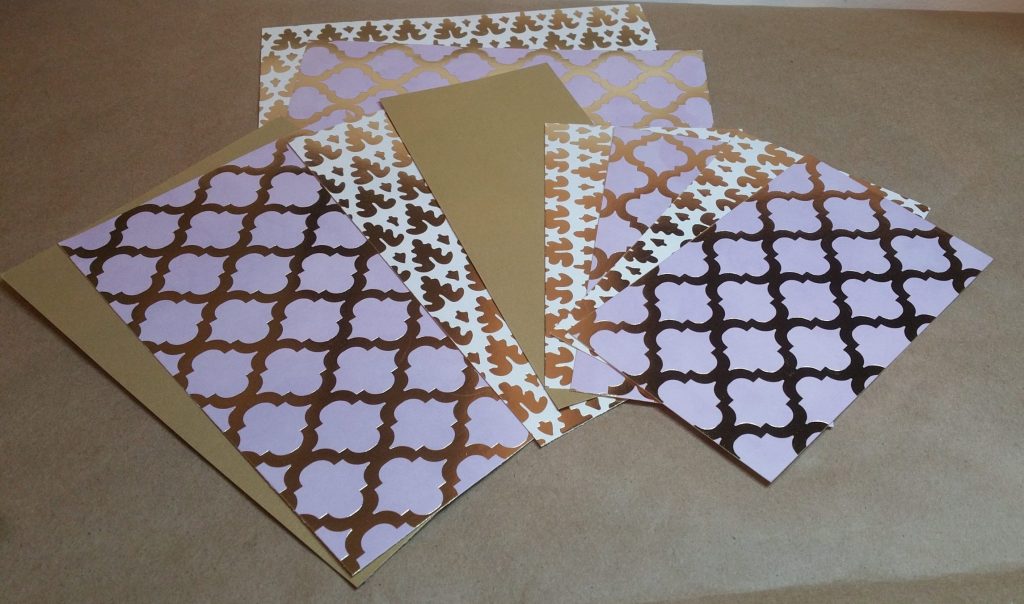
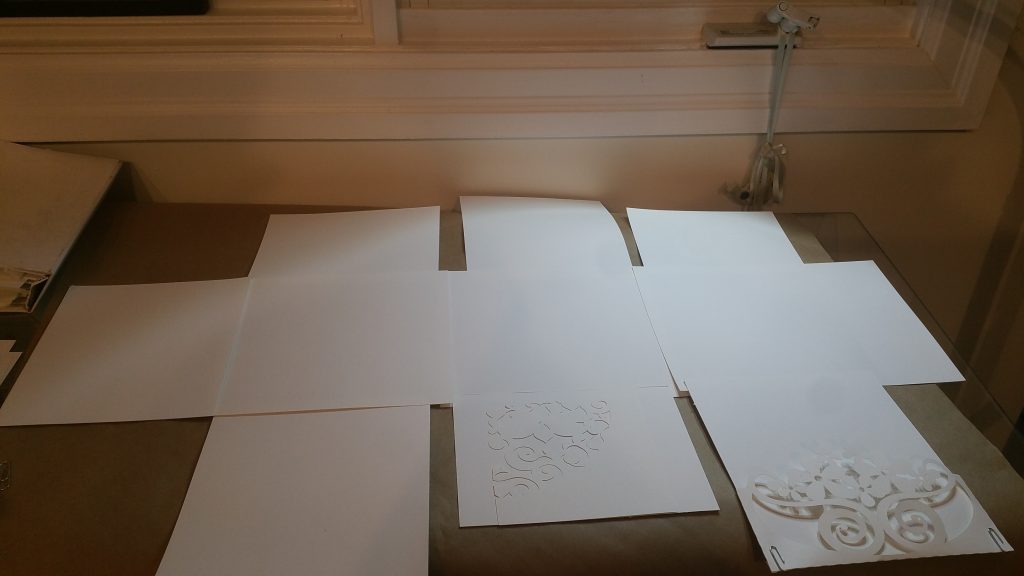
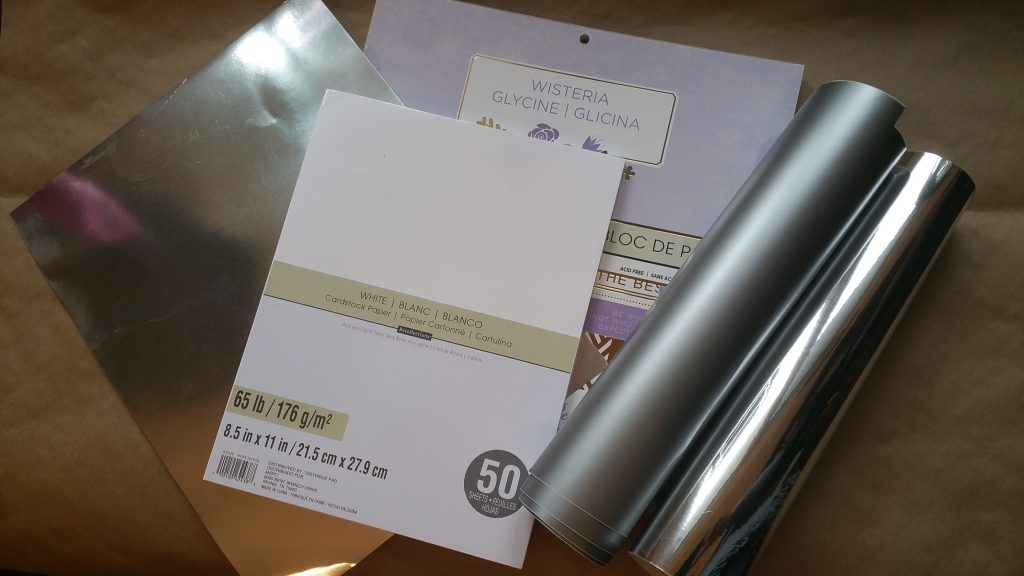
Template pages can be unique each time with custom paper and embellishments.
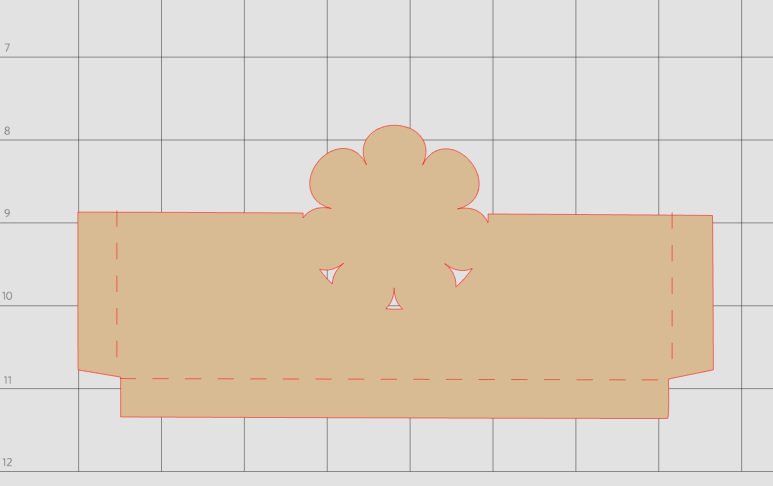
easy to customize a page with this cool insert
Pocket page for my best template folio #5
For my brag books I use templated pockets, tags, pages etc. and customized them for each brag book that I
choice of 2 free folio for you.grab it now!
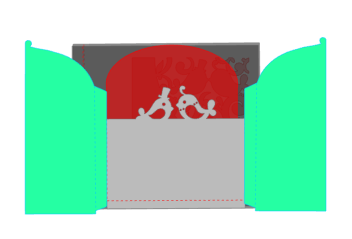
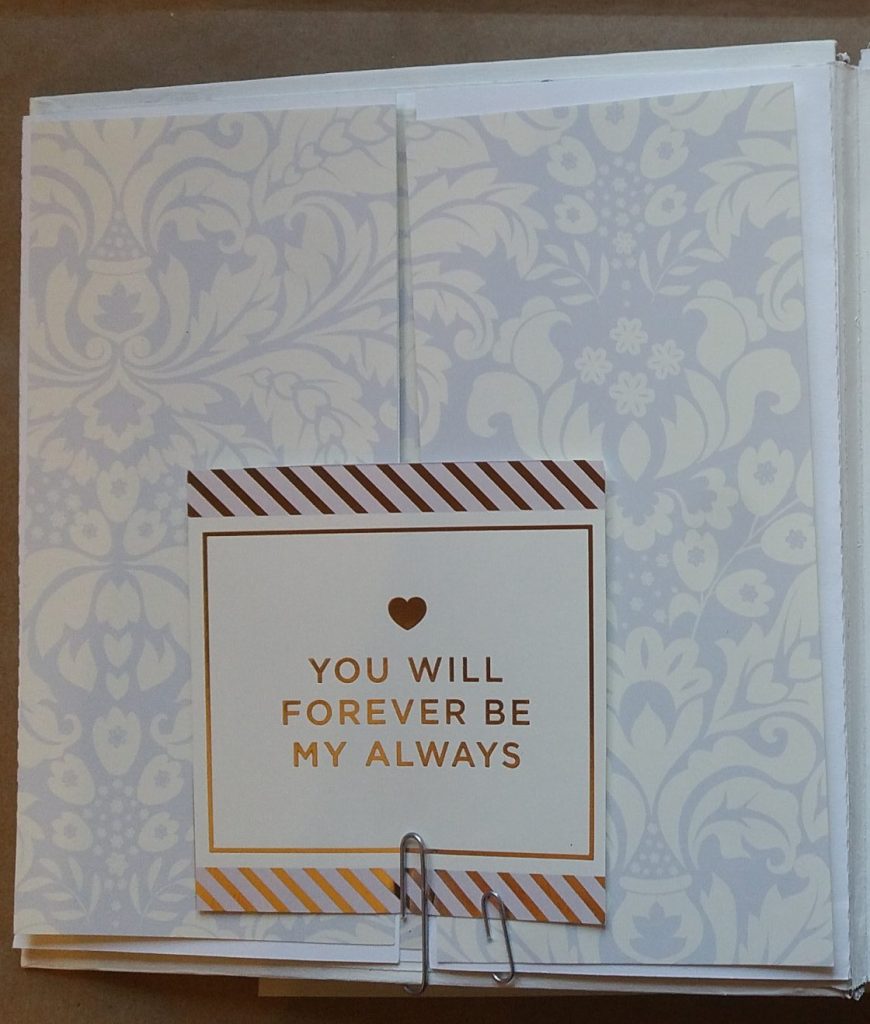
Inside cover The inside of the cover will be a simple gatefold opening to allow for a photo or wedding
Using Digital files created for my Halloween Brag book for my Wedding Album
At Last, At Last! The Last Page! Or is it “Alas Alas” ??? I think I just did not want

Last few pages. Getting to the last few pages and I am wondering if I will need to redo the