For all of you card makers/ crafters who love shadow box cards AKA tunnel cards, here is a free template for you to use: Your card in 10 min
Ok so 10 minutes for those of you who own a Silhouette Cameo or Cricut. For those of you who do not own a machine then this will take about 20 to 30 minutes
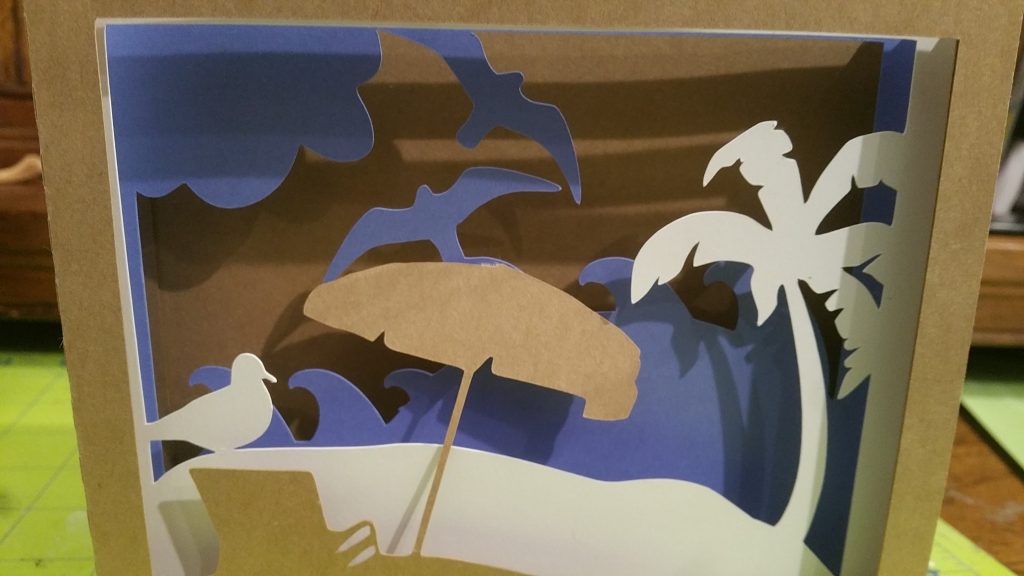
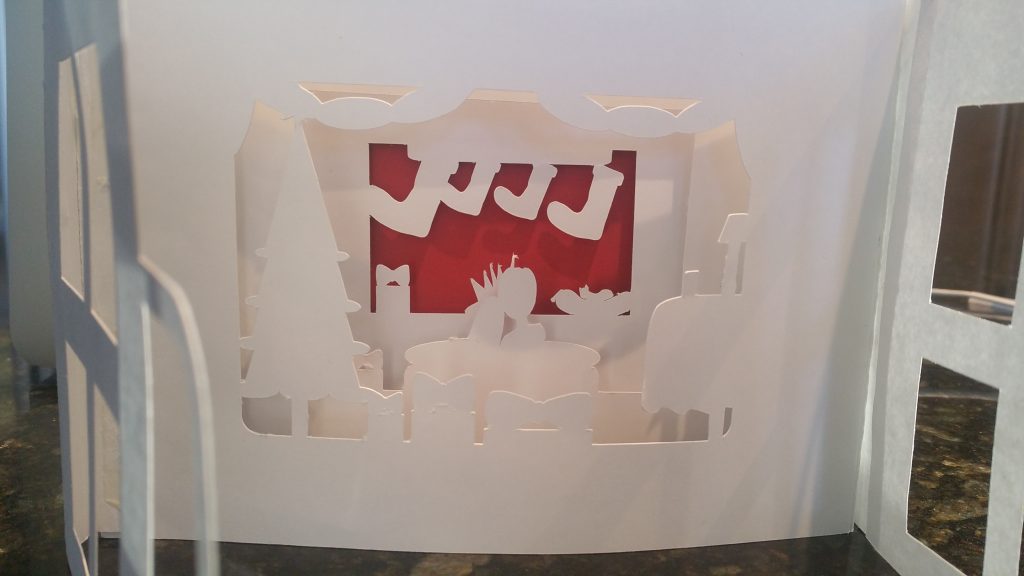
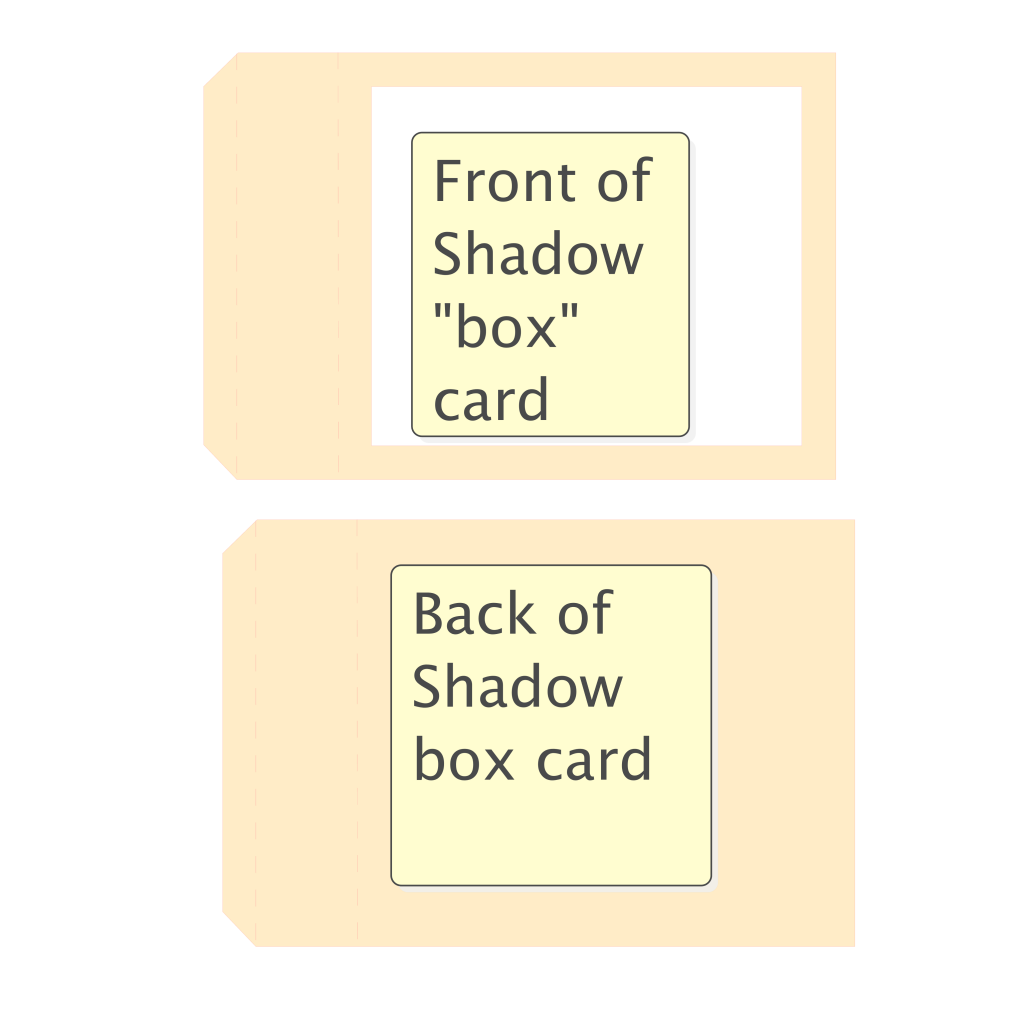
The photo above is the free template to download ( see below) with free images I found on public domain welded on to the card.I used different colour cardstock so that I could show the layers better. You can use one colour or many colours. You could add cut out pieces, for instance to the palm tree, add green leaves etc.
The Template has the following pieces:
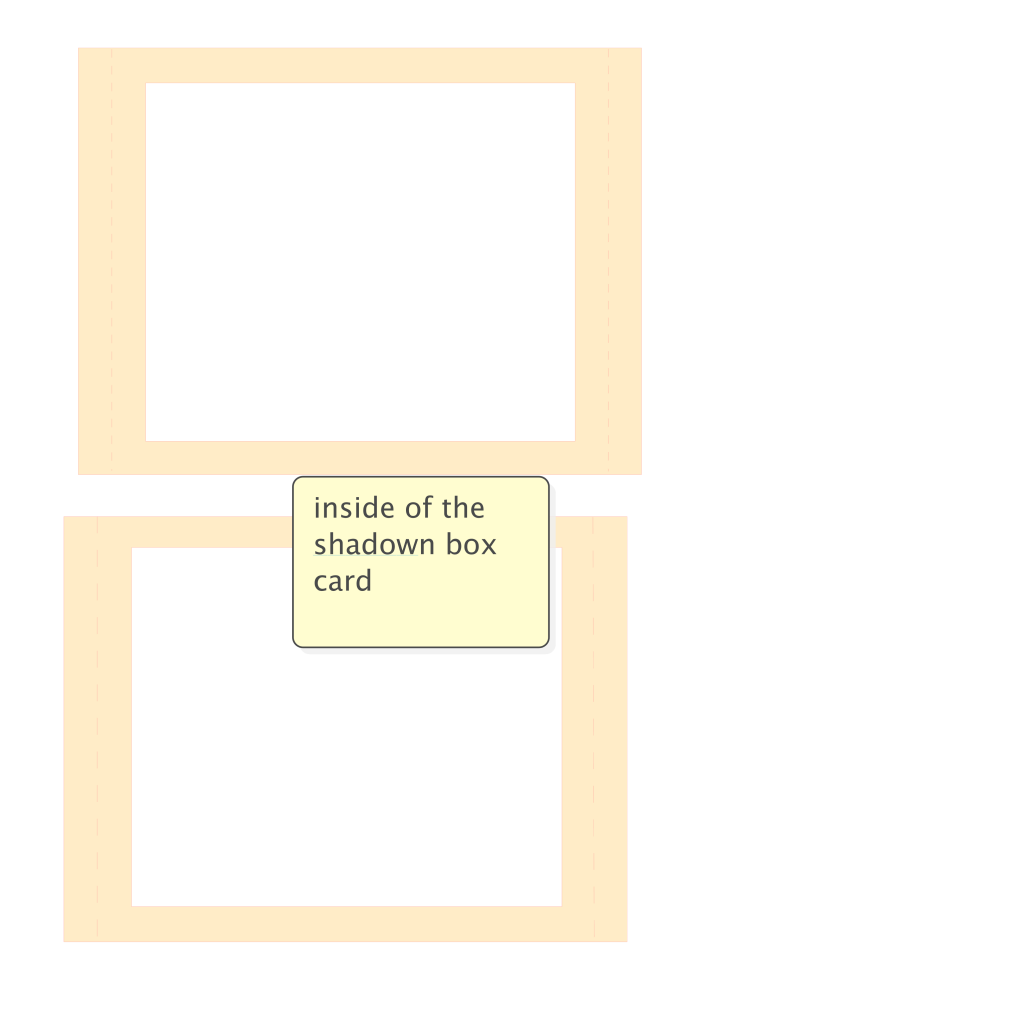
How to use the template:
To use this template with Silhouette or Cricut,
- Download and open the file.
- Gather the images you want to use in your card from files you have or free images on Google. If they are PNG images you need to trace and make them Studio or SVG
- Make sure each section is ungrouped from the dashed lines (the fold lines)
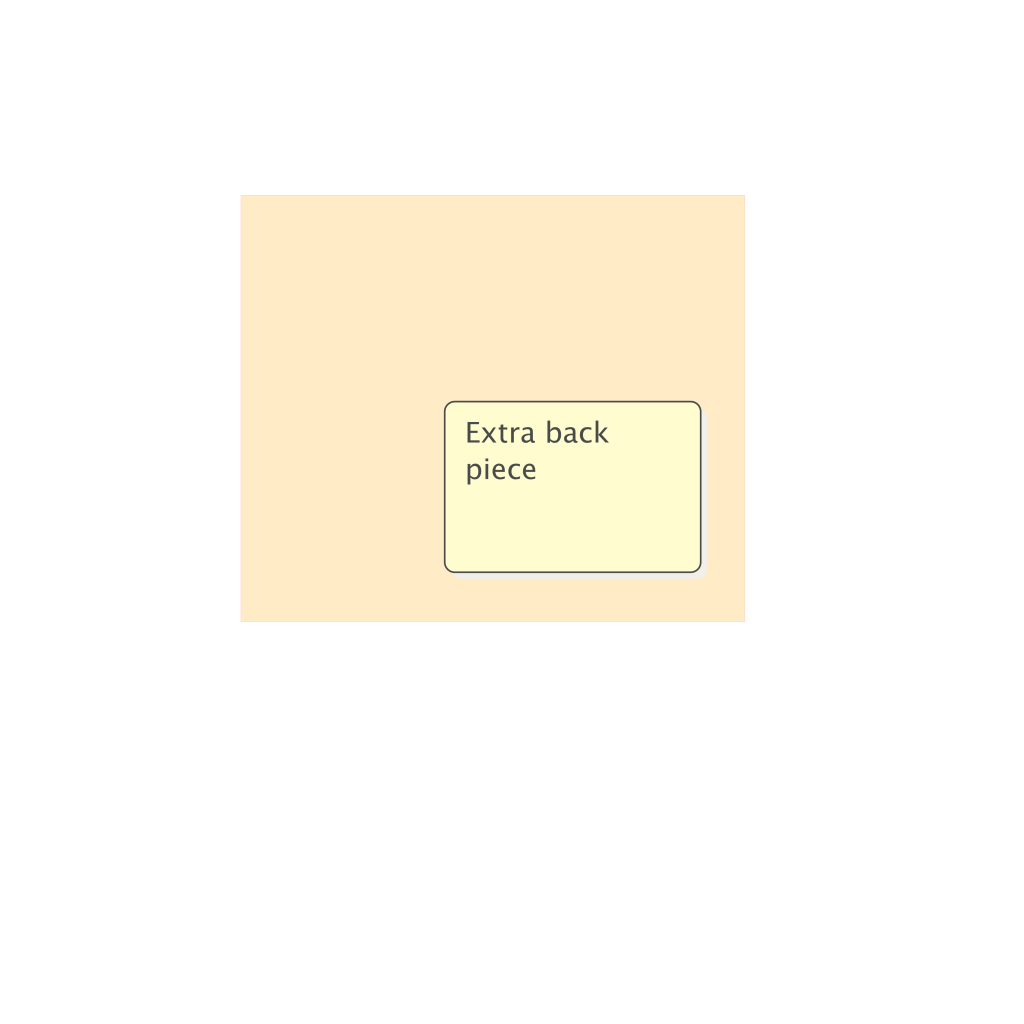
- Place your image on card and use Weld (Silhouette) /Attach (Cricut) to attach the image to the card so that it is one piece. The template has a few extra pieces that can be used in a merge and will form hills or clouds.
- Group dashed lines to card before you move around
- Send to cut.
To Use Without a cutting machine
- Download the PDF file.
- Print the images of the Shadow box onto cardstock.
- Cut out the pieces including the inside rectangles of the pieces.
- Use scrapbook embellishments or photos printed on cardstock and cut out. The template has a few extra pieces that can be used as hills or clouds.
- Glue images to the inside of the frame ( the cutout section rectangle section)
How to Assemble
- The front and back of card glue together to form a box that is open on top and bottom.
- The inner pieces slide in to this open frame box in the order that you like and the tabs glue to the sides.
- Note that the tabs should all be glued to one side first and bent in the same direction.
Enjoy
Download template in PDF and SVG format here