
Grab the Free Folio Now
choice of 2 free folio for you.grab it now!
choice of 2 free folio for you.grab it now!
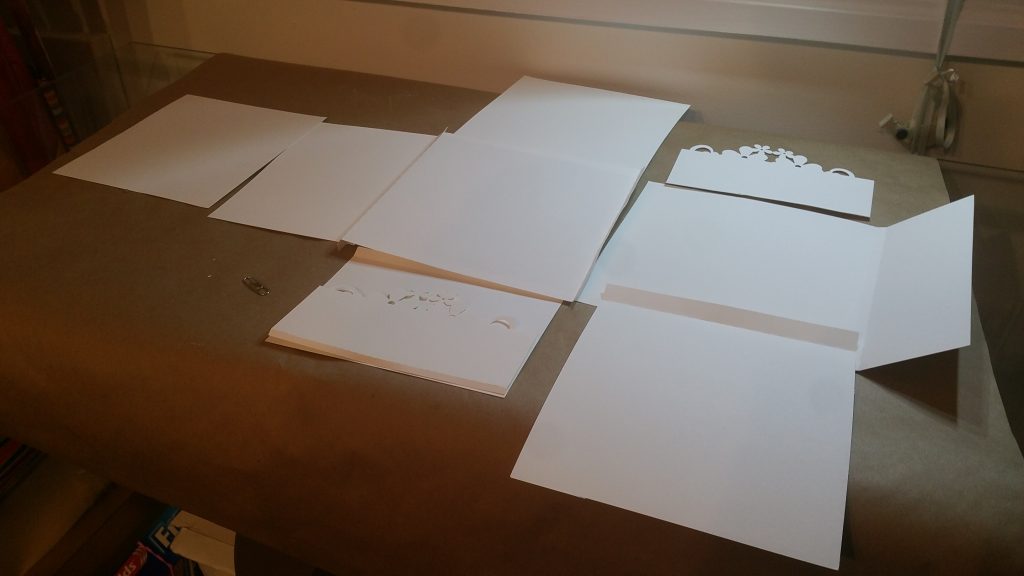
Folio page that is flexible in use and makes a beautiful gift as an album or greeting card.

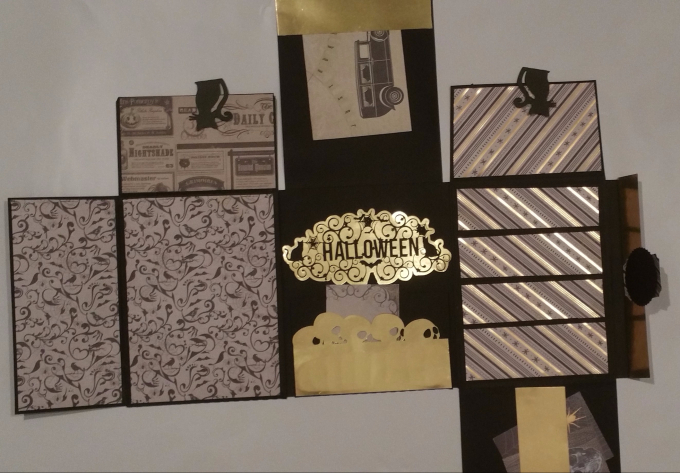
Upwards and Onwards as they say! Page 4 side 1 is complete and I found an owner for it! One
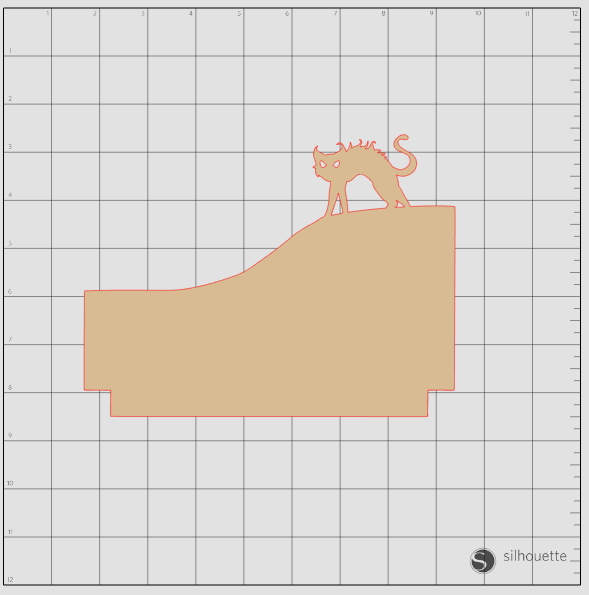
Before I continue to page 4 of the Brag book, I want to show the simple steps to weld an

For this page, I wanted to be a bit more creative but not sure if this is a good idea…let me explain
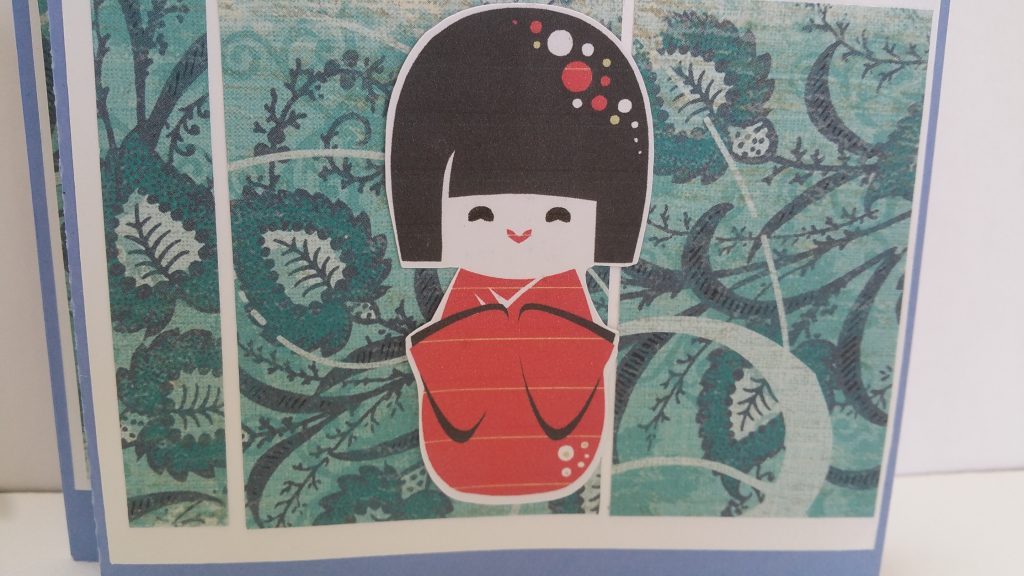
make a wiper card using any image. I use d cute kokeshi doll images from Silhouette design store.