
Guilt free Crafting Day 1
Craft guilt free while practicing social distancing and get free files.
Craft guilt free while practicing social distancing and get free files.
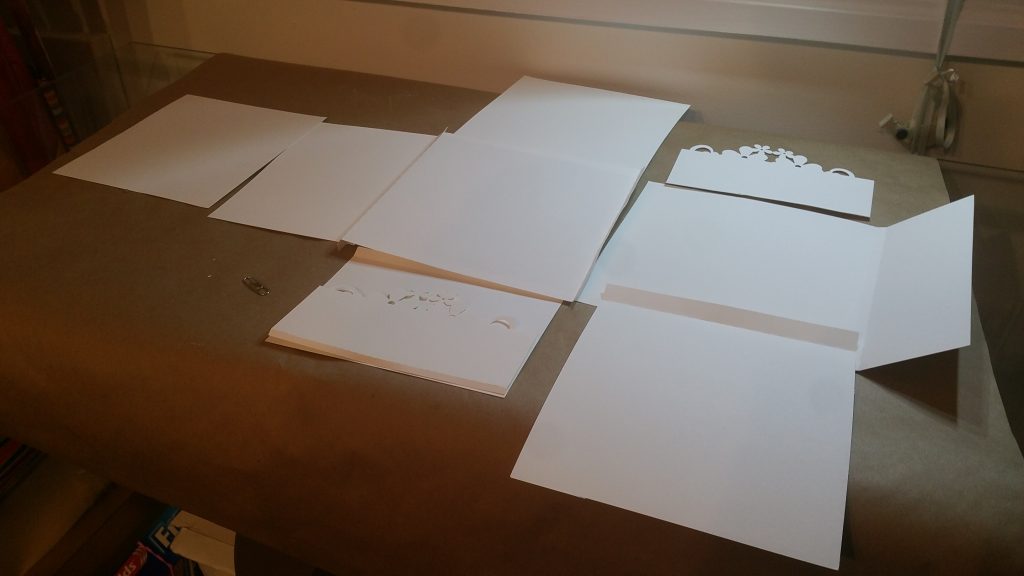
easy to customize a page with this cool insert
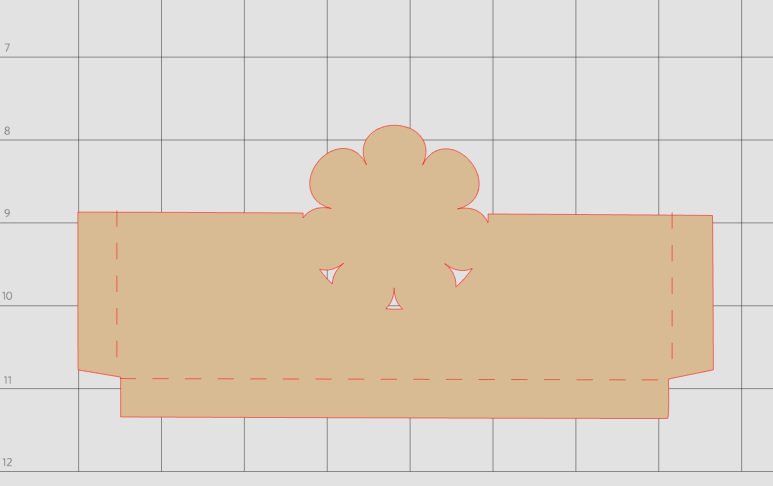
For my brag books I use templated pockets, tags, pages etc. and customized them for each brag book that I
choice of 2 free folio for you.grab it now!
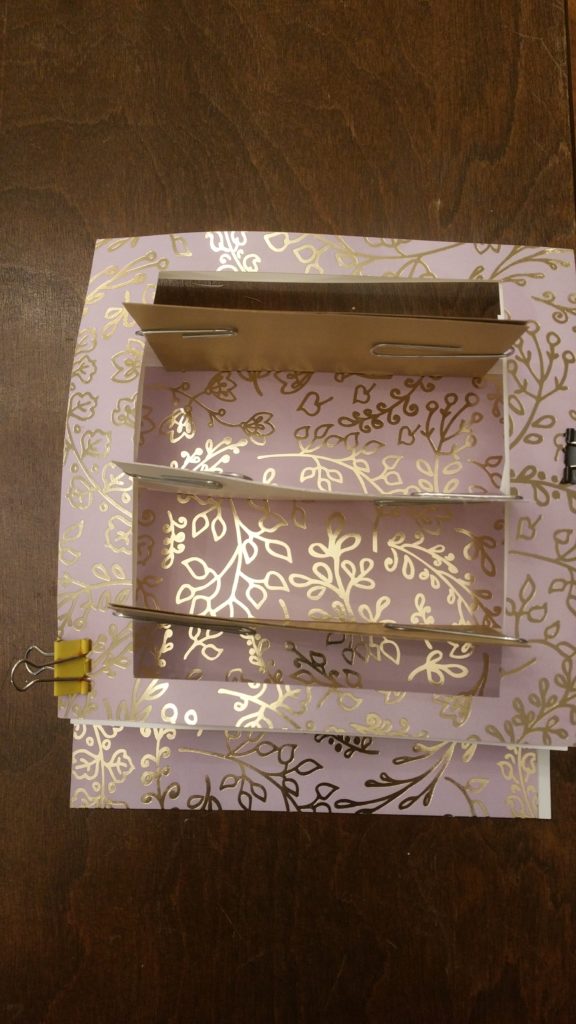
Using Digital files created for my Halloween Brag book for my Wedding Album
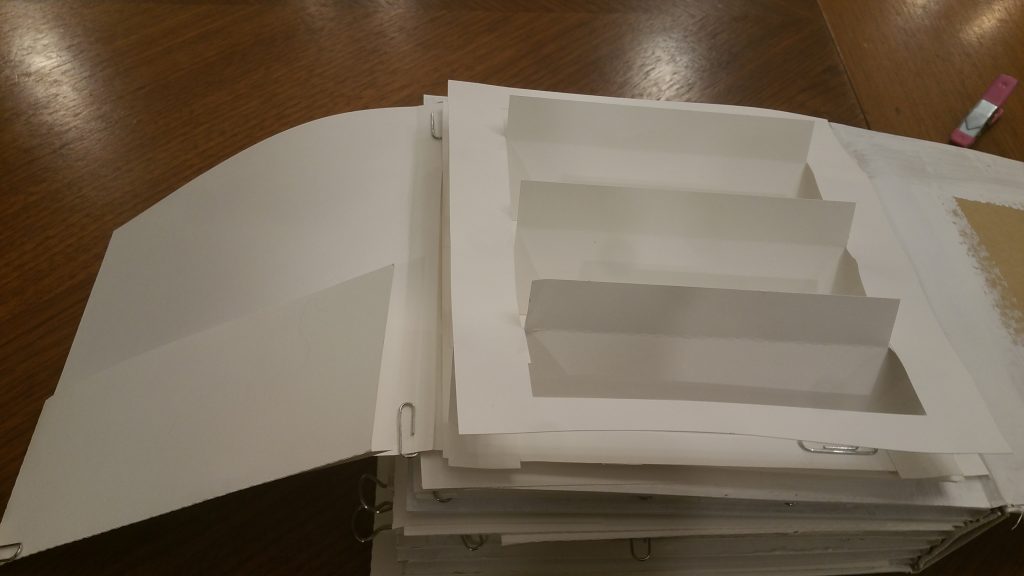
Last few pages. Getting to the last few pages and I am wondering if I will need to redo the
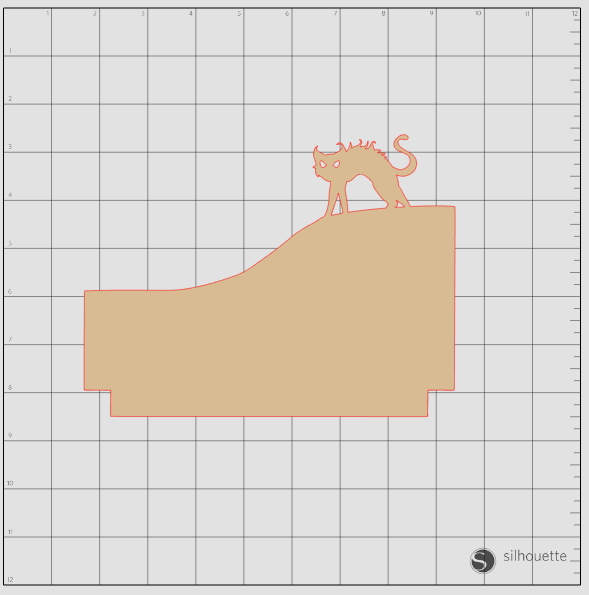
Before I continue to page 4 of the Brag book, I want to show the simple steps to weld an
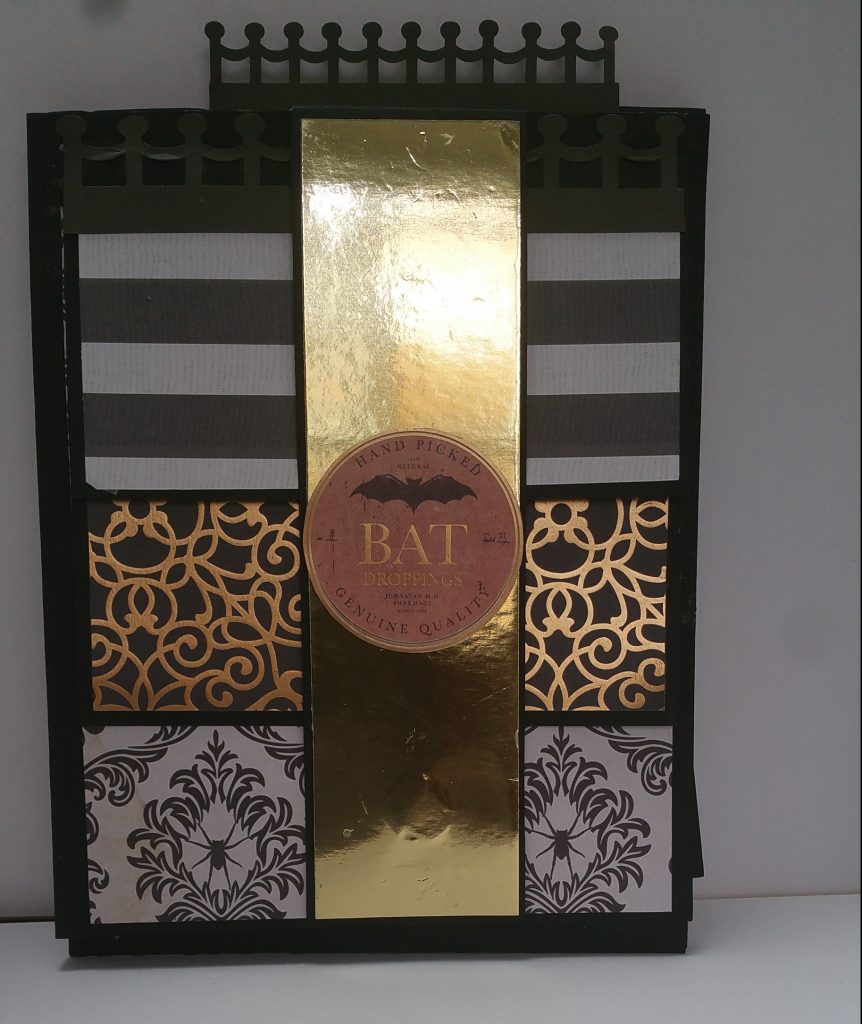
Since my last post, I have been busy with real life :job and family but finally got to put this
After seeing all the beautiful projects on YouTube I really wanted to start building my pages, it is so exciting!
Love journaling but can’t seem to find a great Baha’i Journal? We are developing a Baha’i Inspired Journal just for