I made another version of a tunnel card with windows that open and close.
When I made the card and assembled it I realized I need to do a few adjustments, so I will share the steps on how I put the card together, but the link to download is the updated version.
First step
First of all, I wanted to have a “cover” for the card that wrapped around it, so this is what I came up with:
- A solid back, made from cardstock that is is 100 lb weight, this also has side tabs to stick the panels on.
- The bent sides shown here is where I will stick the bookbinding inserts shown in the next step below.

Second Step
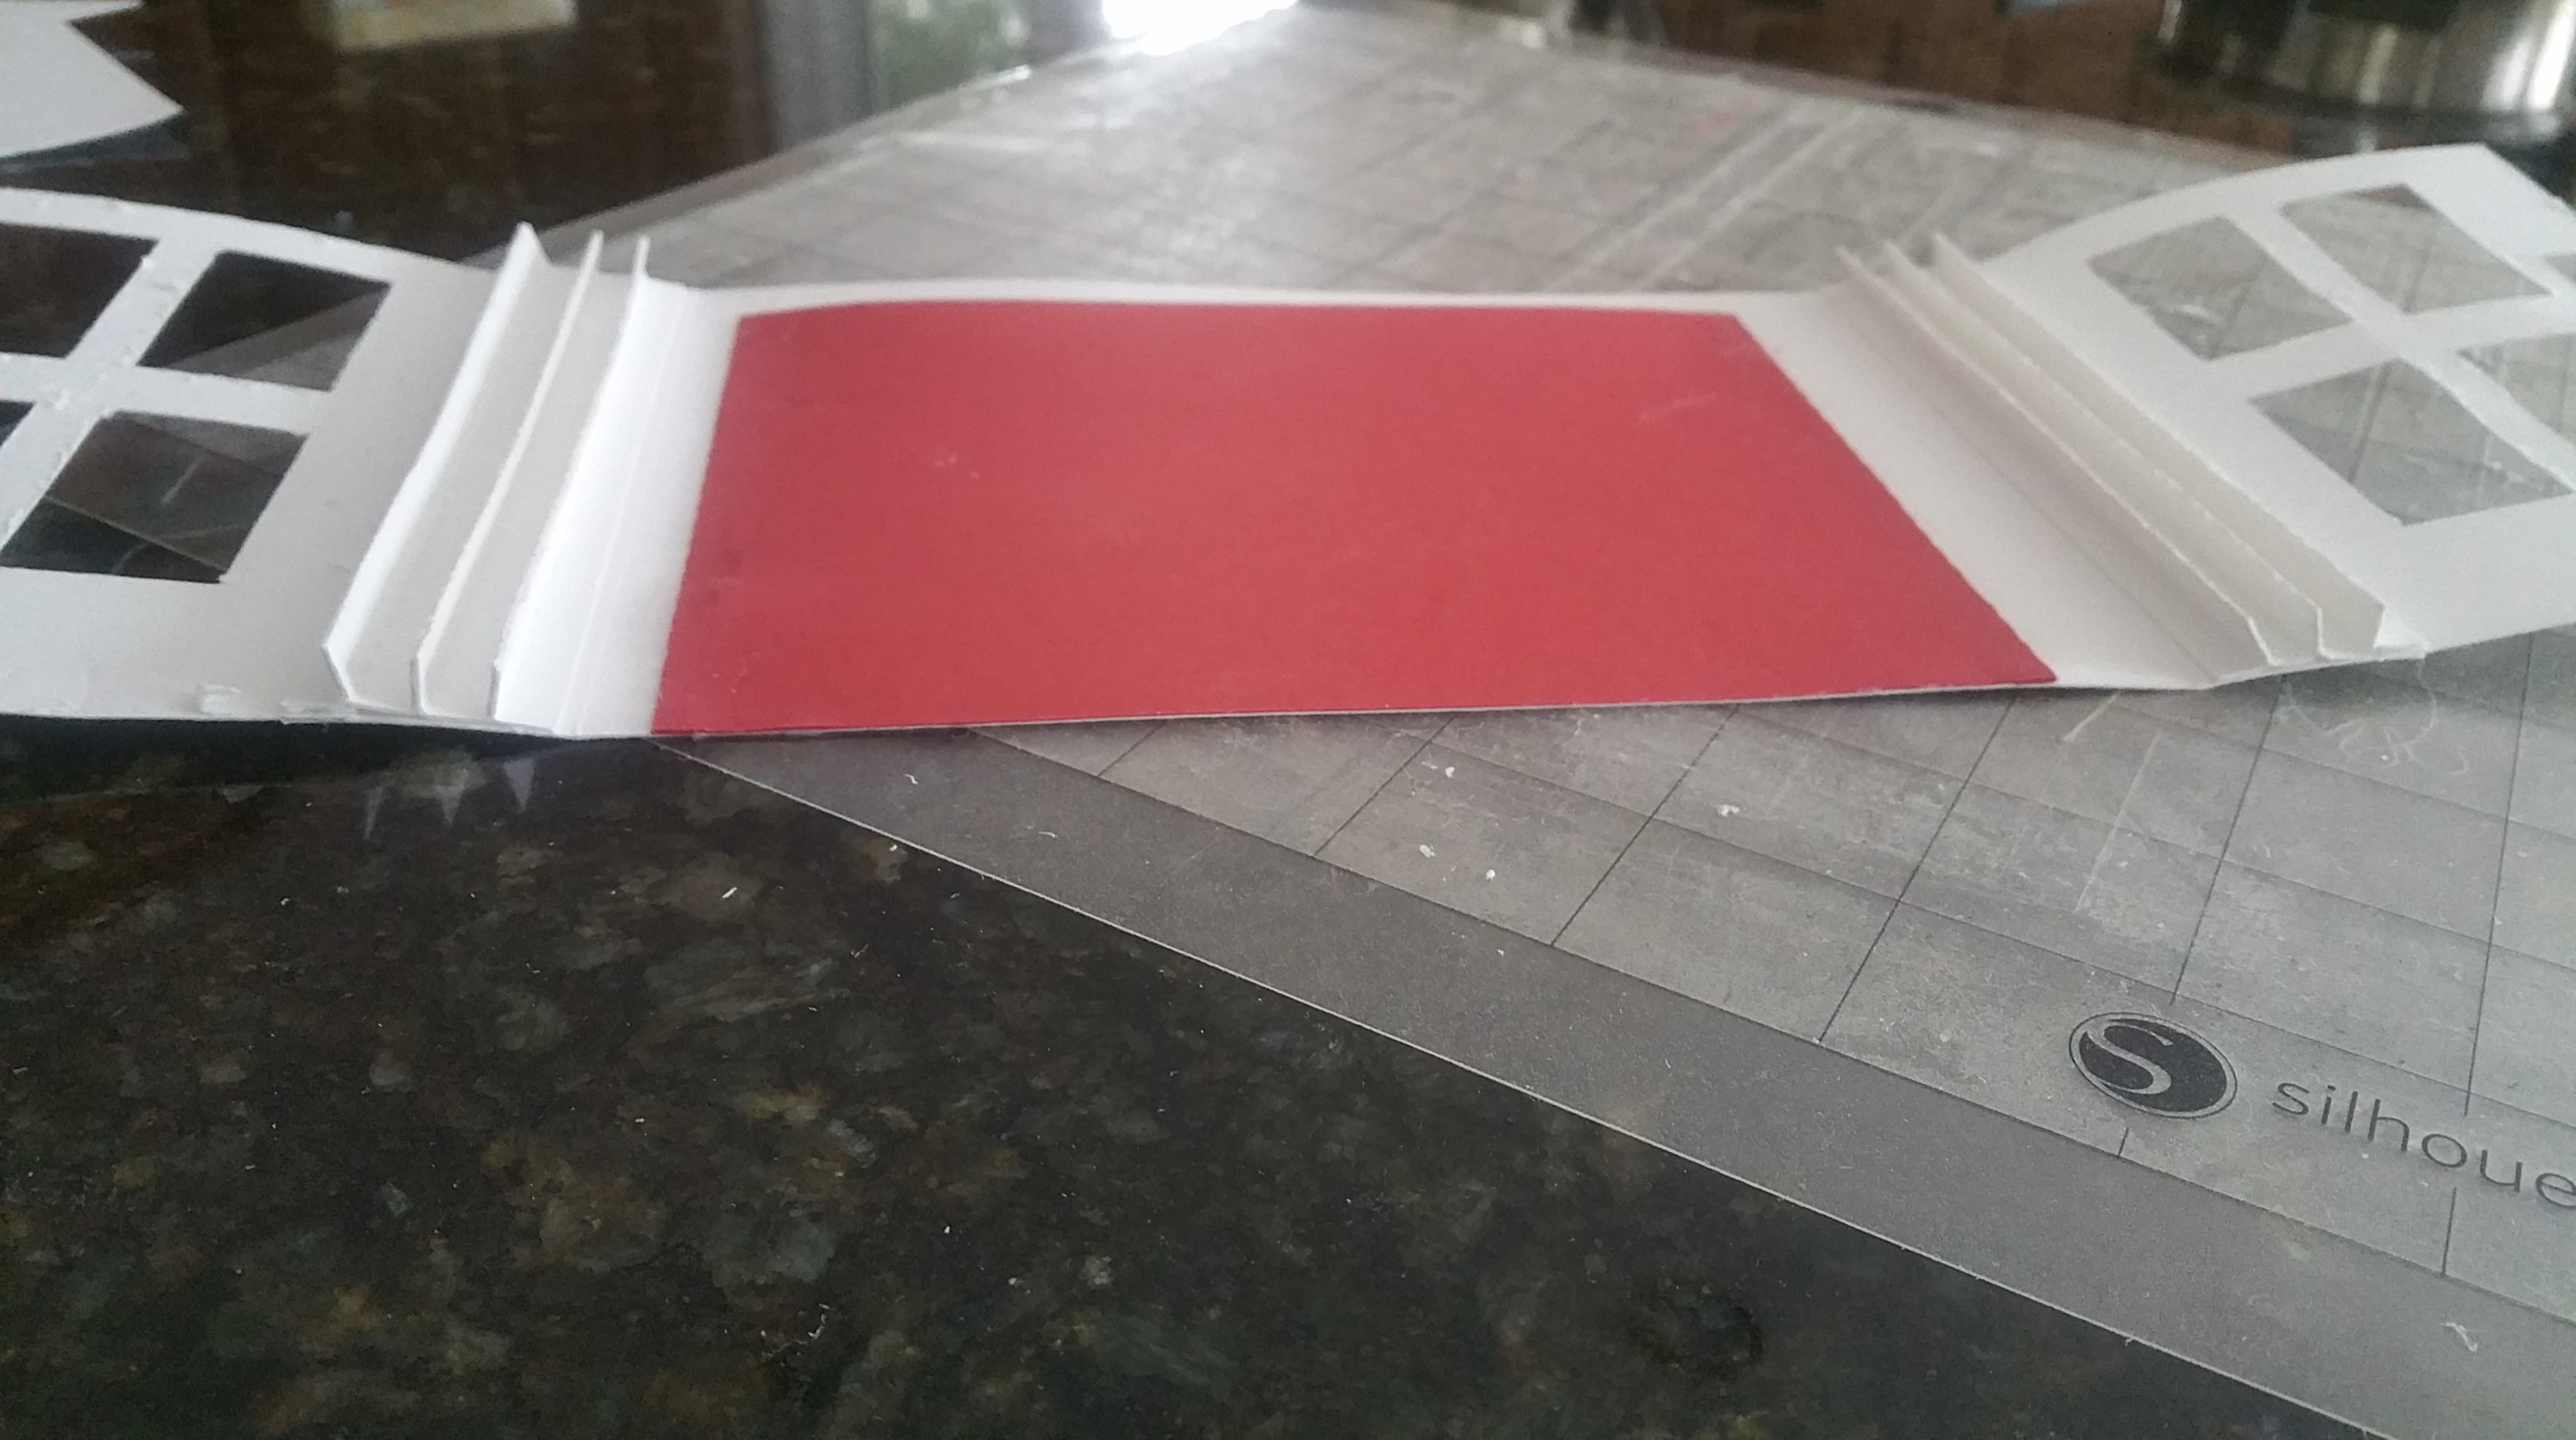
The bookbinding method I am using is a little different from the first card. This method has 3 mountains and 4 flat spaces.
The card stock is 100 Lb weight and I found it a bit too heavy. I also think that I like the first method in my previous post of attaching and spacing the panels.
As you can see from the photo below, the image on the right is the flat paper with score makes to fold and the image on the left is the folded mountain piece.
it is important is to make sure the mountain parts are very well stuck together.

Third Step
I added a bit of color to the background piece (Red Card Stock). This was cut on regular cardstock, 50 lb paper.
The two short sides are glued down and so will the bottom edge.
This will form a pocket and allow for an insert. The insert is for writing a greeting.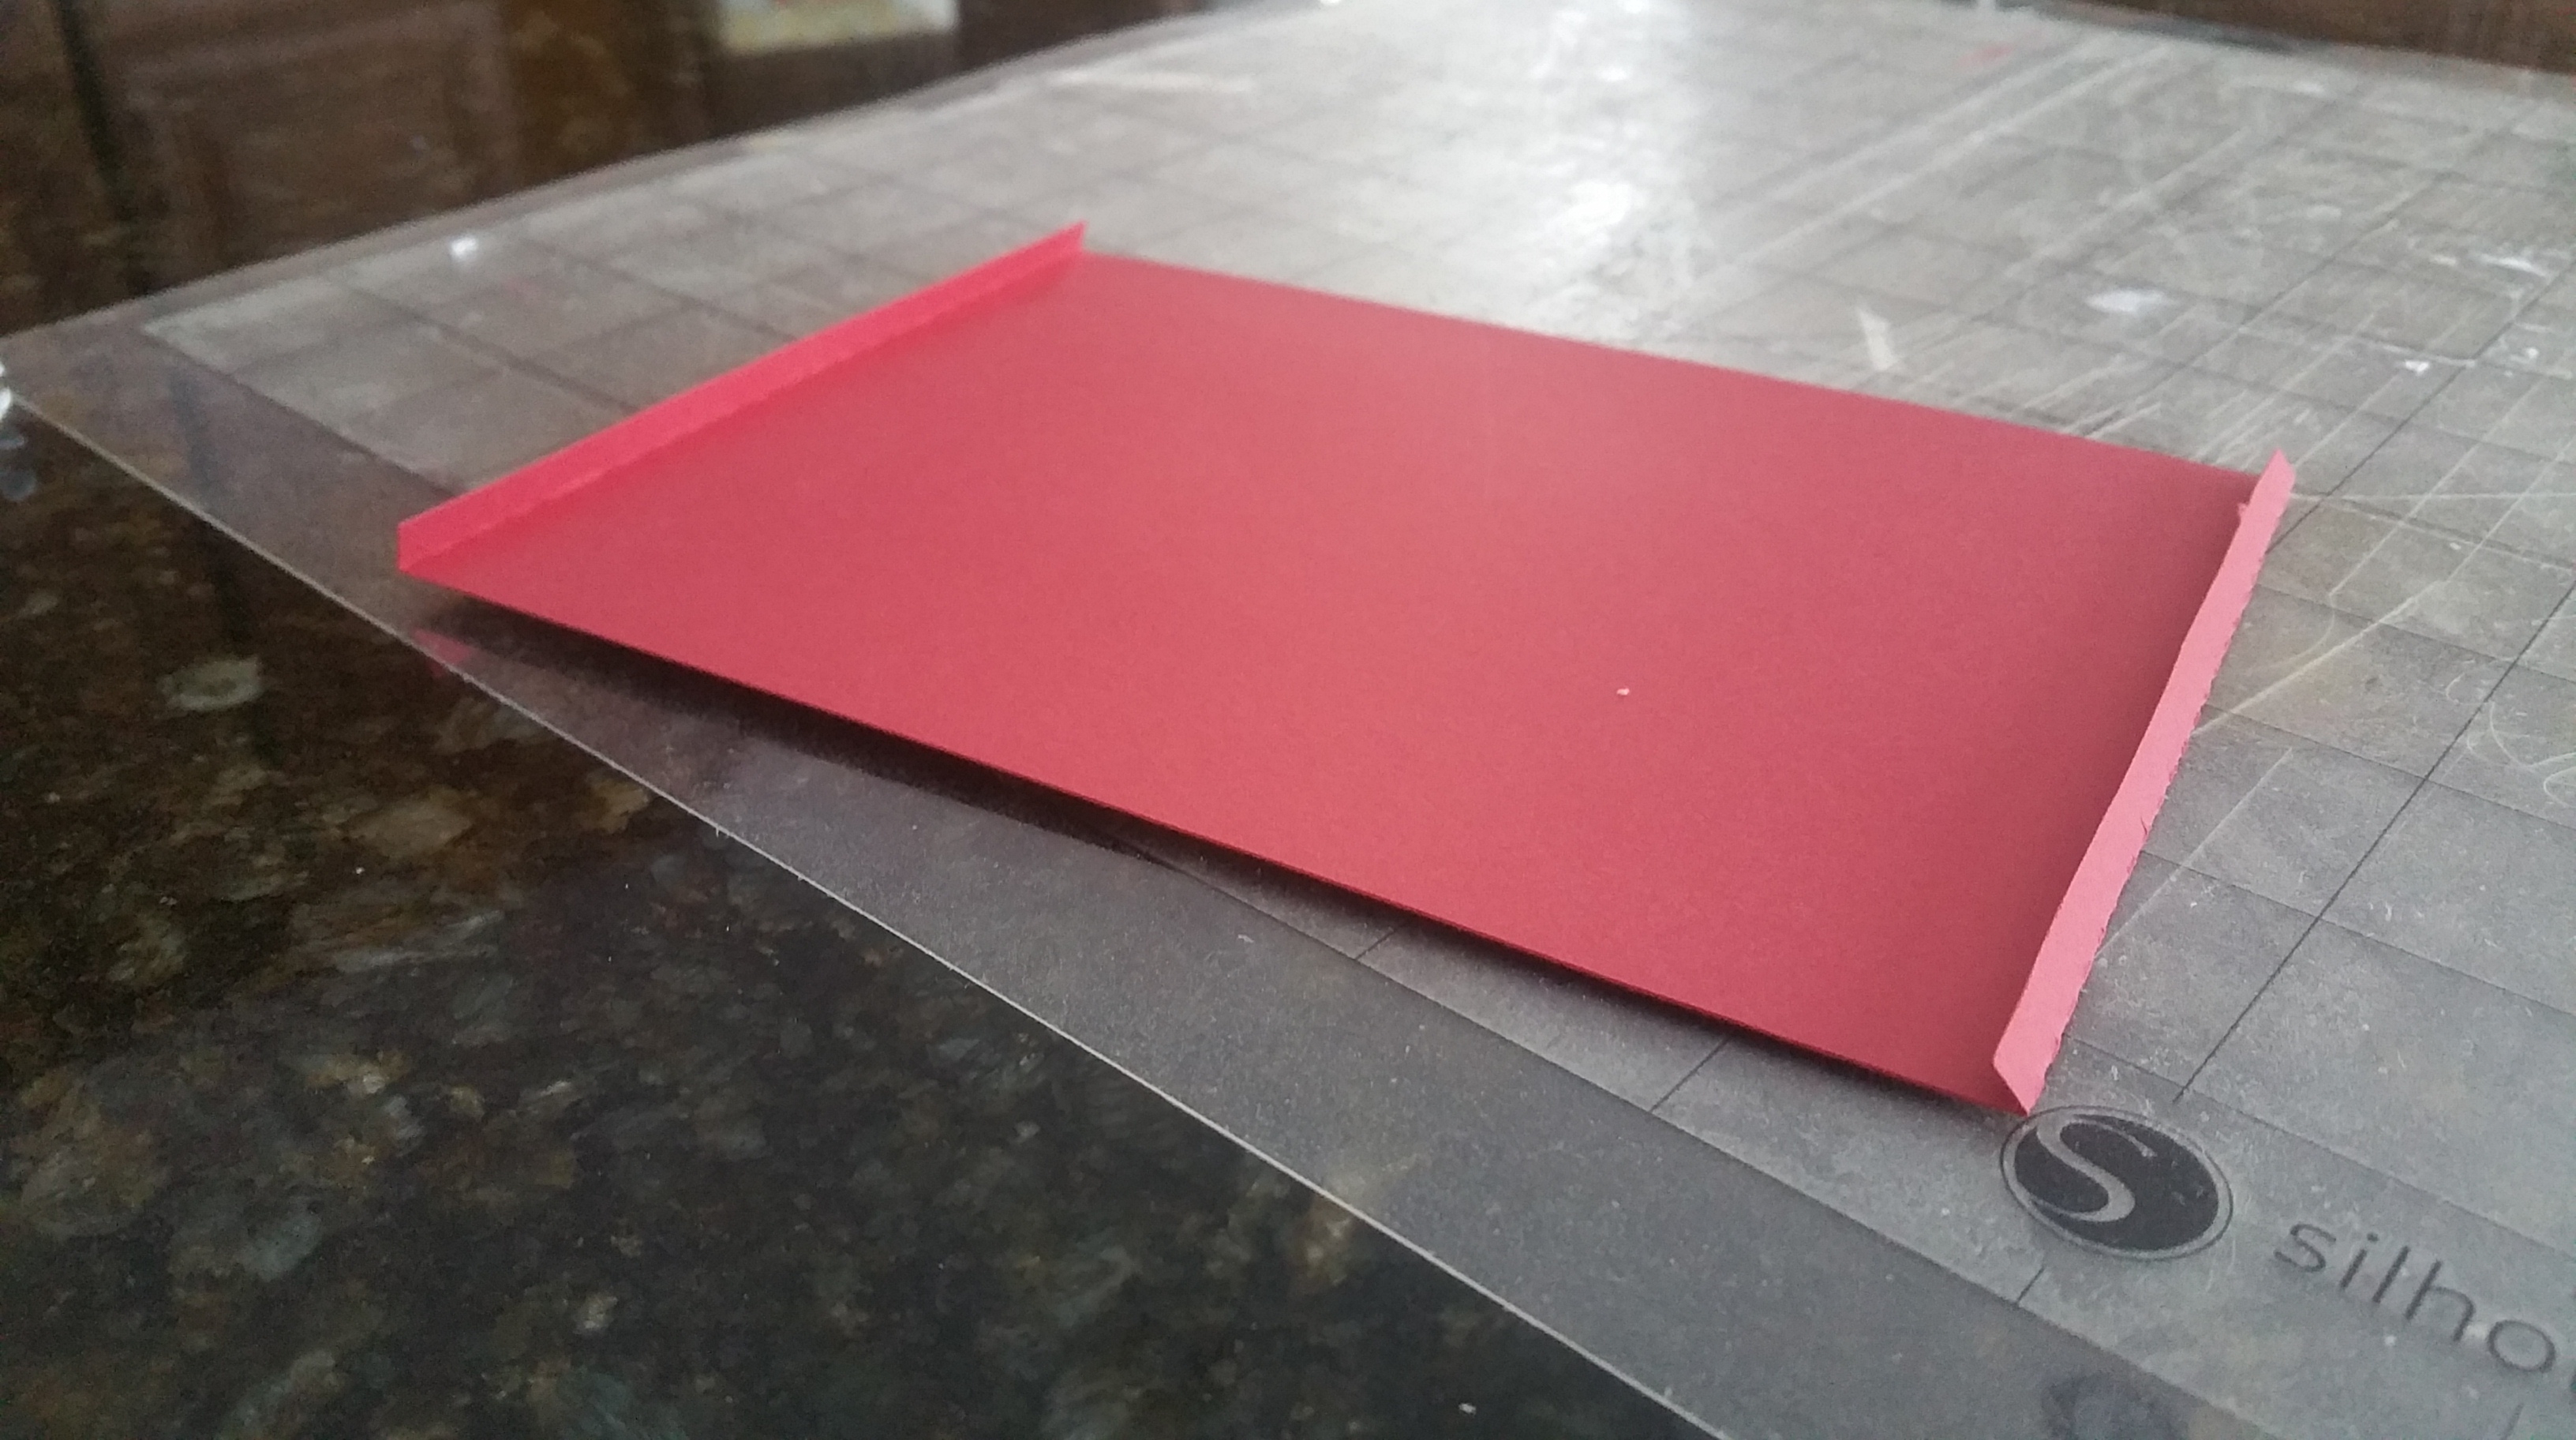
Fourth Step
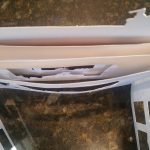
The red back piece is stuck first then the window side panels.
The windows in the updated version will be held close with a Christmas bell, for this version it did not cut as expected.
The bookbinding pieces go next.
Step Five
Start with the 3rd panel, the one with the smallest opening with the stockings and fireplace,
Attache the edge to the closest “mountain ” tab.
Next attach the 2nd panel, the one with the couple on the sofa
Last is the panel with the Christmas tree and gifts.

Step six
Attach all the panels to the other side in the same order.
It would have been very easy if I had not attached the bindings to the back of the card in step 4!
Insert the roof with Santa stuck in chimney into our little red pocket.
Step Seven
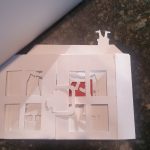
All attached but not yet complete! Cute right? As you notice, my windows have cutout panels.
Step Eight
You need to write a greeting so here is the prefect spot to place it: this tab has Santa stuck in the chimney…so grab his little foot and give a tug!

Here are the studio 3 files in Dropbox, it is for personal use.
Carolyn.
Like us on Facebook and post your card