
Courage Ruhi BK 3 Grade 1 Lesson 17
Courage From lessons 17 to 24 we will be memorizing a new prayer and of course, each lesson will have […]
Courage From lessons 17 to 24 we will be memorizing a new prayer and of course, each lesson will have […]
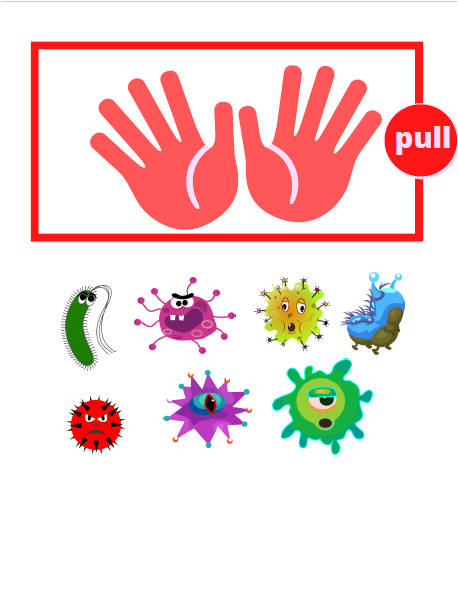
Craft for the virtue of Cleanliness. Lots more on the children class platform: https://bahaichildren.coachzippy.com/p/ChildrenClass
For those of you who know me, I try to help out with the local children’s class and provide the
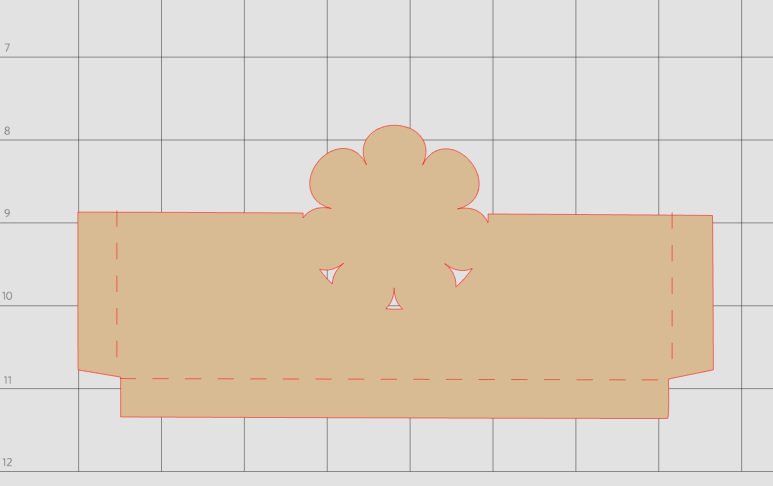
Stick Puppets Supplies Craft papers different colours Craft sticks Glue Pencil Black marker Scissors Steps to make puppets NOTE: The
Crafting is a great way to spend quality time with those you love while self isolating. We want to keep
For my brag books I use templated pockets, tags, pages etc. and customized them for each brag book that I
We had a children’s class this past weekend and the theme was Courage. After doing a quick search online I

“The Word of God hath set the heart of the world afire; how regrettable if ye fail to be enkindled
Word Art Here is a fun and easy craft using word art . Use the images as you like or
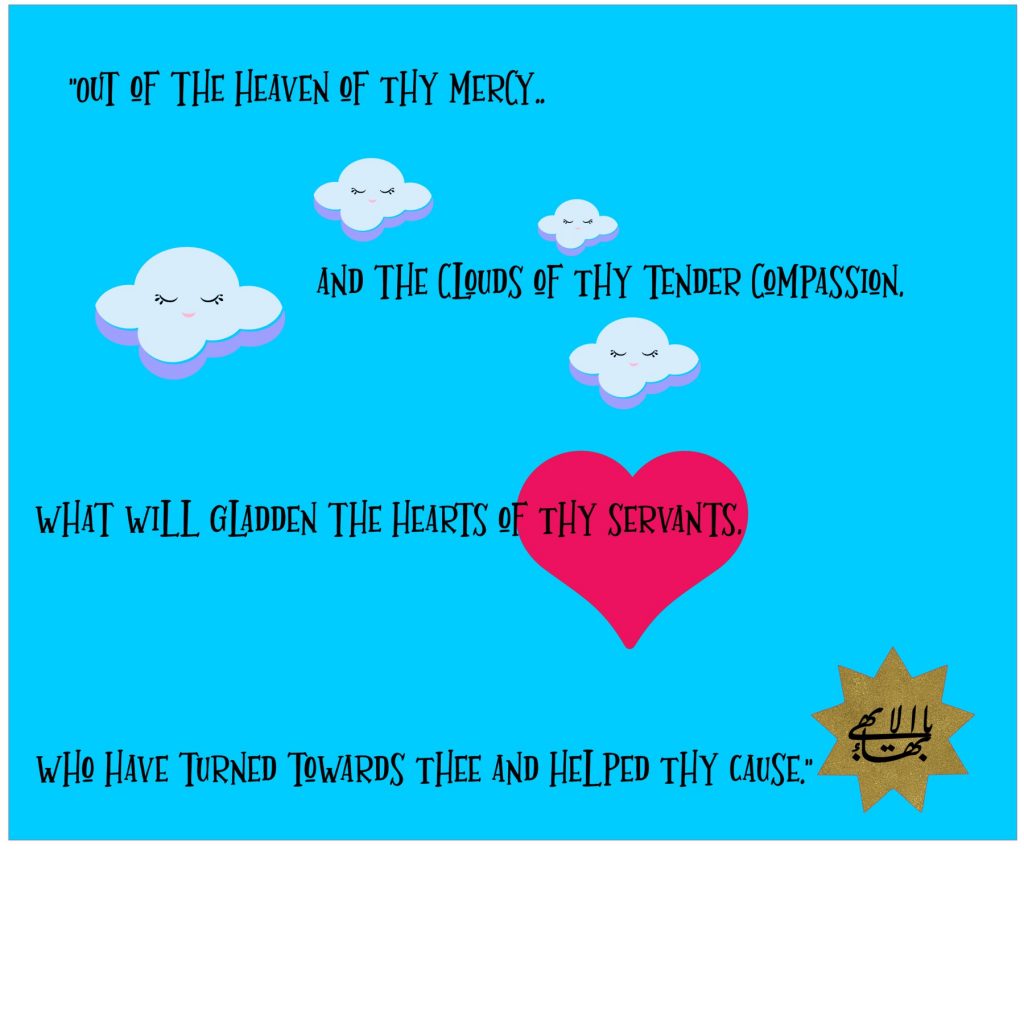
“Out of the heaven of Thy mercy and the clouds of Thy tender compassion, what will gladden the hearts of
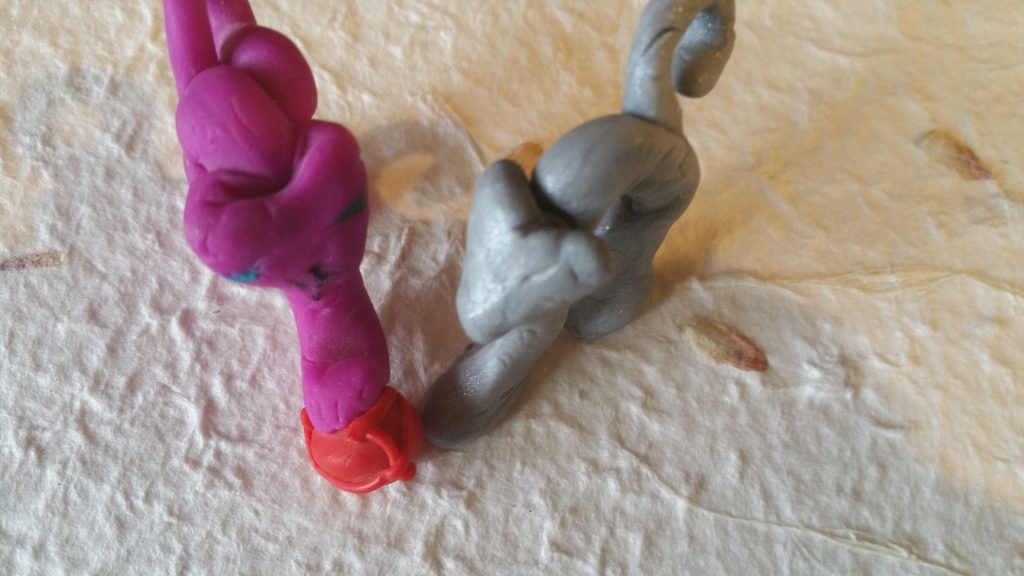
Just lost my beautiful 16 year old cat Coco . The next few crafts are dedicated to him. I made

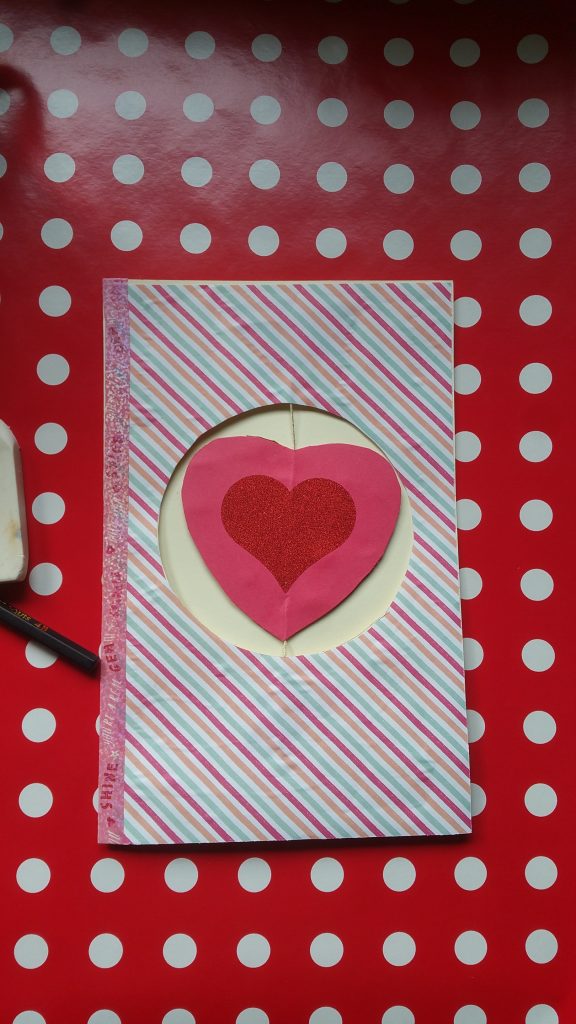
Tulips can be use for a Mothers Day card or Spring or get well card: It’s a pretty generic image.
I love to Pin stuff on Pinterest and I have many boards dedicated to paper crafts, templates, cards, journal ideas,
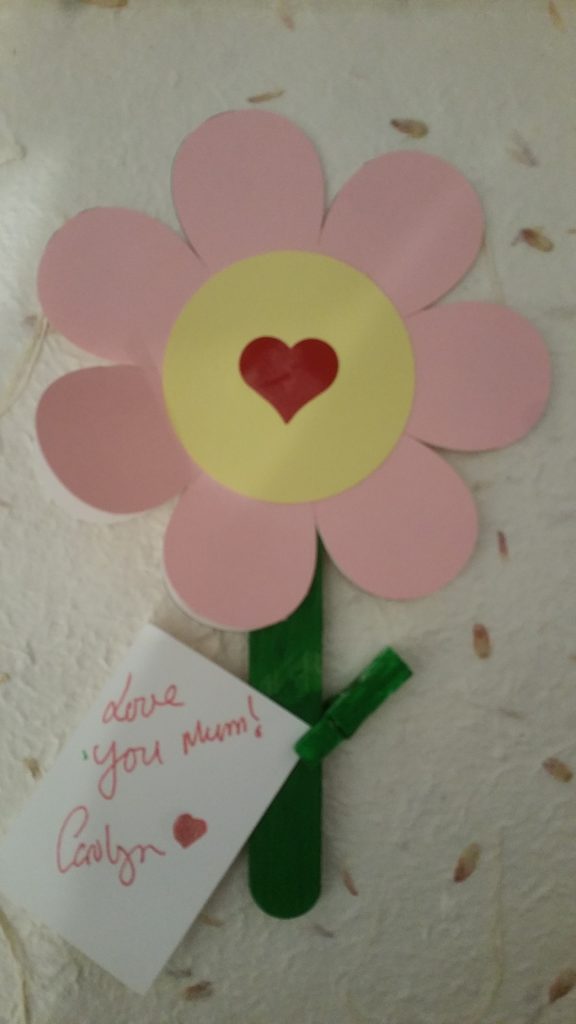
Mothers day is fast approaching and I know some of you amazing dads want to help the kids make a
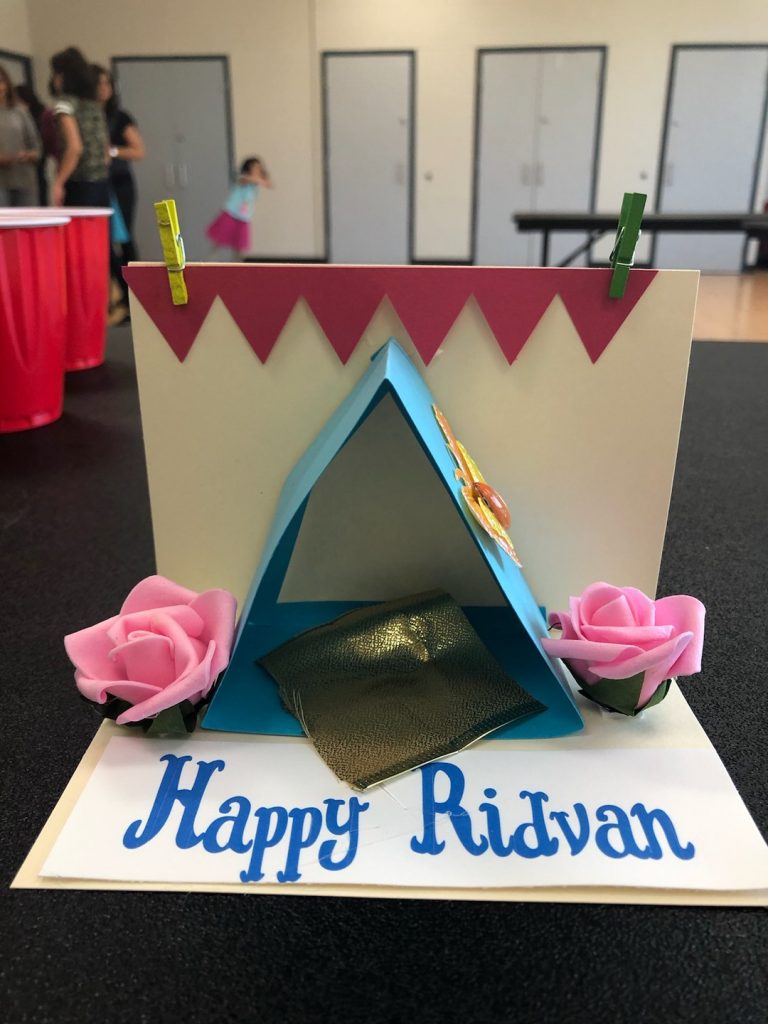
This is simple craft that you can print for Ridván for kids of all ages to do. This particular craft

Have you seen those awesome shadowbox cards that are 3 dimensional and look like an artist, graphic designer and engineer
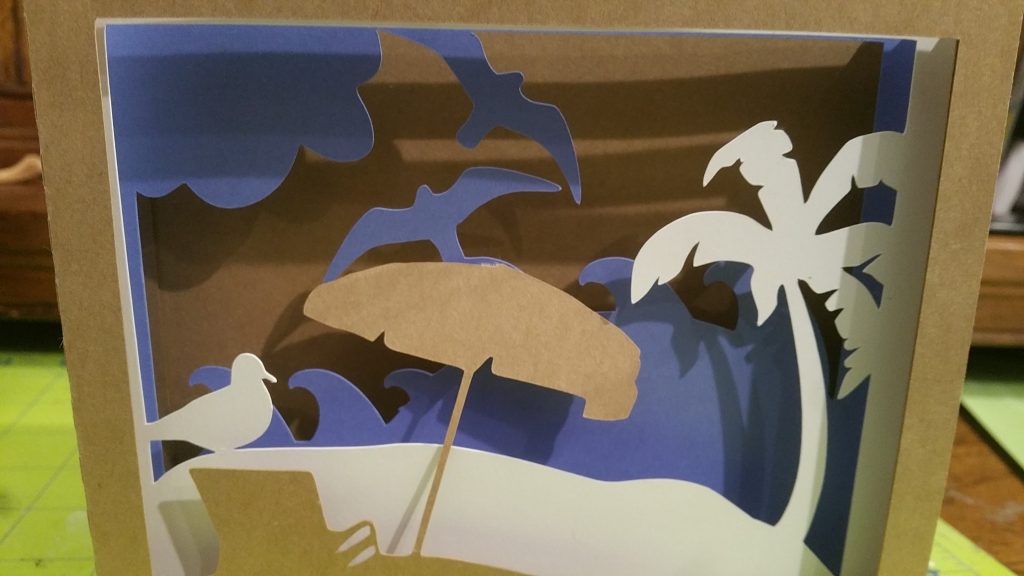
A template to download to make a shadow box card