I was looking for an interactive card to make as I LOVE paper creations that move when I came across a few people making a gumball machine that dispenses candy. YEP, it really worked. So I wanted to make my own card and tried out one of the videos with so-so success. After looking at a few different ways to put this card together, I decided to do my own, so below is what I did and some tips on what worked. I will give instructions for both solid cardstock and the cardstock/foam tape version.
Give some credit!
So before I begin with my own design, I would like to list the places I saw this card.
- Tiffany Yu on Youtube using My Favorite Things Dies.
- Crafting My Style with Sue Wilson on YouTube
- Melody Lane on YouTube
Material
Here is a list of what you will need to make this card
- Heavy cardstock 110 pound
- Decorative Cardstock for gumball machine.
- Double sided foam tape
- Double sided sticky tape
- Glue
- Acetate for shaker window
- Candy: mini M&M or Tic Tac
- Optional chipboard 1/8 inch thick
- My SVF file or your Circle Dies- 2 in, 1 in, 1/2 inch
Easier Than You Think
Ok, I am going to give quite a bit of detail below and although I hope to be clear in the instruction, you may look at it and think it’s complicated. It’s NOT! The general assembly once everything is cut takes about 15 minutes.
The piece we will use are named for easy reference
Pieces
- Gumball Card Base
- Guide Mechinism which looks like a rectange and a odd lightbulb shape cut out
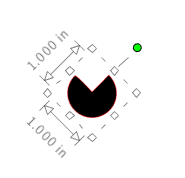
- Dispensing Mechinism looks like a circle with a wedge shape cut out – PacMan shaped for those of you old enough to remember!
- Handle made up of small circles and rectangles
- Optional 1/4 inch strips to cut for a tidy finish.
- Lid to cover the refilling candy space.
- Gumball Machine Body
- Greeting Card base
- Stopper
Assembly
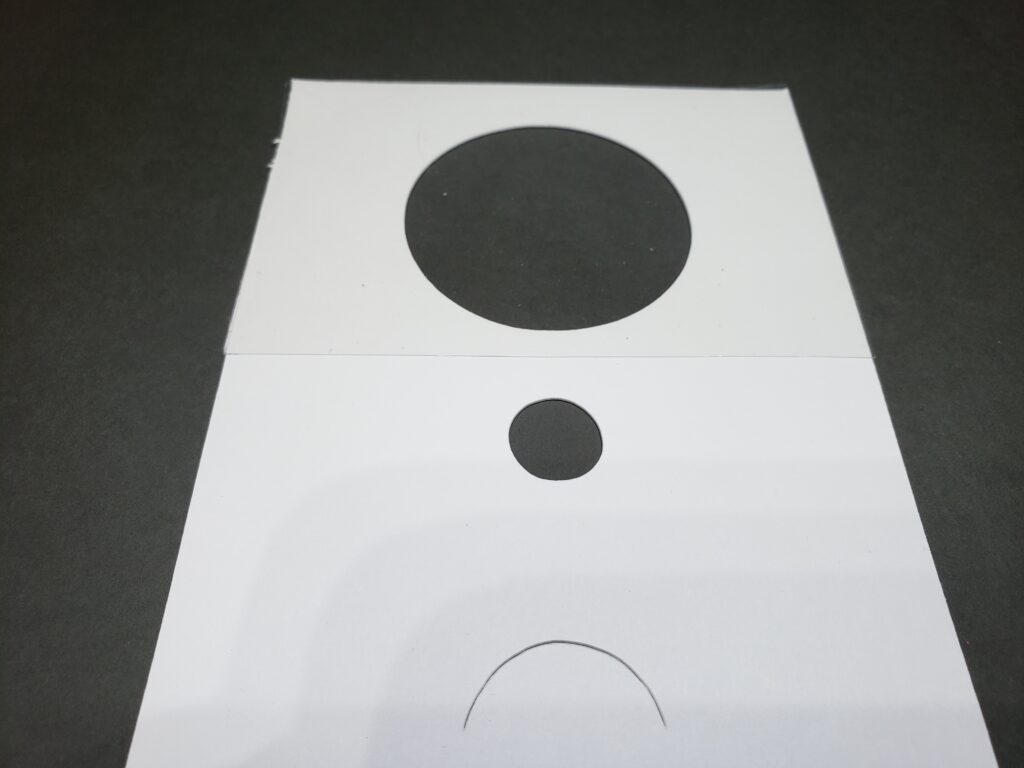
Gumball Card Base – Cut 1
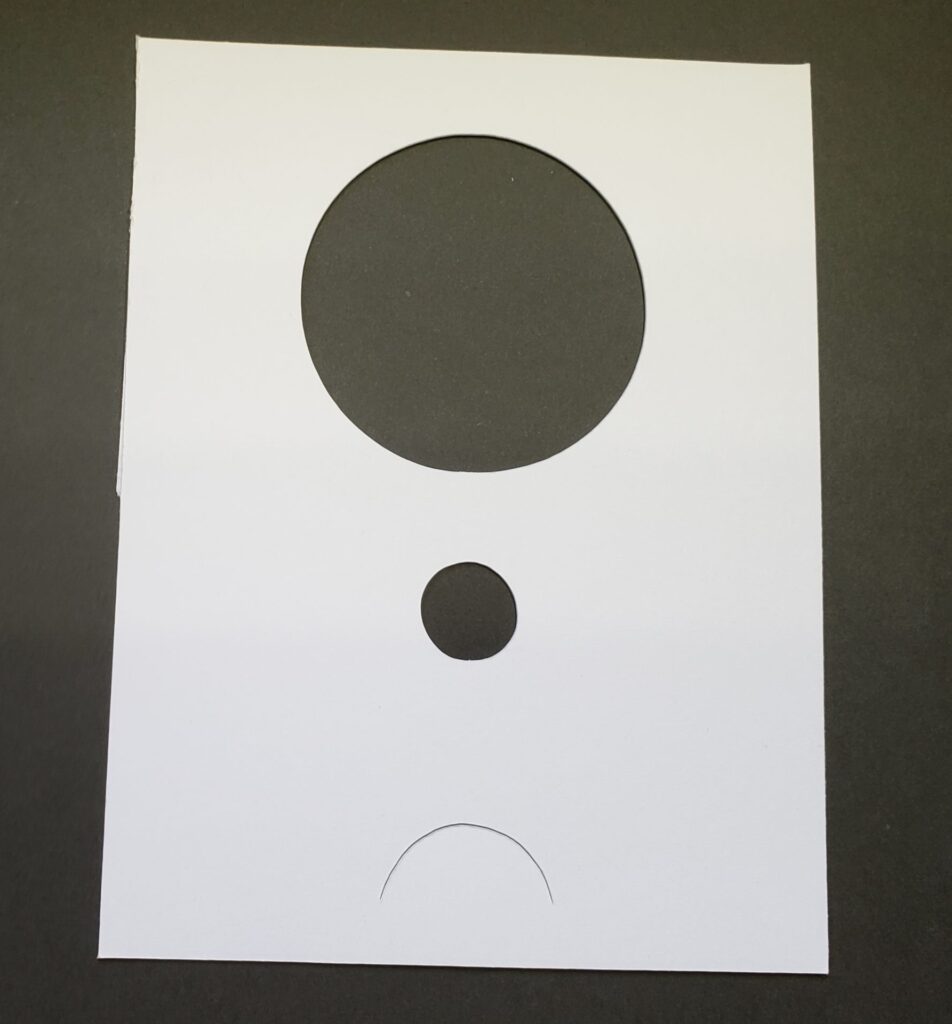
CUT 1 of the Gumball Card Base
Cut a piece of acetate 4 inches long by 3 inches wide and using double-sided tape/glue, cover the larger (shaker) window.
Glue the acetate to the back of the Gumball Card Base – choose any side to be the back. Glue or double-sided tape can be used and will not show when the card is finished.
Making the compartment to hold the candy use Gumball Card Base and Acetate measures 4 in x 3in 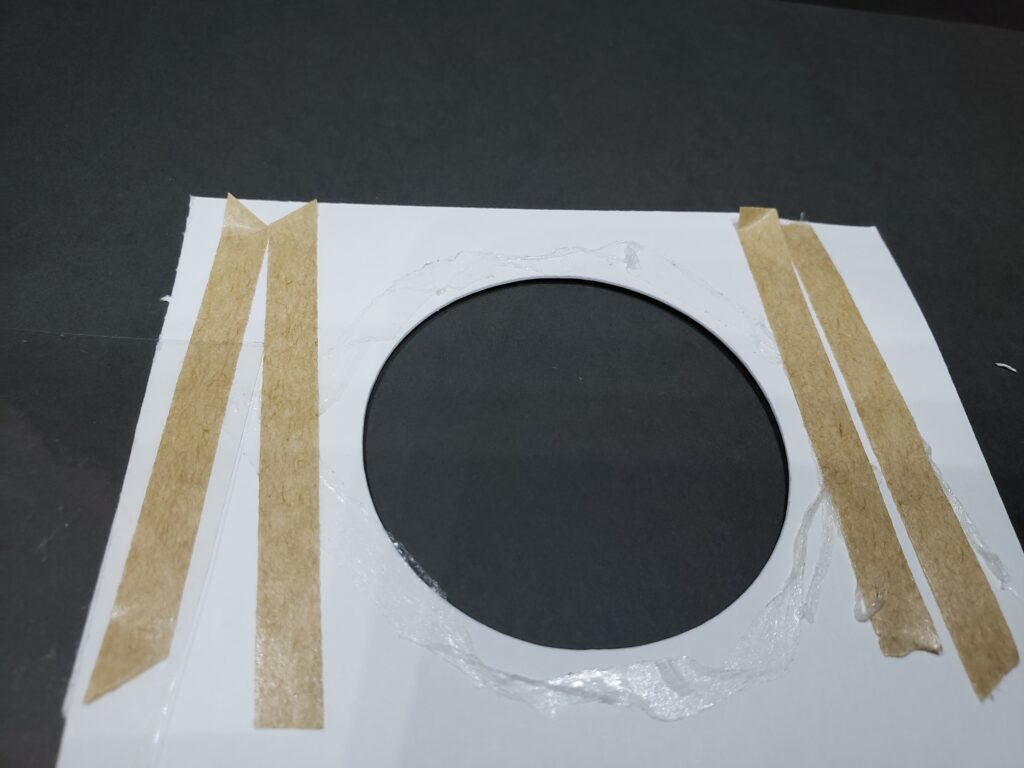
use tape or glue the back of Gumball Card Base 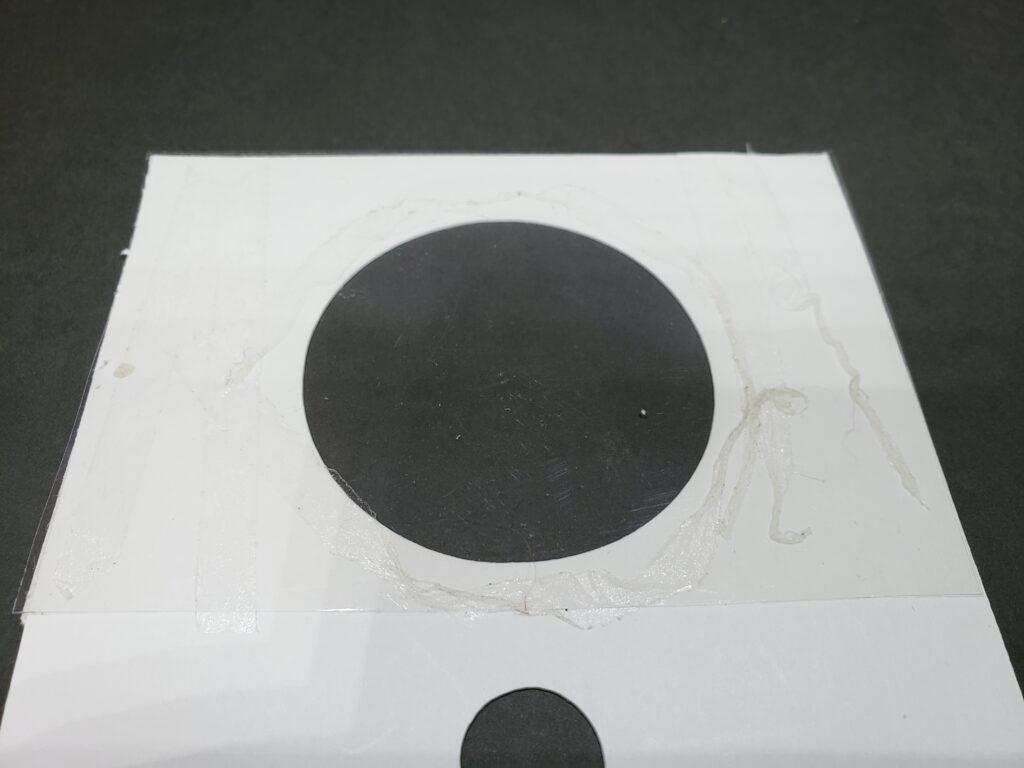
Attach acetate to Gumball Card Base. This is now the back
Additional information: The size for the Gumball Card Base was taken from the Tiffany Yu version. The size of the Gumball Card Base used in this file is 4 inches by 5.25 inches. I found this Gumball Card Base size to be perfect. I did try using 65-pound cardstock in my trial version but decided on the heavier 110-pound cardstock. All of the various parts are made using 110-pound cardstock with an option to use less cardstock by using a combination of Cardstock, foam tape, and use 1/8 inch chipboard for the inner part of this card. You will need a Cricut Maker to cut the chipboard if you decide to use this material. The size of the circles on this card base is 2 inches, 0.55 inches and 1 inch cut partially for the tray. When I made the file, The position of the window (2 inches) and The mechanism/handle turned out to be crucial in a smooth dispensing of candy.


Inner Mechinism
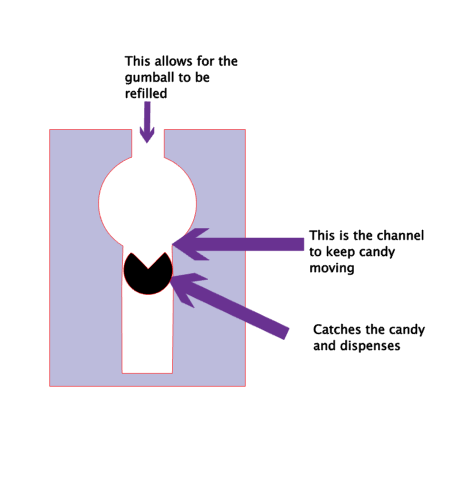
The inner part of this interactive card has two parts, First is the Guide Mechanism for the candy to move from the window to the Dispensing Mechanism that catches the candy and dispenses it.
Guide Mechanism
Cut 1, 8, or 12 of these depending on what you decide after reading the additional material below.
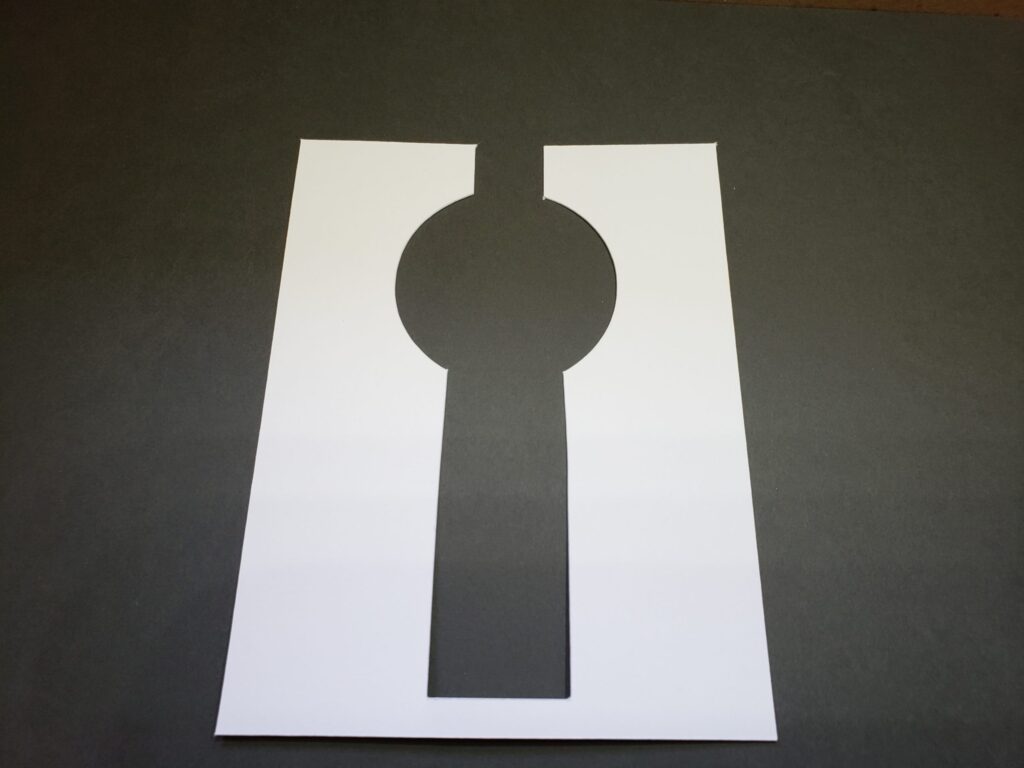
This channel keeps the candy flowing into the dispensing Mechanism 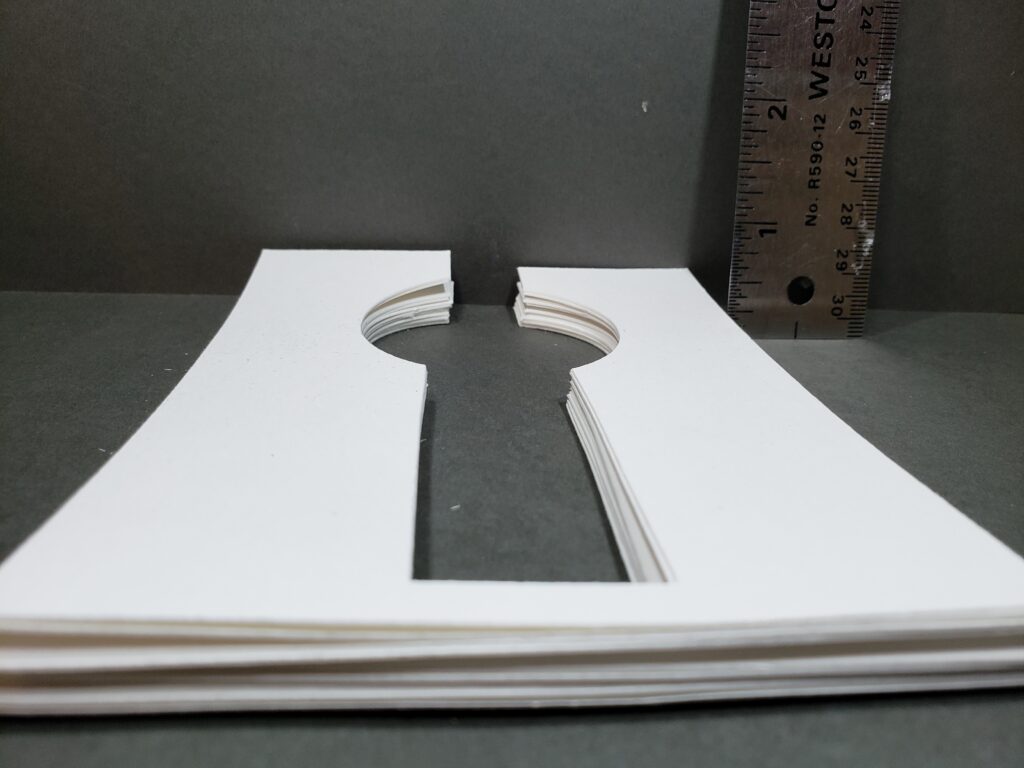
12 inner mechanism cut out of 110-pound cardstock or use chipboard 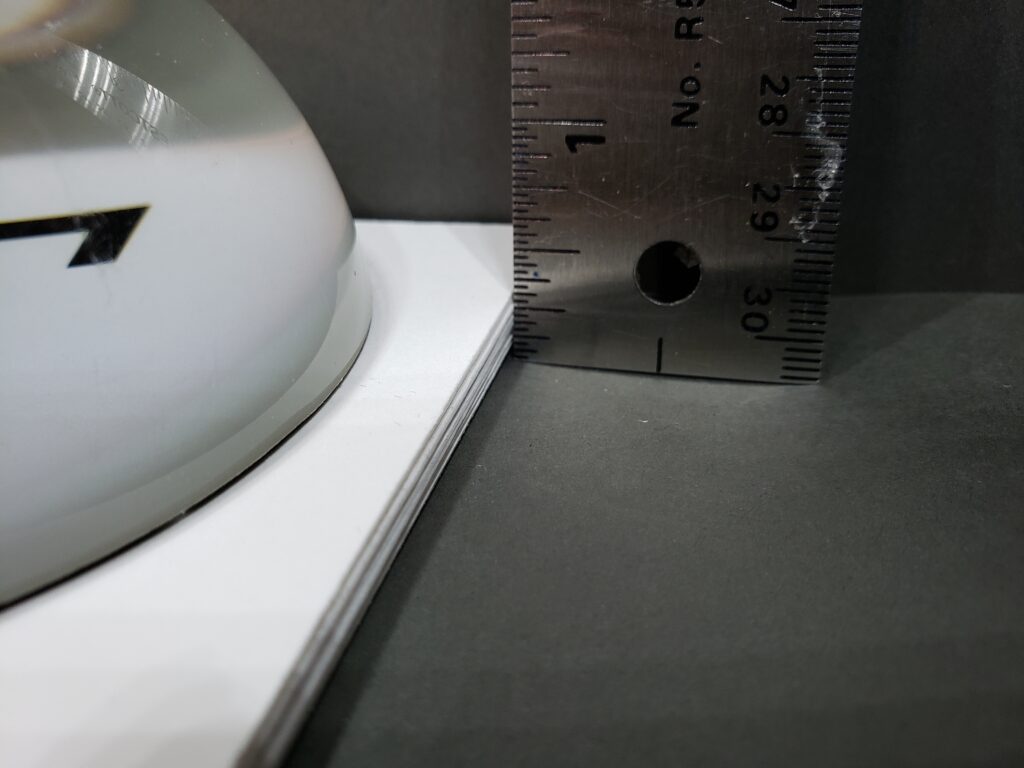
Or 1/4 inch of Foam Tape
Foam tape can be used in between the cutout pieces in any fashion you like to bring the inner mechanism to the required 1/4 inch.
Glue the assembled Guide Mechanism to the back of the Gumball Card Base
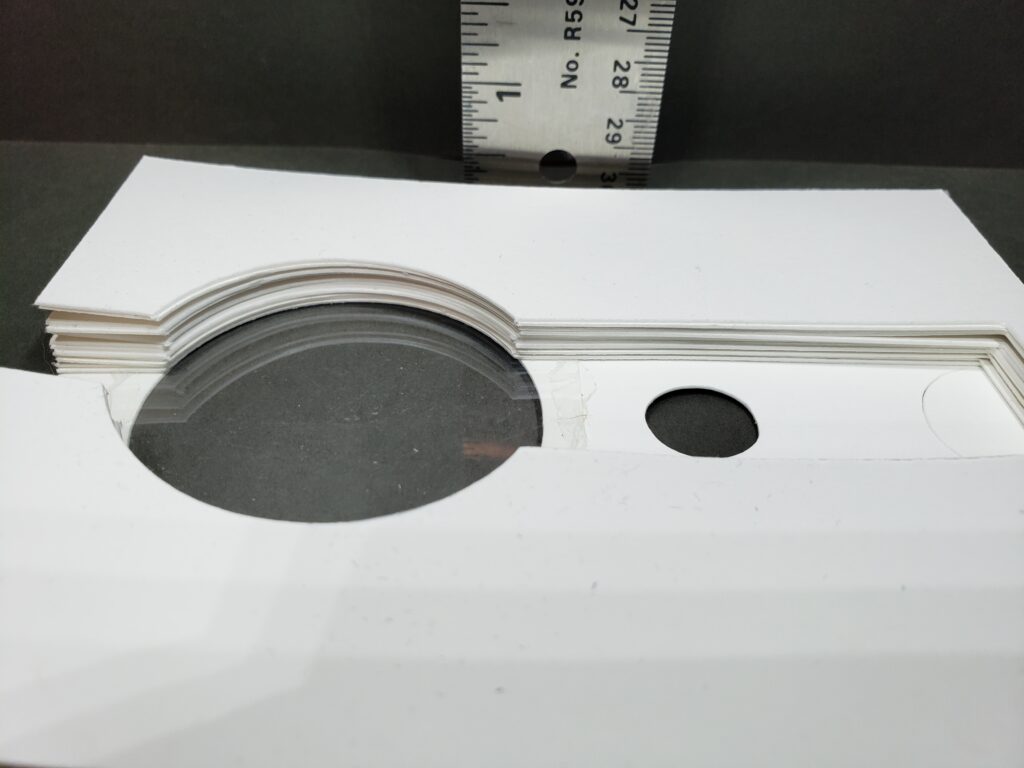
Option 1: Use 12 pieces of Inner Mechanism cut from 110-pound cardstock. My image below the inner mechanism is not yet glued together. This version does not need anything extra to protect against a sticky edge.
Additional information: We need to create a space between the shaker window and the back of the card that will allow the candy to flow smoothly. If the candy is flat, the mini M&M is about 1/4 inch. If it ends up sideways then it needs 1/2 inch.
I used 1/4 inch spacing, and if any went sideways, a little shake fixed the issue. To get this space, I stacked and glued 8 of the inner mechanism and then used 2 layers of foam tape.
You can also get a 1/4 inch space by using all foam tape: Cut one of the inner mechanisms to use as a guide and then put foam tape on all of the solid areas. Don’t go too close to the cutout section in the middle of the Guide Mechanism as you don’t want the candy sticking to the foam. If you decide to use only foam tape, you will have to use a 1/4 strip of paper to cover the sticky edge later on in the assembly or dust the sticky edge with powder to get rid of the stickiness. A 1/4 inch strip to cut is included in the file.
You can also use only cardstock, cut 12 pieces, and glue them together. This will make your card a little heavy, so if you are thinking of mailing it your postage may increase
Option 2: Use 1 piece of Inner Mechanism cut from 110-pound cardstock. Use foam tape to build the space to be 1/4 inch. We will need to use a 1/4 inch strip of paper to cover the inner edge of the inner mechanism so that the candy does not get stuck. with any foam tape use, this strip of paper to cover the sticky edge is needed.
1/4 inch foam tape. the inner mechanism is used as a guide for laying down the foam tape. 
The Dispensing Mechanism is used as a guode to laydown 4 layers of foam tape 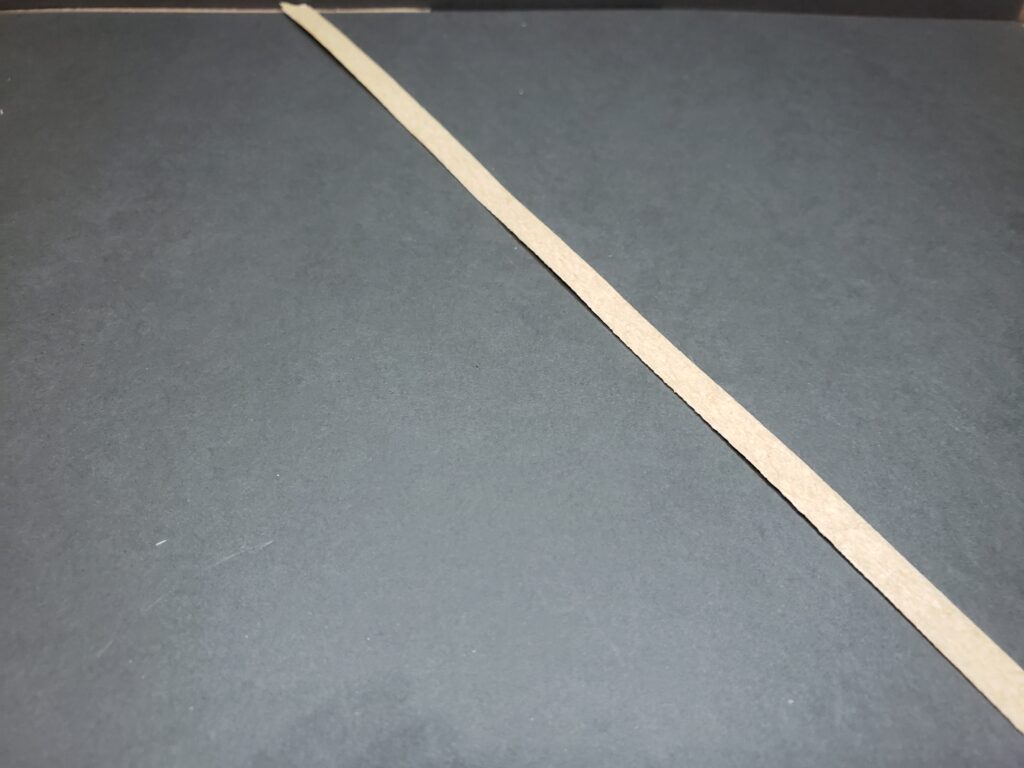
Use double-sided tape on a strip of 1/4 inch paper 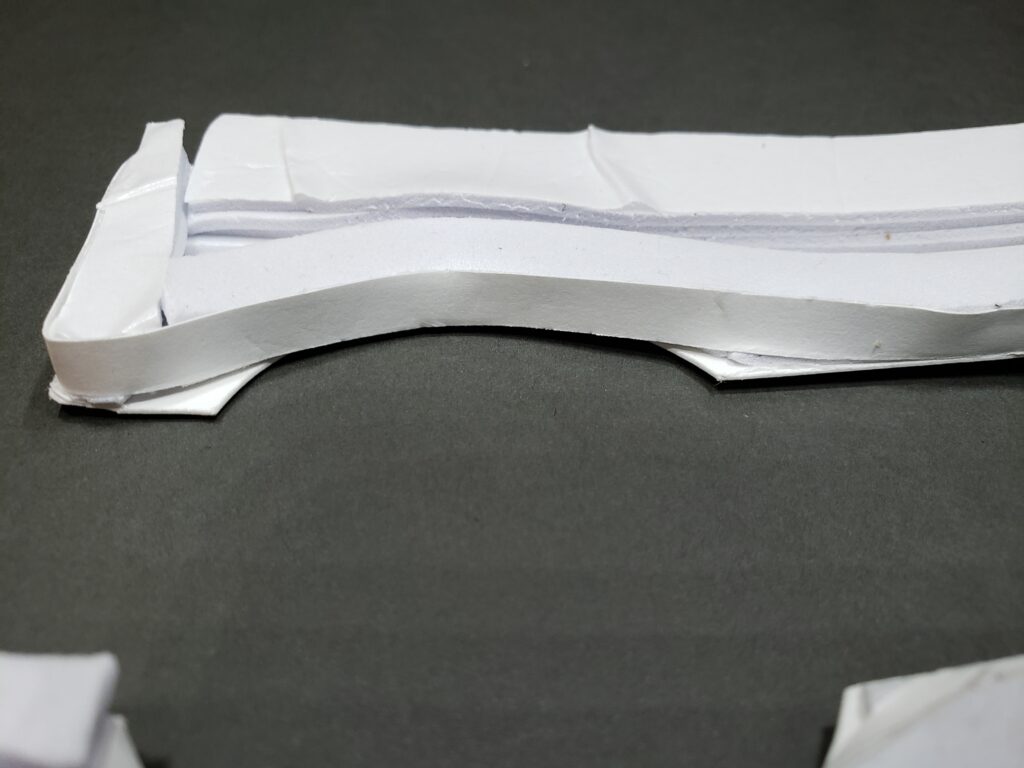
Cover the edge of sticky tape all the way around the inner mechanism piece
Dispensing Mechanism:
Cut 1,8 or 12 of the Dispensing Mechanism after reading additional information below
dispensing mechinism 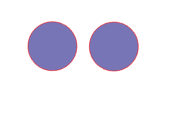
cover for dispensing mechinism 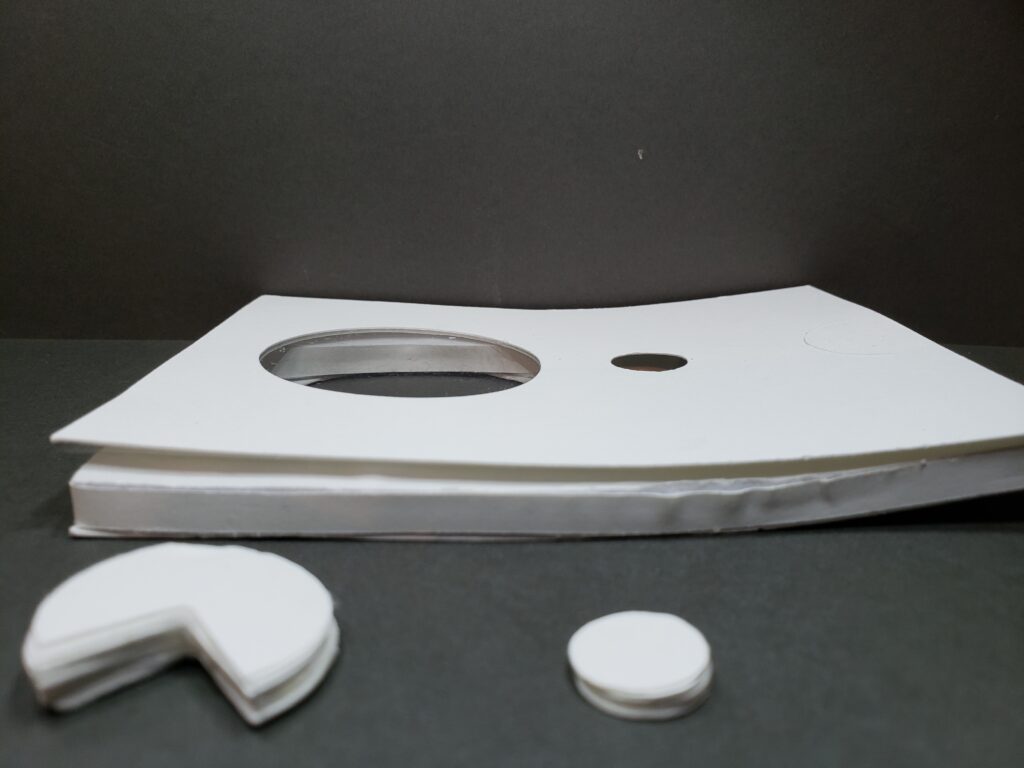
Guide Mecinism glued to Gumball Card Base 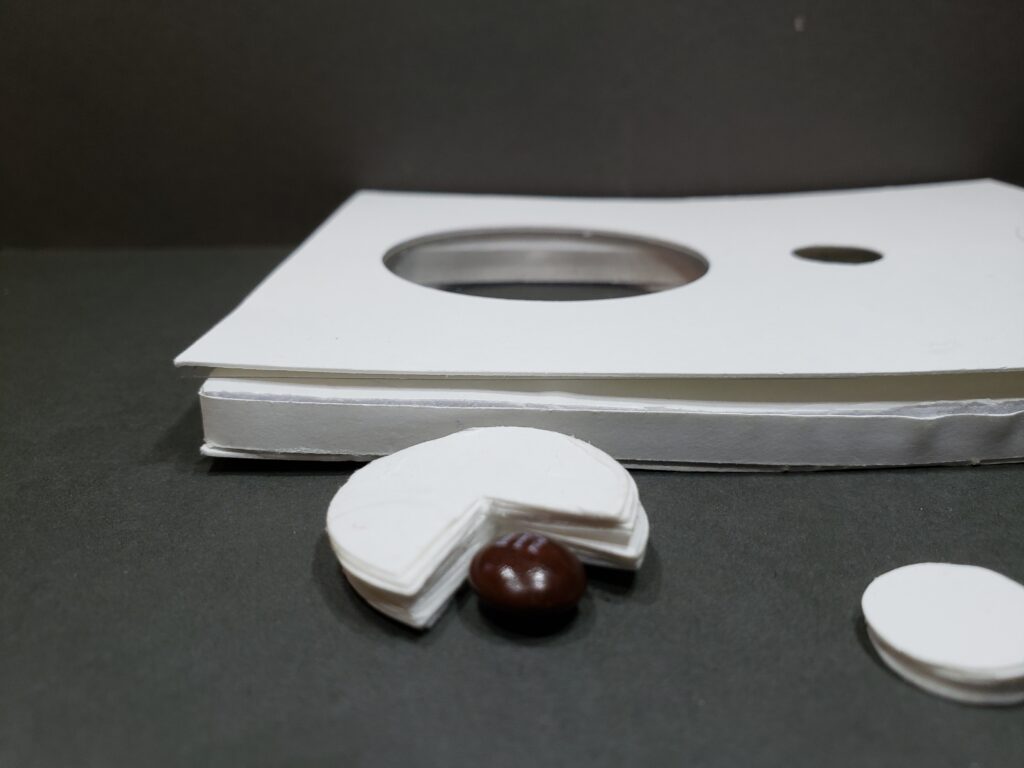
M&M needs to fit in the space.
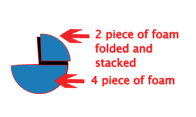
Cardstock foam tape: use 1 Dispensing Mechanism cut from cardstock and layer foam to create a 1/4 high object. This is best done as described by Tiffany Yu. Cut 4 1 inch circles and cut in half. Layer on the bottom of Dispensing Mechanism. Cut 2 half circles 1 inch in diameter and fold each piece in half. Layer on the solid wedge area.
Dispensing Mechanism covered with 4 layers of foam Tape 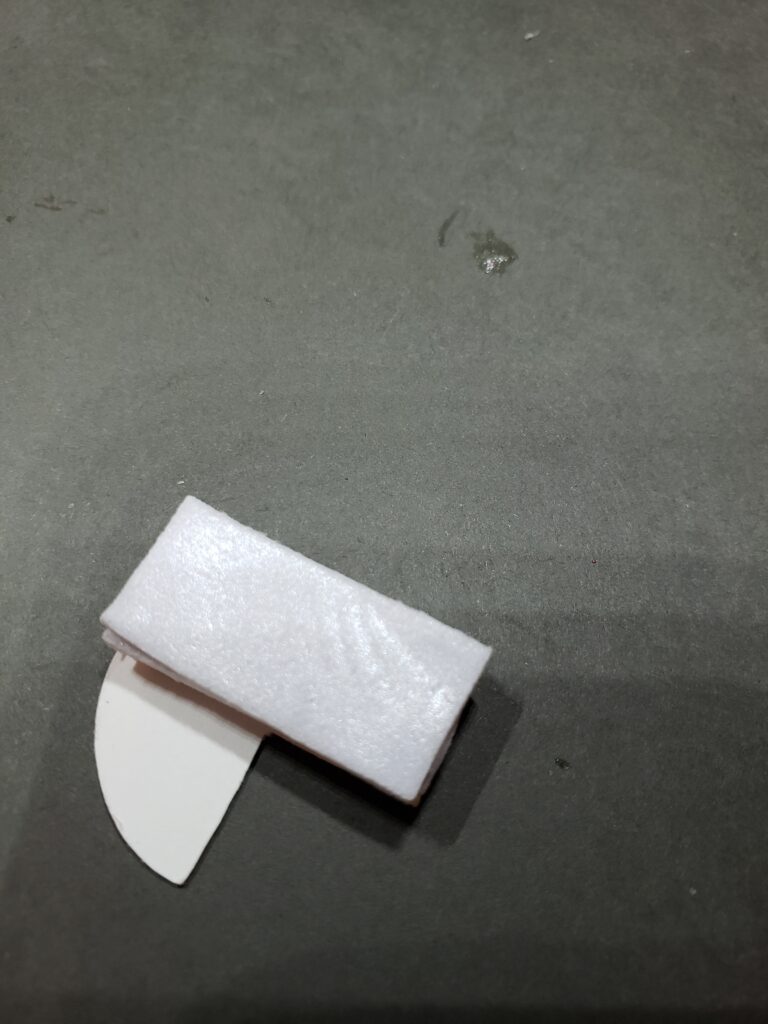
4 layers foam tape 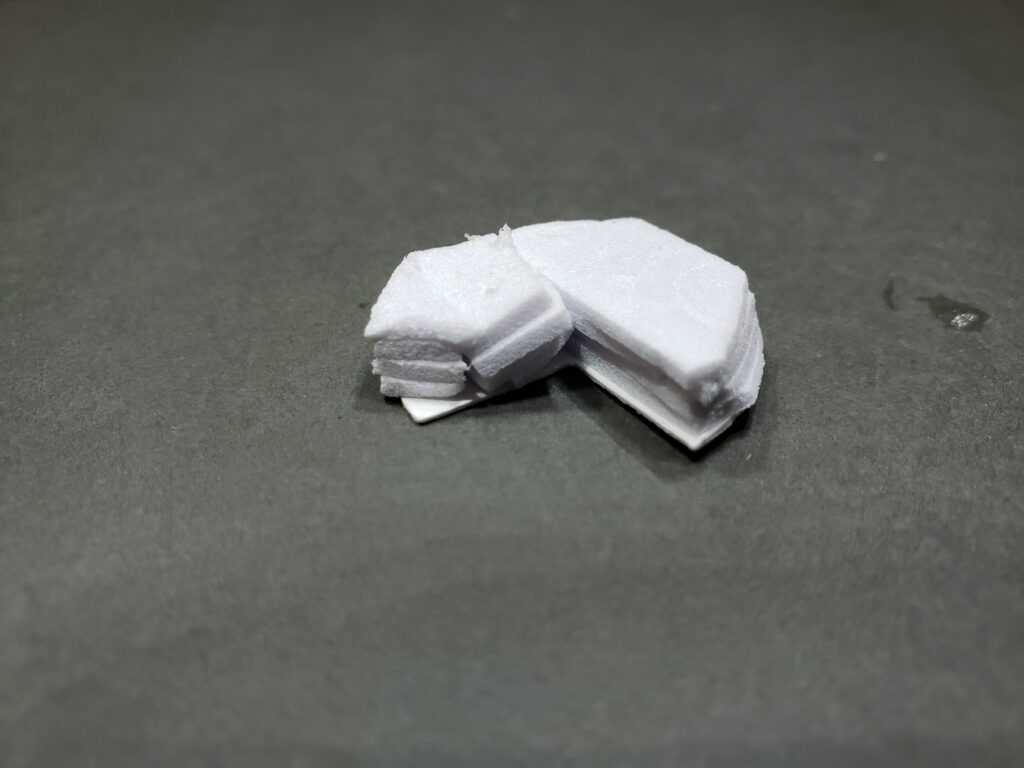
trim extra 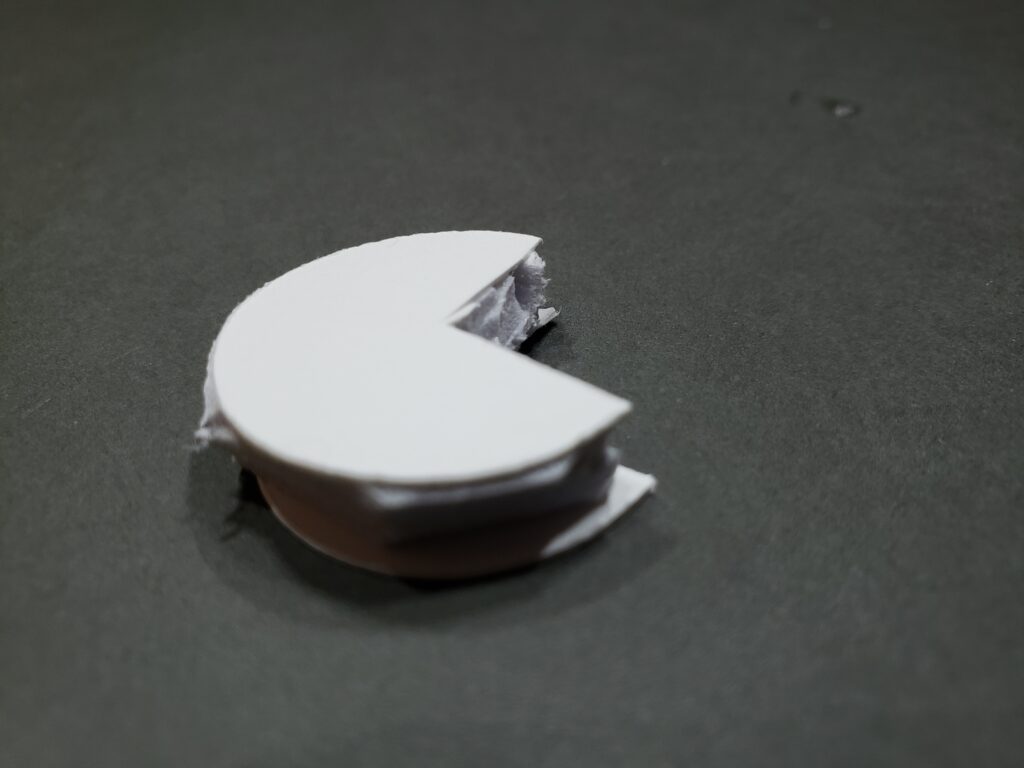
add another dispensing mechanism to cover tape 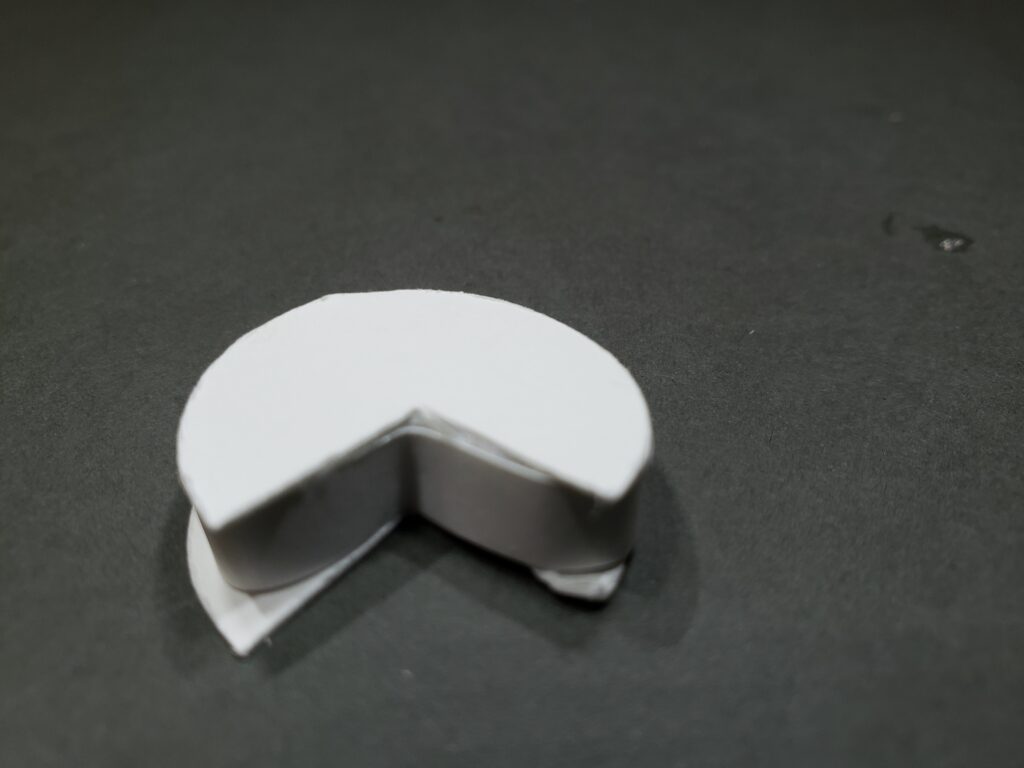
add 1/4 in strip of paper to cover edge
Cardstock only: For the Dispensing Mechanism, you can also use only cardstock: cut 10 to 12 of the Dispensing Mechanisms and glue them together to form a 1/4 inch thick object. Cover each side with a solid 1-inch circle.
Insert the assembled Dispensing Mechanism to the back of the Gumball Card Base so that it looks like this below. note that yours will have the additional solid circle covering this Dispensing Mechanism so the wedge will not actually be visible.
Dispensing Mechanism in the channel created by the Guide Mechanism 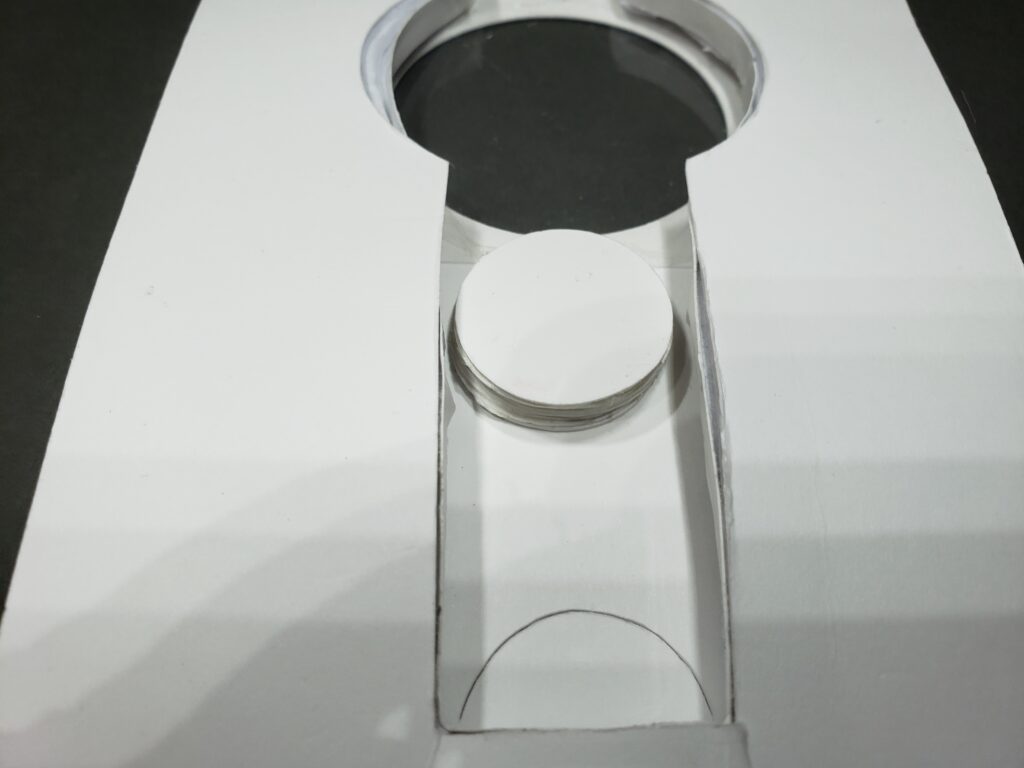
The Dispensing Mechanism in place
Final Assembly of The Card
Gumball Machine
Cut 1 of each
The Gumball machine consists of a gumball base and a circle. These are glued to the front of the card Base

Gumball Machine Decorative pieces 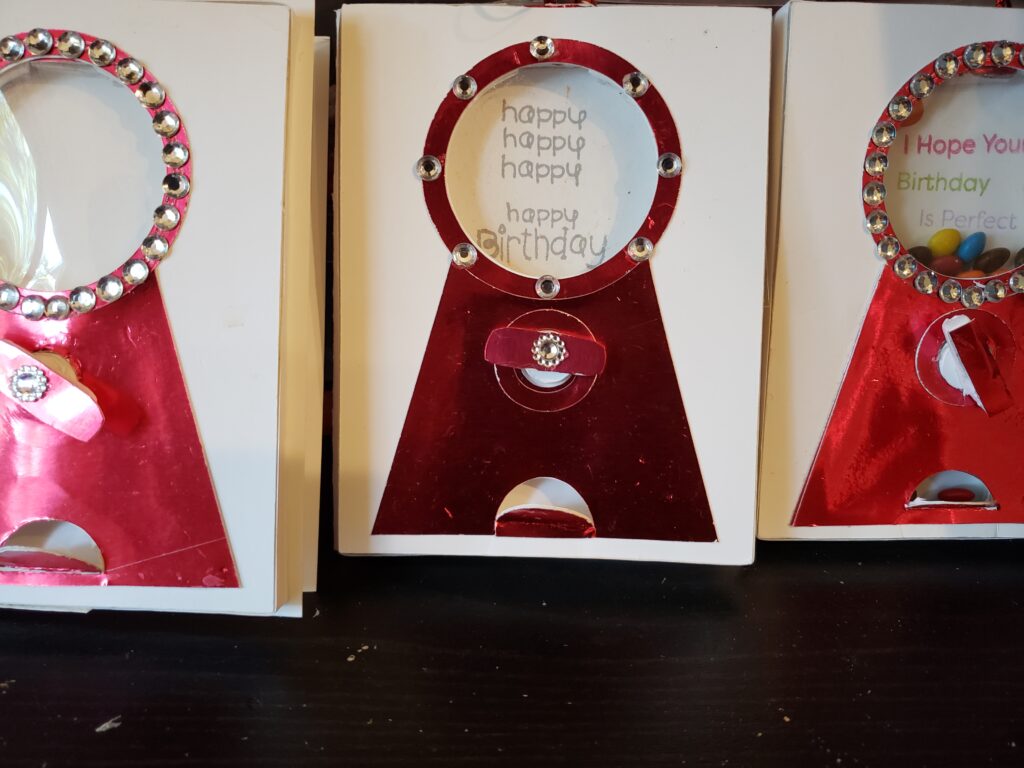
Handle
Cut 8 of the .5 inch circles and 8 of the 1-inch rectangles cut and 1 out of decorative paper
The handle has 2 parts: first is the 8 small circles about .5 inches in diameter that are glued and stacked and then finished off with the rectangular part of the handle made up of 8 pieces of cardstock. Put this through the .55 inch hole in the front and glue it to the Dispensing Mechanism that is at the back
Stopper
The removeable stopper to refill the gumballis simply two pieces of cardstock with foam tape and some string snadwitched between them. The finished thickness should be 1/4 inch.
Greeting Card Base
Greeting Card Base 8.5 by 5.5 folded in half. The entire assembled Dispensing Gumball Machine is adhered to the front of this card. You can stamp a message in the shaker window area so that when the candy is finished, there is a message.
Well, All Done
Once you attach the finished gumball machine, adhear to the front of your greeting card and fill with candy. The stopper prevents the candy from falling out and can be removed to refill.
If you would like the svg file, drop me a note and I will email it to you. The file below is PDF.
For SVG File
Here is a link to my google drive for the SVG file: SVG FILE