You can easily buy a pre-made brag book, but why should ytou when it is not that hard to make your own.
The steps below are how I make my cover, spine and binding. I even threw in how to make my base page) These instructions are not the only method on how to construct a brag book and can be modified as you see fit so that different binding methods, types of base page and closures for covers can be used.
Some advantages of a pre-made brag book include:
There are advantages to purchasing a pre made brag book.
- Come in many sizes and shapes
- Make the process of making a brag book faster
- The pages are sturdy
- Finished book may look a little cleaner
Some disadvantages of a pre-made brag book include:
- Does not offer the flexibility of sizes
- Does not allow for custom pages
- Does not allow for custom spine size
- Does not look handmade just for you
- If not readily available in your area, the shipping may turn out to be quite expensive
The brag book has 3 components:
- The front and back cover
- The spine
- The binding.
The front and back cover:
The front and back covers are made up of three separate pieces
- A sturdy inner piece,
- the finishing outer cover
- and the finishing inner cover.
So, it’s like a sandwich, the sturdy inner piece is sandwiched between two finishing pieces of paper.
Sturdy inner piece
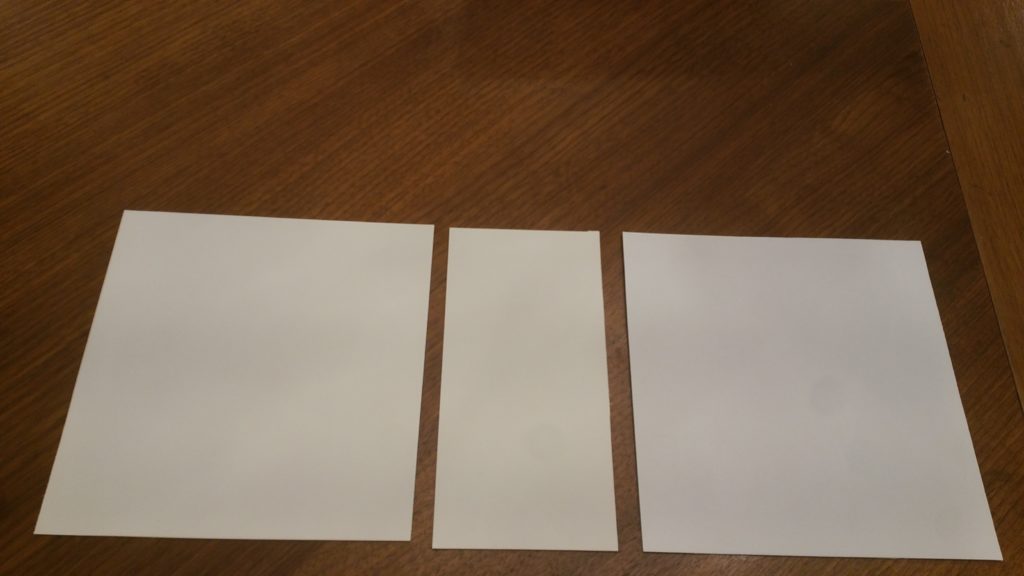
For the sturdy inner pieces, you can use chipboard, cardboard or photo mats just to name a few possible materials.
My photo below is of photo mats that I have on hand and they work super well. The middle piece is the spine section: more about the spine later.
The outer and inner finishing covers are made from posterboard or heavy cardstock. Other possible material can be fabric, kraft wrapping paper or any other sturdy material.
Step one for front and back cover
Once you know what size you need for your brag book cut it out of your choice of sturdy material,
Step 2 for front and back cover
You now need to cut your material for finishing the front and inside of the cover.
The piece for the outer finished cover should be cut about 2 inches bigger all around than the cover , so if your cover is 8 in x 9 in your finished outer cover is cut 10 in x 11 in.
Step 3 for front and back cover
Apply adhesive to the sturdy cover and center it on the finished cover piece. Do this for both front and back covers.
Step 4 for front and back cover
The edges that will not be connected to the spine can be mitered , folded and stuck down. That is to say, the top, bottom and outer edge of the cover.
Before we move on, let me quickly discuss the spine.
The spine size is determined by how many pages you will make and the amount of inserts each page will have.
What works for me, is to make all the pages first. Its seems like working backwards but it really does save you some frustration if you do it this way.
Base page
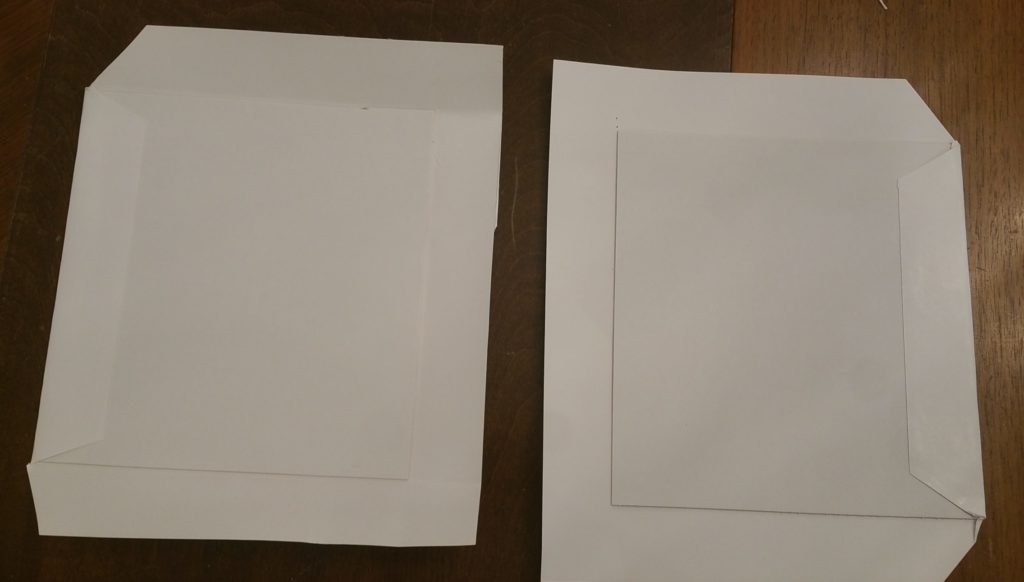
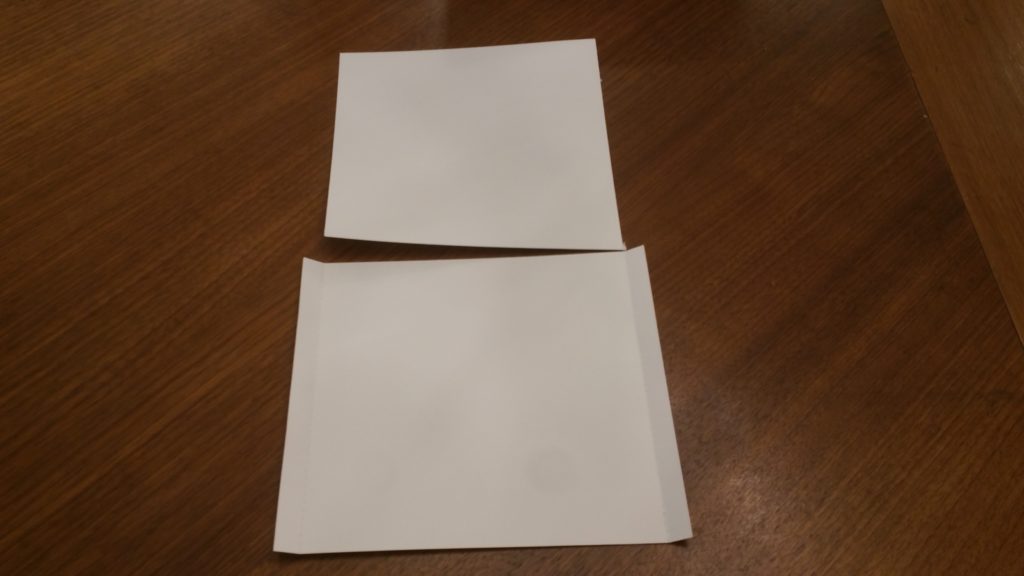
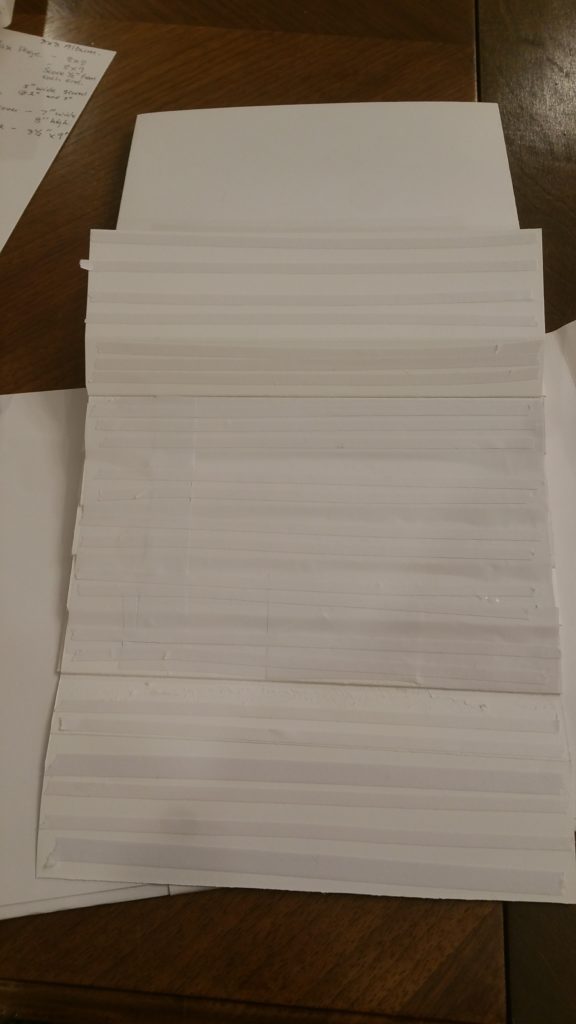
My base page is made up of two pieces of paper, one piece has 1/4 inch flaps to allow the two pieces to be attached together. It also allows for a space in between the two pages so that the page can be slip on to the binding ridge on open open end and can have a photo mat insert in the other open end if desired.
The photo below shows the 2 sections of a base page. You can also stick the two pages downto form a sturdier page and not have a photo mat insert. I use heavy cardstock of about 110 lb for these base pages.
See an example of an insert here
View some of my other finished pages
Subscribe and send me a message of which page you want or request a special project.
Once my pages and inserts are complete, I will then know how big my spine should be.
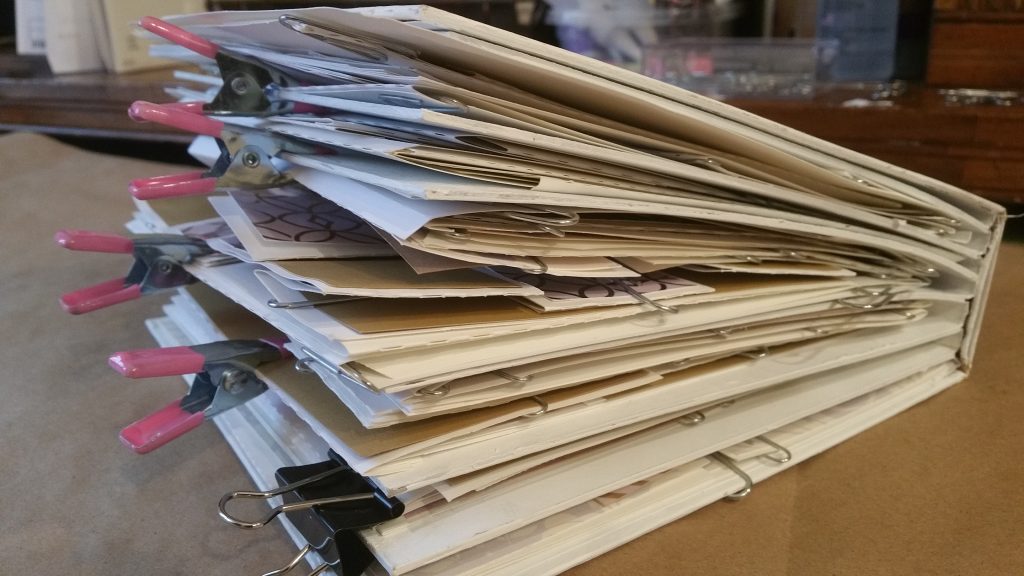
For example, I made a wedding brag book and I thought I could use the readymade book I bought from Michael. As you can see in the photo below, there are way too many inserts for this book to even begin to close. I ended up making my own cover and spine and the spine that was 7 inches vs the 2 inch one in the photo below.
With the spine piece, it is important that the following steps be followed
Step 1 for spine
Cut out the finishing cover piece 2 inch bigger than the spine sturdy cover.
Step 2 for spine
Glue the sturdy spine piece on to the finishing spine paper making sure it is centered.
Step 3 for spine
Place the front cover up against the spine so that it is sitting on top of the the extra 2 inches of paper of the spine. Do the same with the back cover.
Step 4 for spine
Turn the brag book over and glue down the extra paper onto the front and back of the book.
Step 5 for spine
Turn the brag book over so the inside is face up and fold the top and the bottom extra paper of the spine piece and glue in place
The inside finishing cover
The inside finishing cover is cut so that it is about /4 of an inch smaller that the finished brag book.
Glue the inner finishing cover down before attaching the binding and pages.
Binding and pages
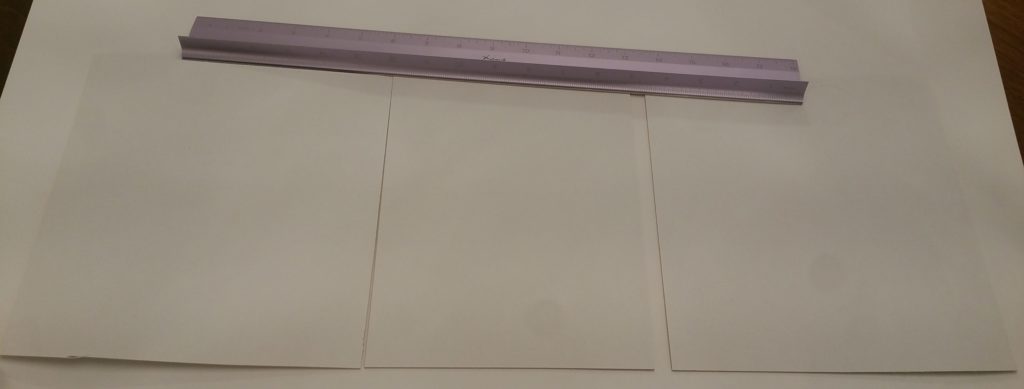
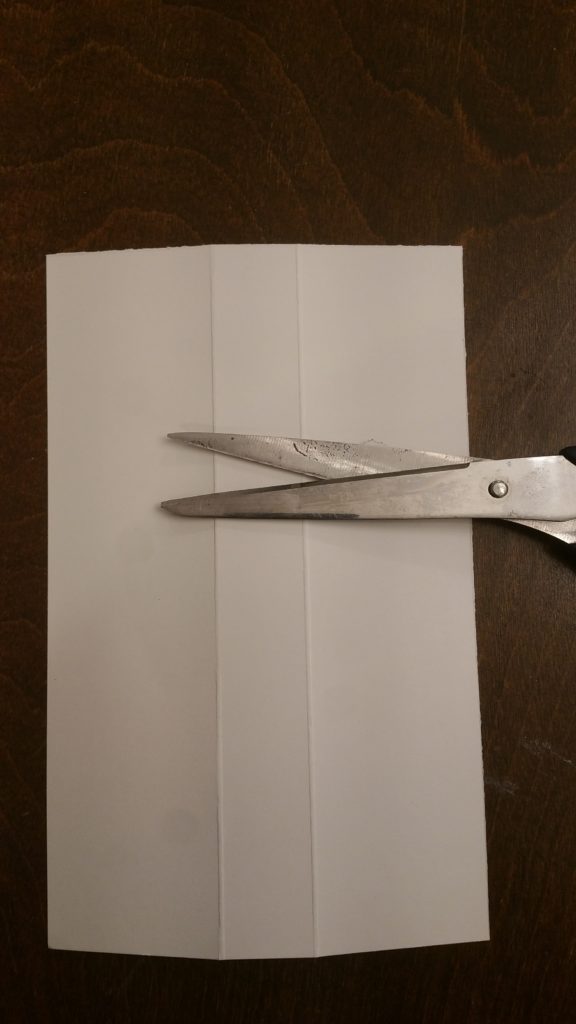
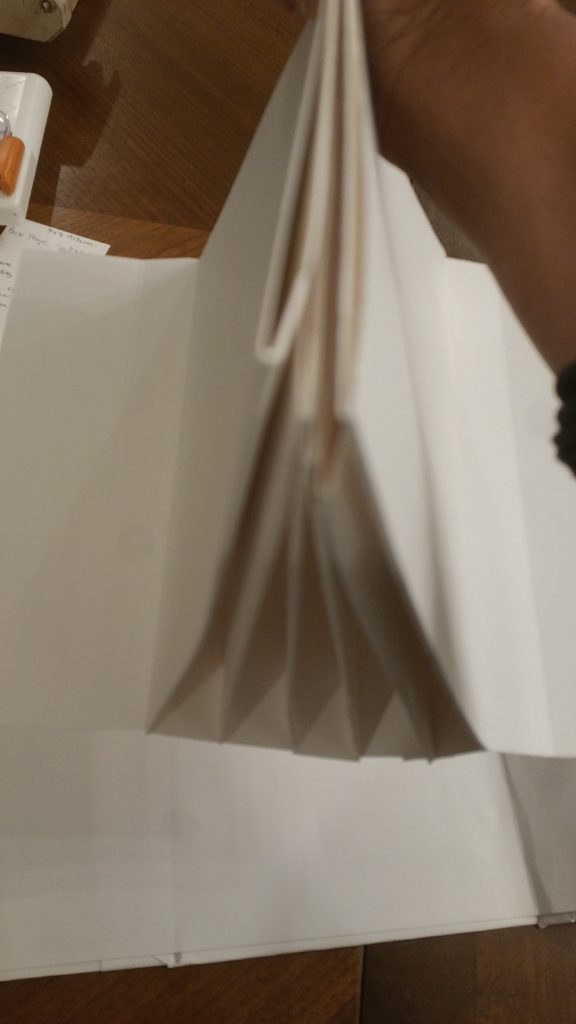
The binding method I am using consists of a 5 x 8 paper scored at 2 inches and 3 inches. this means that I have 2 inch on either side of a 1 inch section. This one inch is the space that will be between each page.
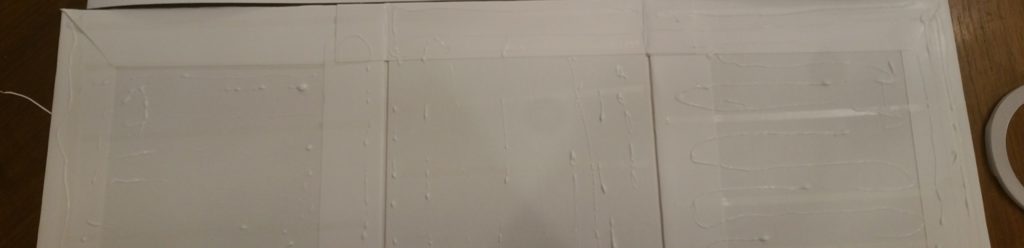
These binding pieces are glued together for the pages to be slipped on and be held in place.
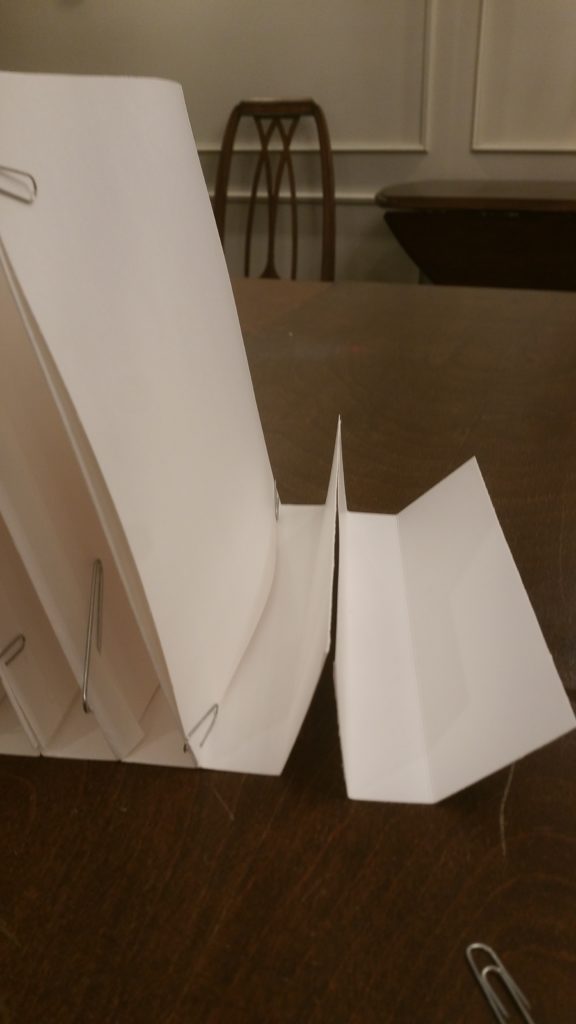
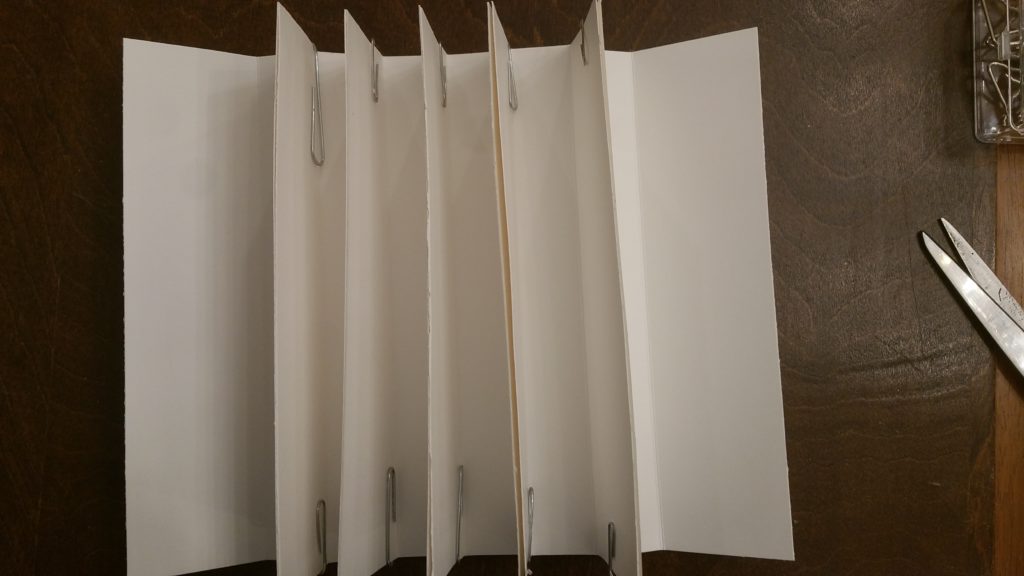
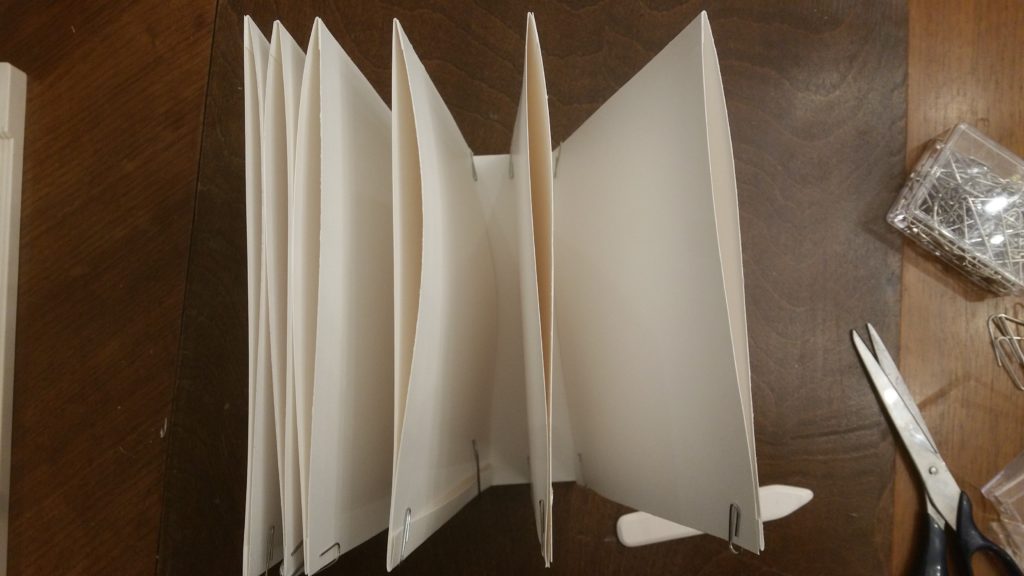
What the binding looks like joined together
The parts that are sticking up like ridges can be made smaller: 1 inch is the smallest I recommend as you want the pages to be well attached to the binding.
What the binding and pages look like with pages
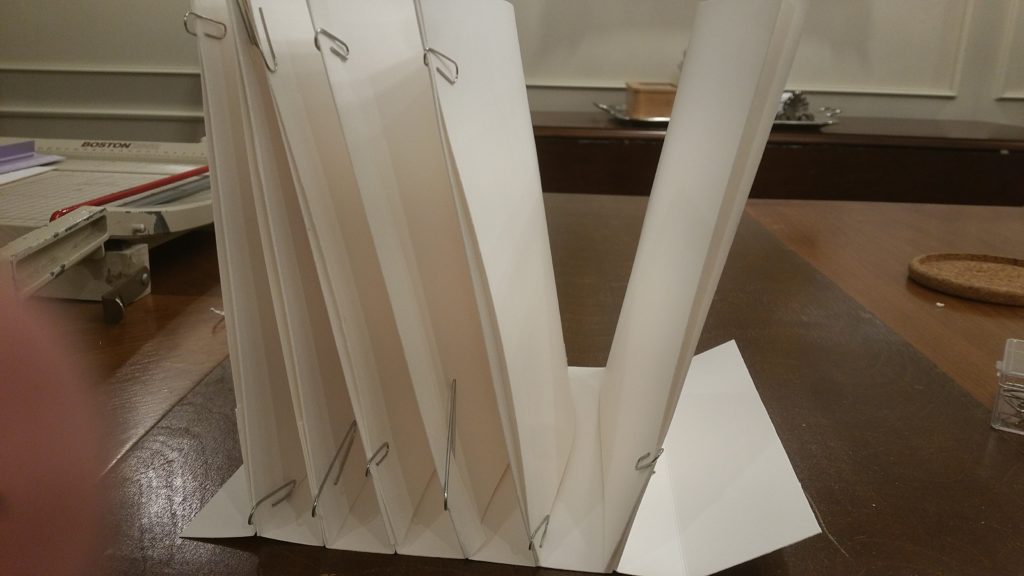
A closer look
Top View
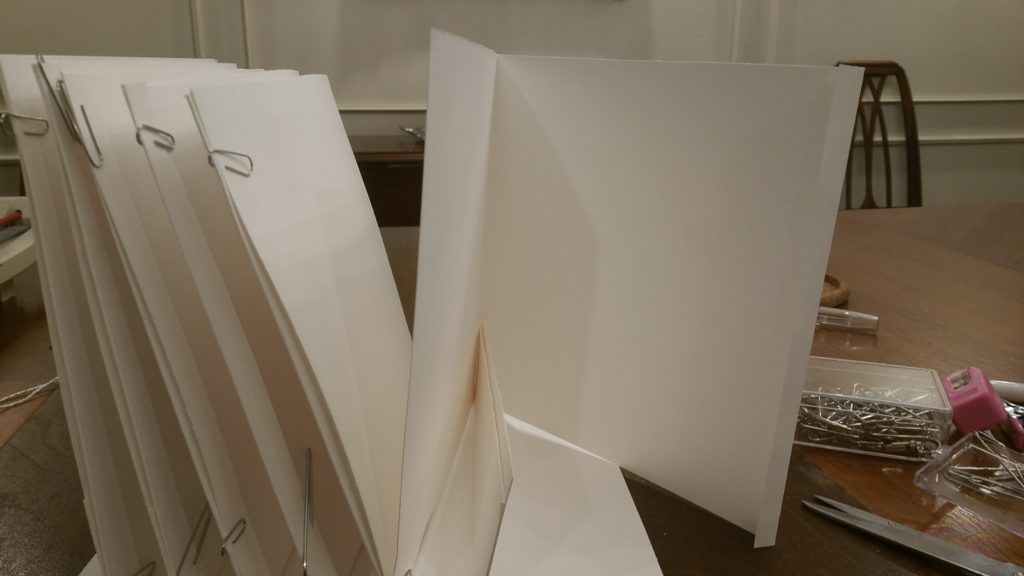
Attach binding and pages to spine
To attach the binding to the spine and cover, use lots of adhesive. I also use vinyl before putting the adhesive tape to give some more strength to the binding as the pages will be under stress with continued opening and closing.
Once the adhesive is applied, line up for pages so that they are on the spine and the extra flaps are on the front and back page.
I find that holding the pages together allow me to have the best view of aligning the pages to the edge of the spine.
In the photo below you can see the binding attached to the spine and the overlap piece glued to the front and back inside cover. This sturdy method of joining the binding to the spine and cover will give your brag book a greater “shelf life” when you consider the wear and tear that will occur when the pages are opened and closed.