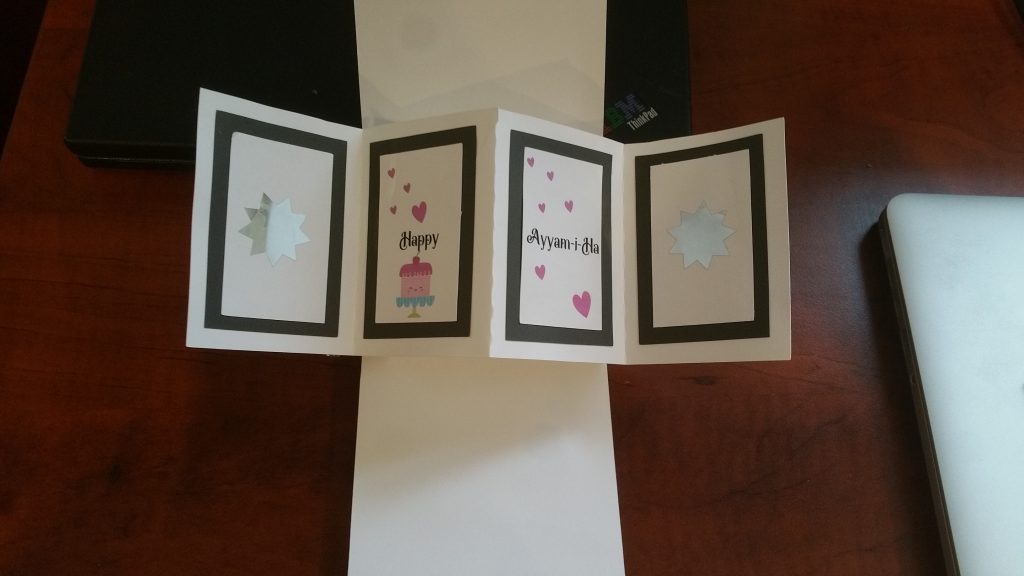
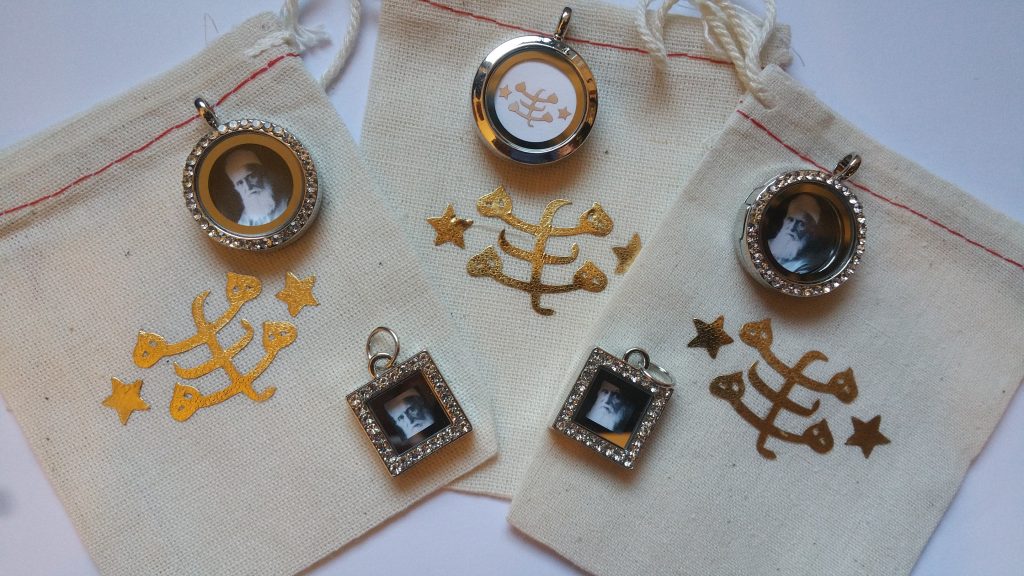
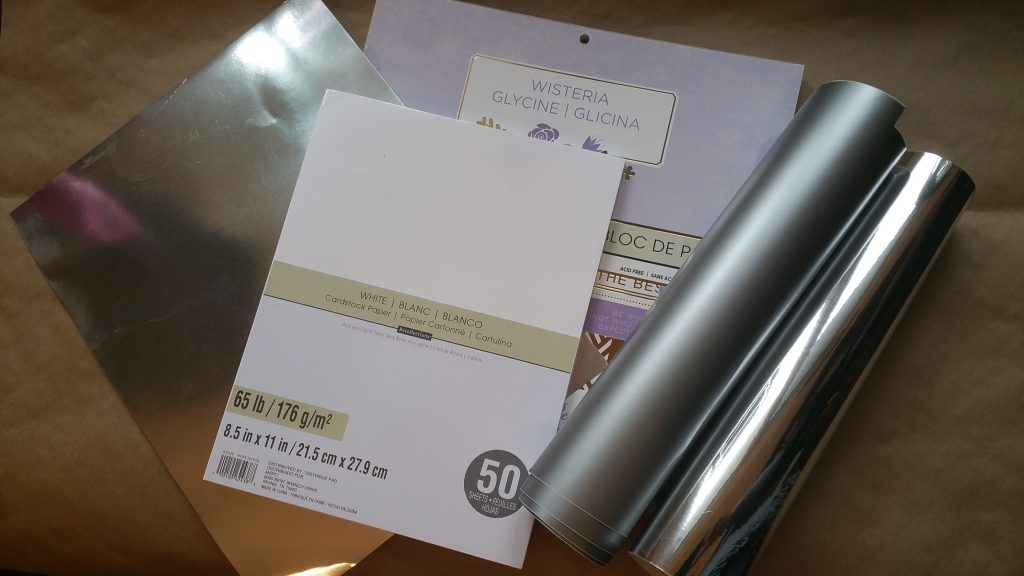
The fun part has begun: this is where you get to customize your pages with pretty paper. I am using paper from Michaels and I am glad I got two 12 x 12 pads of Westeria paper! The silver is being replaced by gold as the paper pack has gold accents.
Recap
A recap of my cover page and page 1 side one can be found here.
My last Brag book was a customized Halloween book.
Tips to Customize a page
Here are a few things to keep in mind when you are ready to customize your brag book:
- If you are using paper to customize the look for your brag book and your paper has a pattern, you will need more paper for laying out the page matting if there is a direction that needs to be consistent. So buy enough! For example, my inside cover page, it really is not noticable if the direction is switched around a bit….there is a difference but only if you are paying attention
- Some paper can be as thin as copy paper but some may need to be cardstock thickness. The thinner paper can be used to cover pockets and inserts and even for some of the matting.
- In the photo below , the adhesive may show if it is left as is. That may not matter once a photo is placed on top but to give the brag book as a gift and it look messy…not cool! Therefor, use the correct adhesive such as double sided tape and if using liquid glue, use sparingly.
- A personal dislike is when using patterned paper, using too many patterns or colours. This is very personal and to me it clutters up the design. SO…Know who the end user is of the brag book is and decorate for them not yourself if possible…very hard for me to follow!
- How will your flaps etc. be held closed? You can use belly bands, magnets ribbon to tie and many more options. Before you finalize your custom page, make sure you have taken into account your closure method.
- There are many items other than paper you can use for a customized look, tags, pockets, embellishments, journalling , stickers etc. I used many designs from the Silhouette Design Store and then customized them for my project
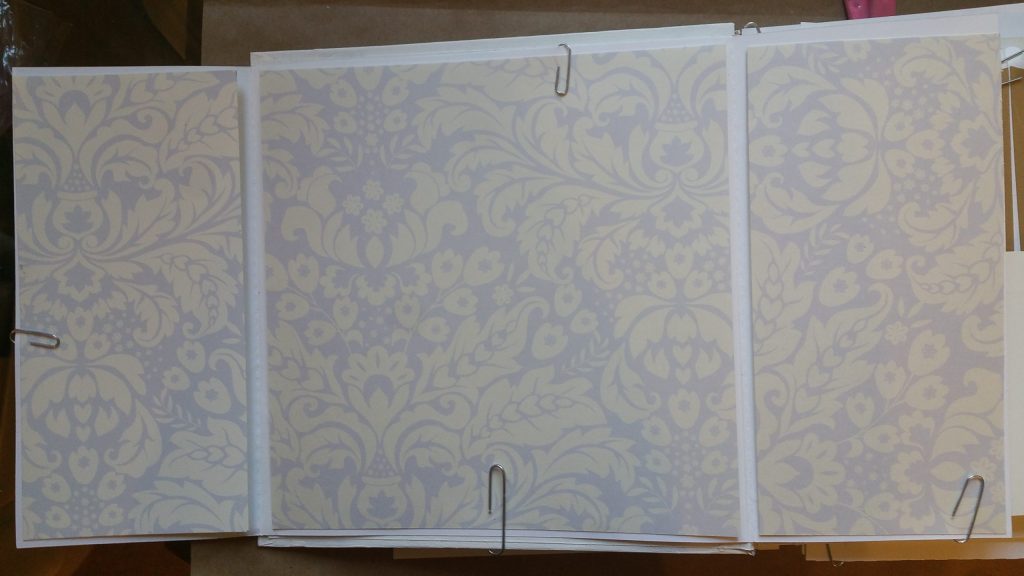
Customize the inside cover
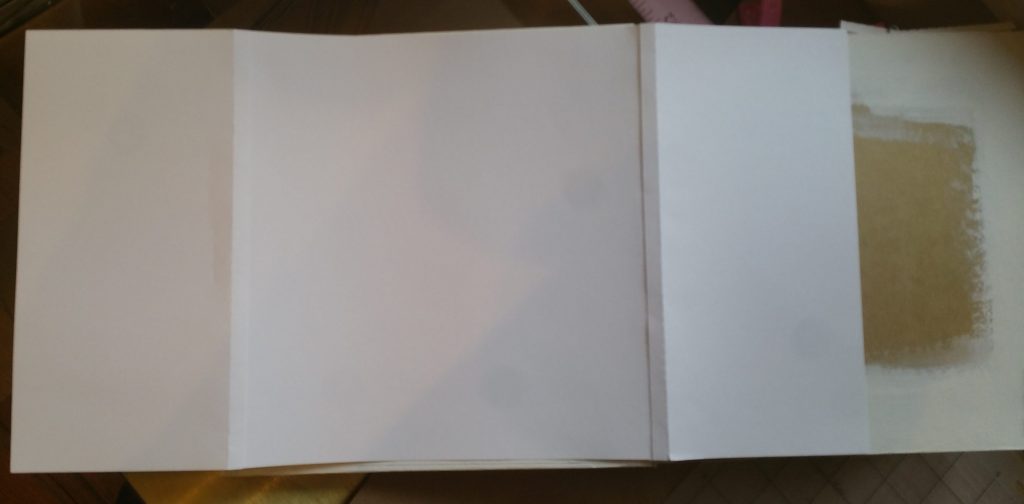
The preview above was the inside cover page opened to reveal the large space this can be used for a larger photo.
The two flaps can be used for journaling, smaller photos, or decorations.
Any of the pages can have additional inserts added to them such as pockets, pull outs , 3d pop up etc.
Do you remember the inside cover before we started to customize it?
My inside page is closed in this photo and I may include the closure tag with the quote. Once I am ready to glue all the paper down, I will position my magnets.
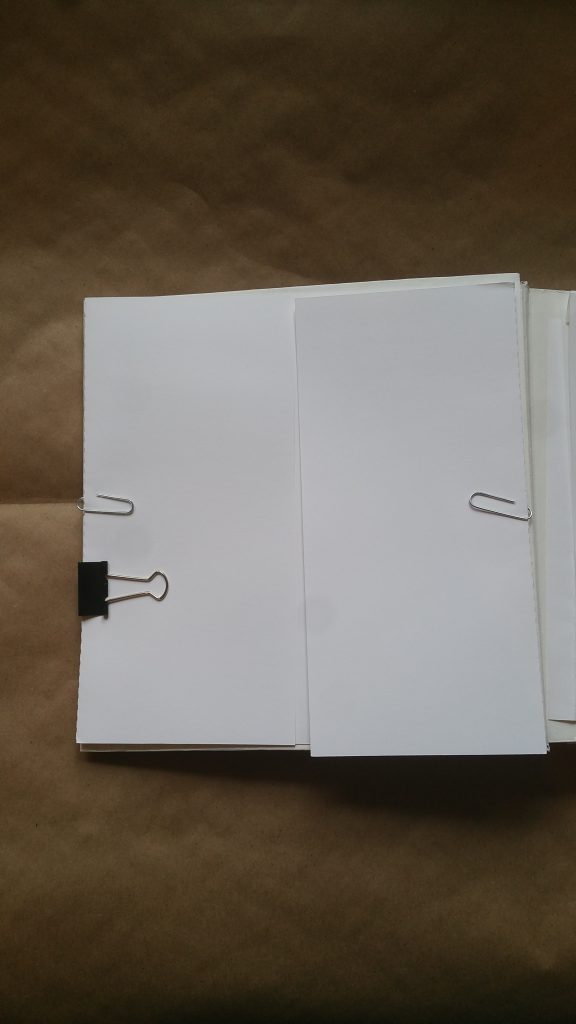
position on inside cover
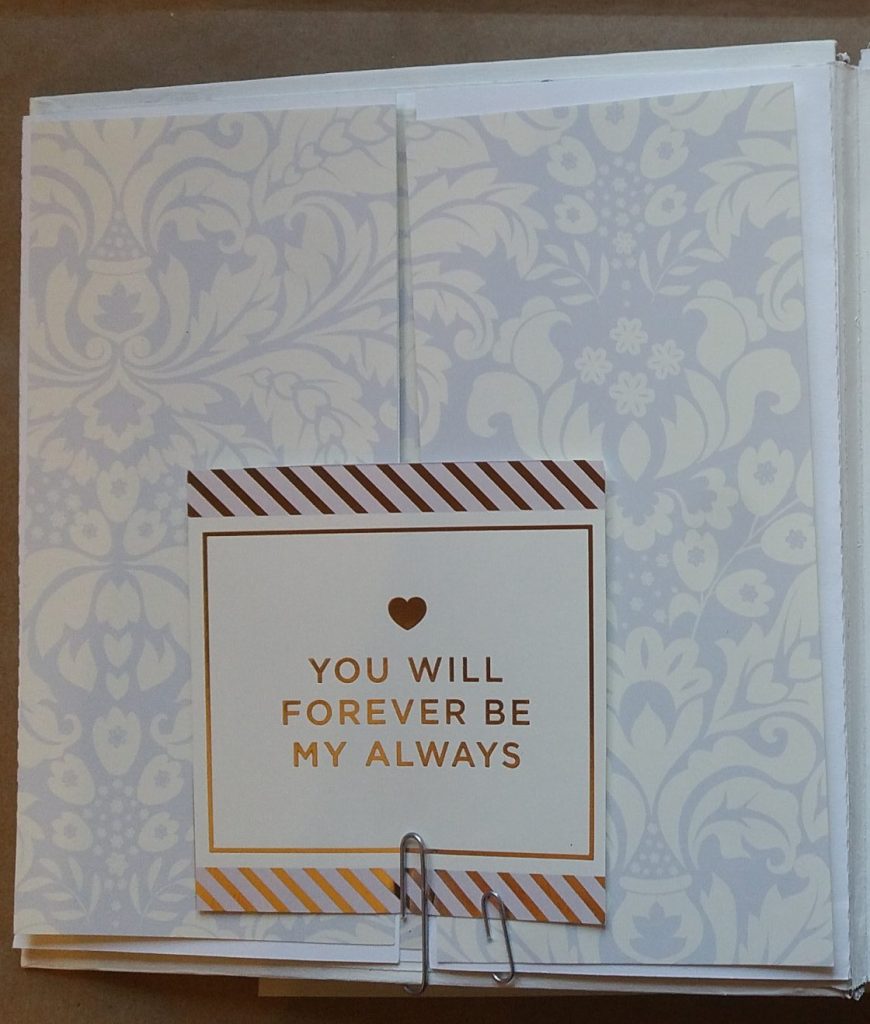

Customize Page 1
Opposite the inside cover page is side one of page one. I am using a little plain gold cardstock to customize some of the elements like the gate below. May look like kraft paper but it has a little sparkle to it.
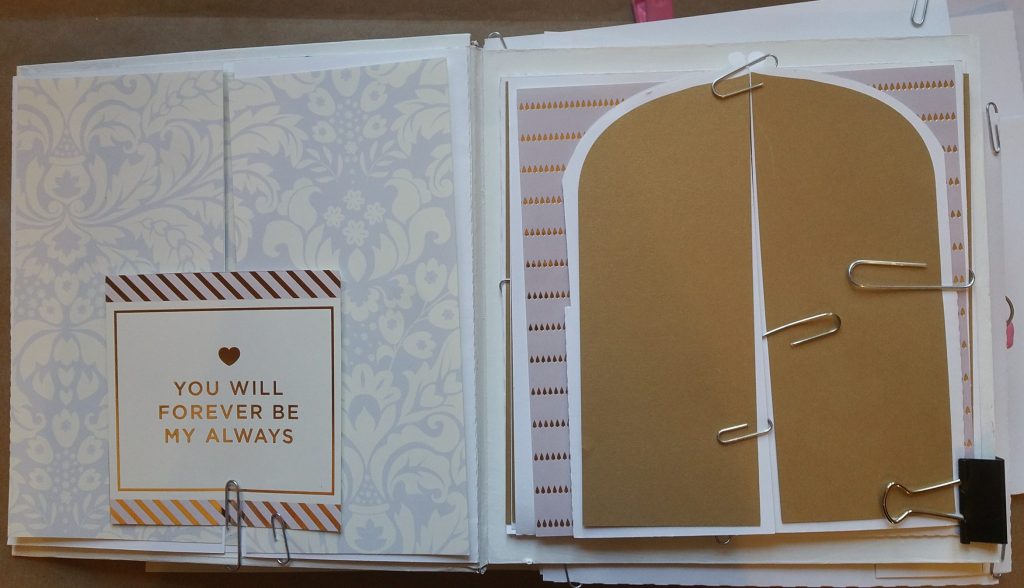
The gate will also be held closed with magnets and when opened has a pocket and a tag.
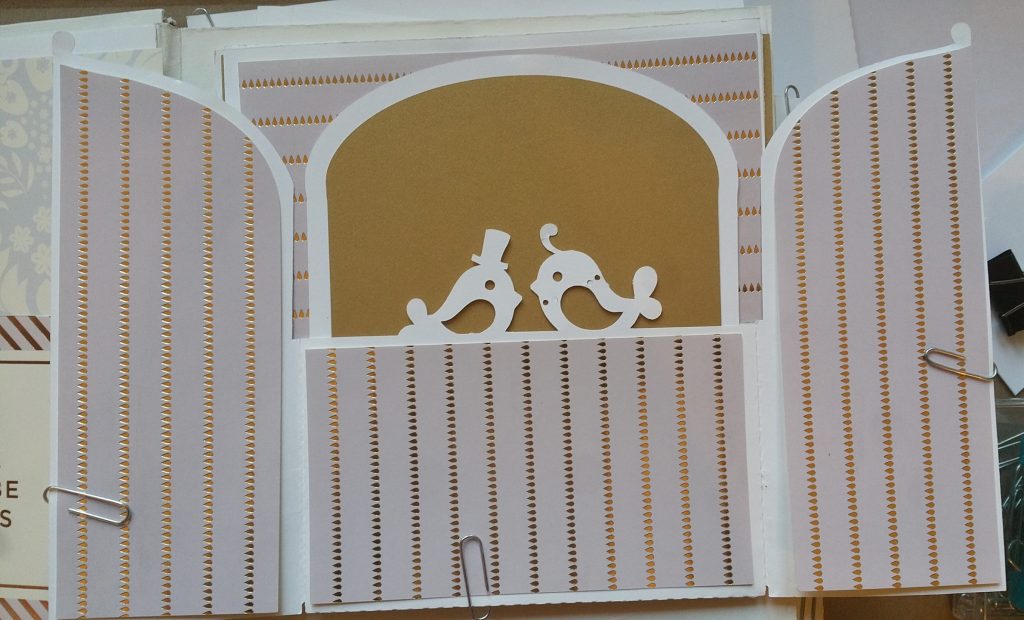
Gate open 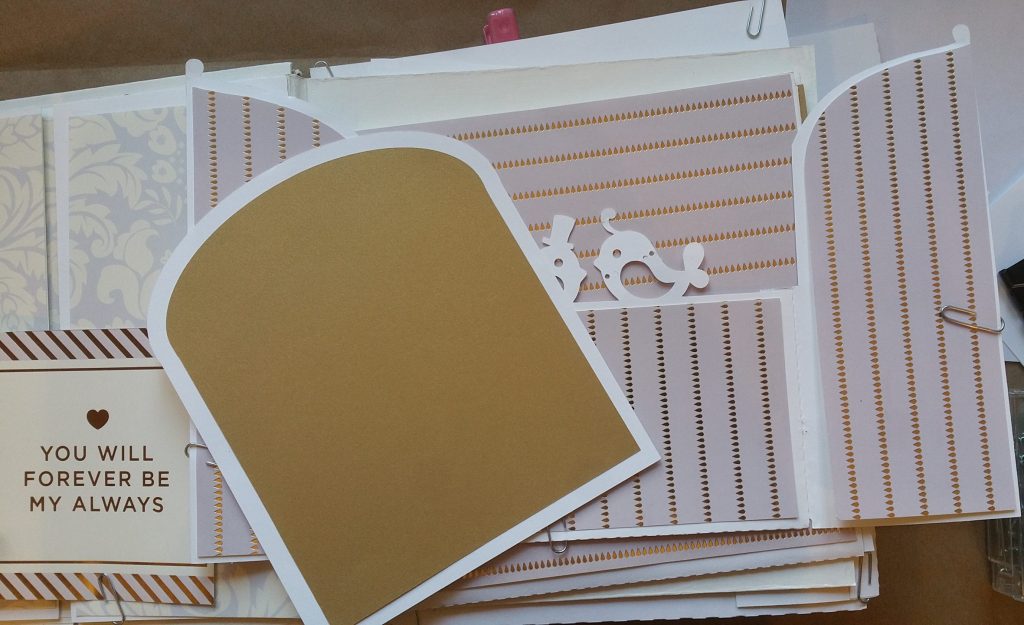
tag pulled out
Close the gate up and the whole thing flips down
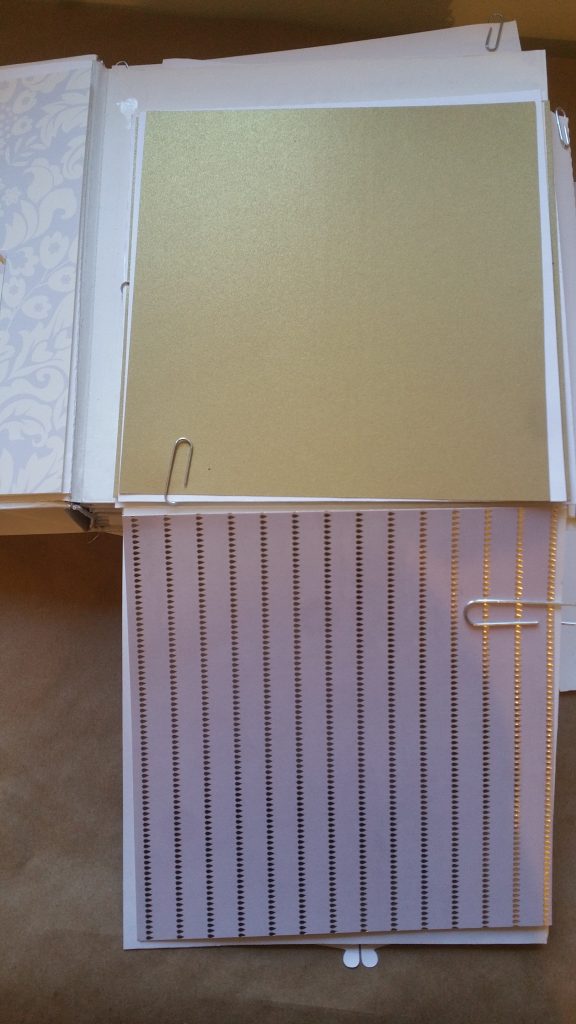
There is space when opened for 2 large photos or again, you can customize them with pockets etc.
The gold page flips up
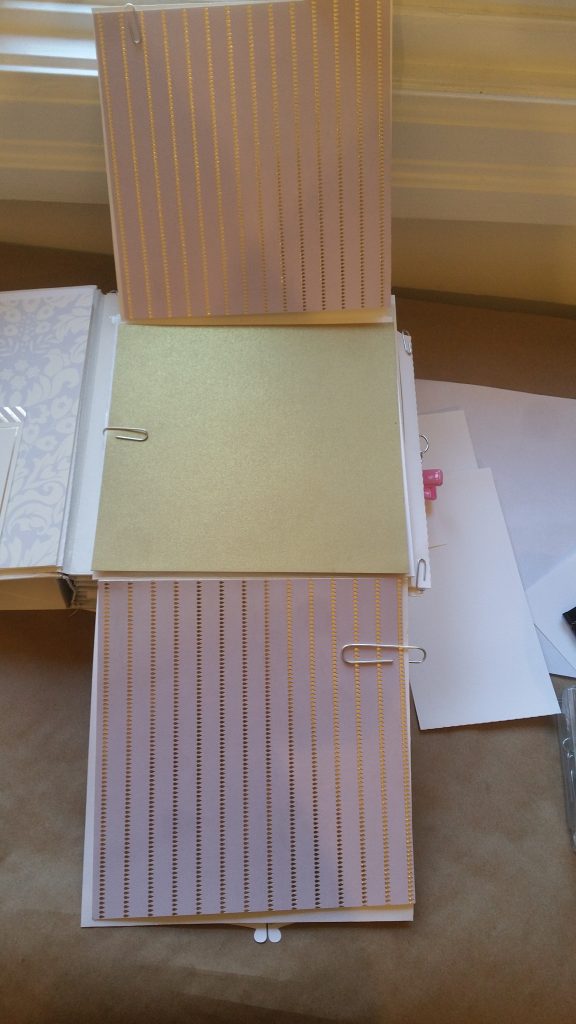
So again there is the opportunity to customize the page with just beautiful paper or add inserts like pockets, flaps, slots, journaling, quotes etc.

