I cut the mats for page TWO side ONE and while I was doing so changed the layout back to what I originally had in the Halloween Brag book as I liked the look and feel of that page. The second side now needs a revamped look. Changing the layout is as easy as 123!
Before I get to what I did for each side, lets recap.
Original Layout
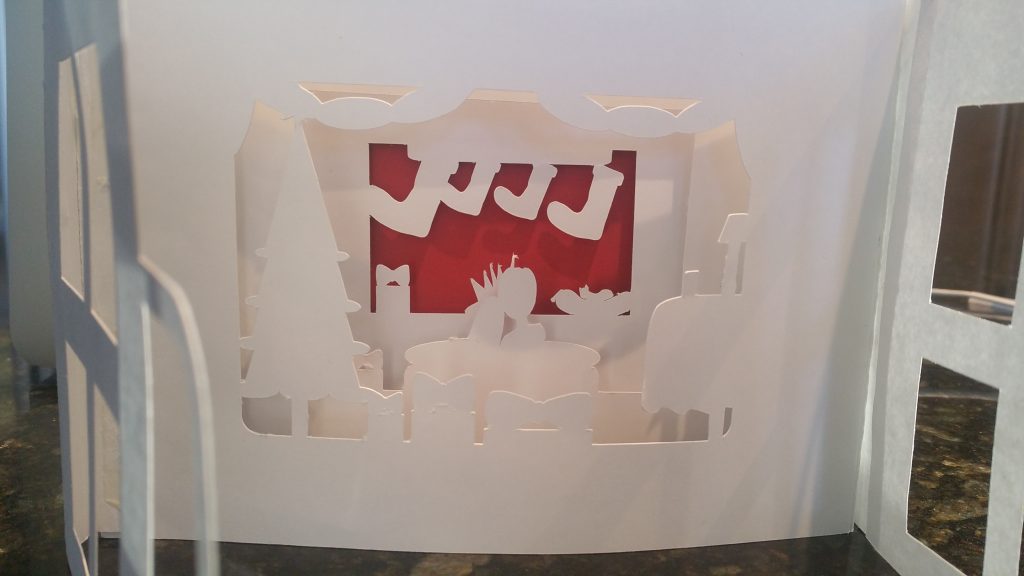
The Halloween brag book page TWO side ONE : read what this page was like in the post or look at the photos below and you will get an idea of how the flaps open.
belly band opened 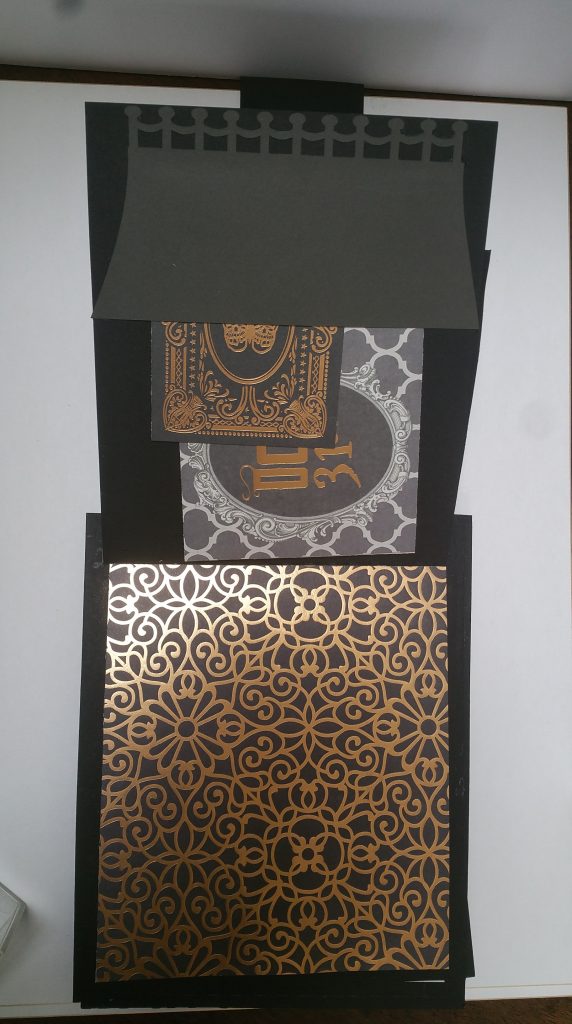
all flip open 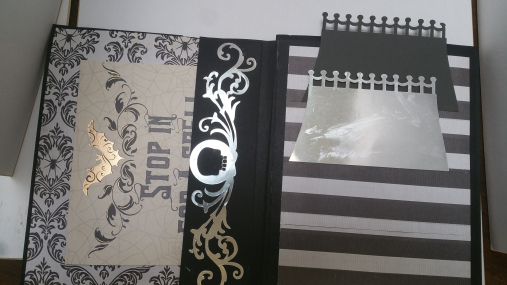
slotted insert for tags 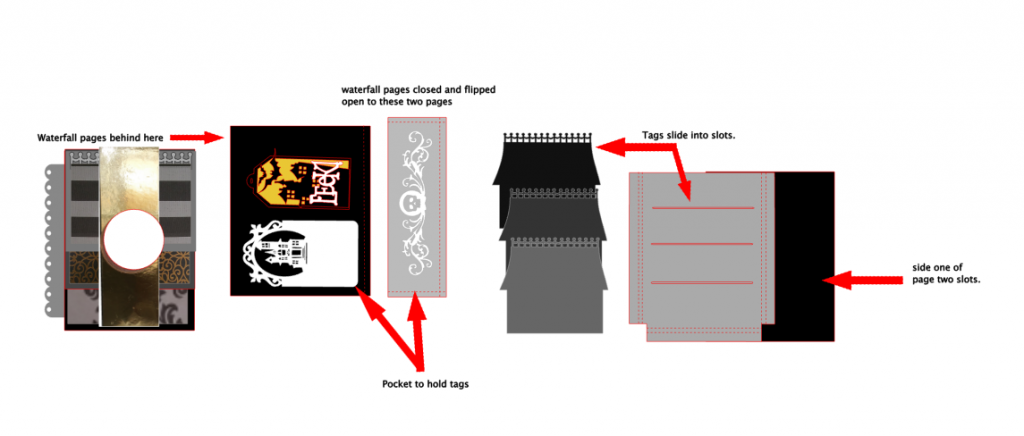
screenshot 1 of files 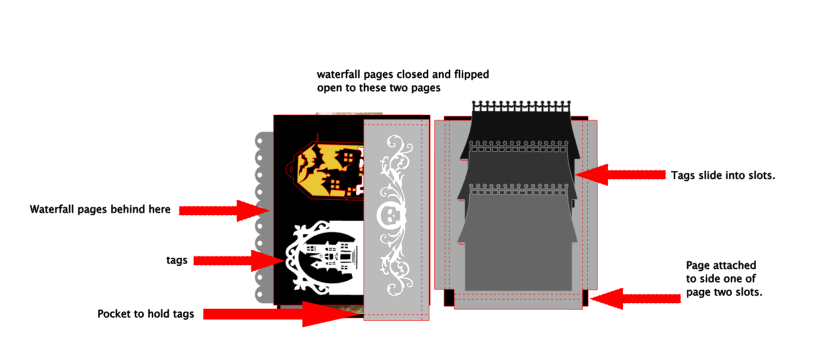
screenshot 2 of files 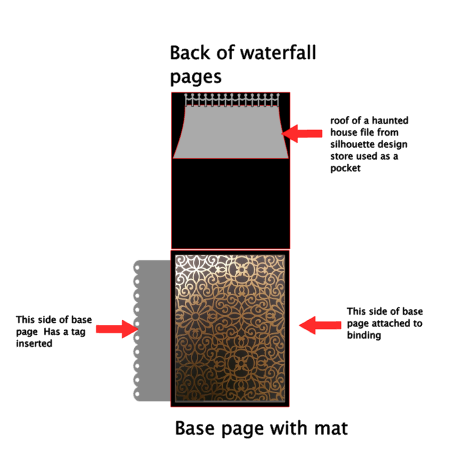
screenshot 3 of files
Step 1: Finalized Page TWO Side ONE Layout
Page TWO Side ONE had the following elements:
- Belly band
- Waterfall pages
- Entire waterfall pages flipped to the left and there is a slotted page to hold tags.
The first step was to get all the pieces back together, everything I needed was already cut, only assigned to different pages.
I put them all back together so we have the same layout as the Halloween brag book for the wedding themed brag book.
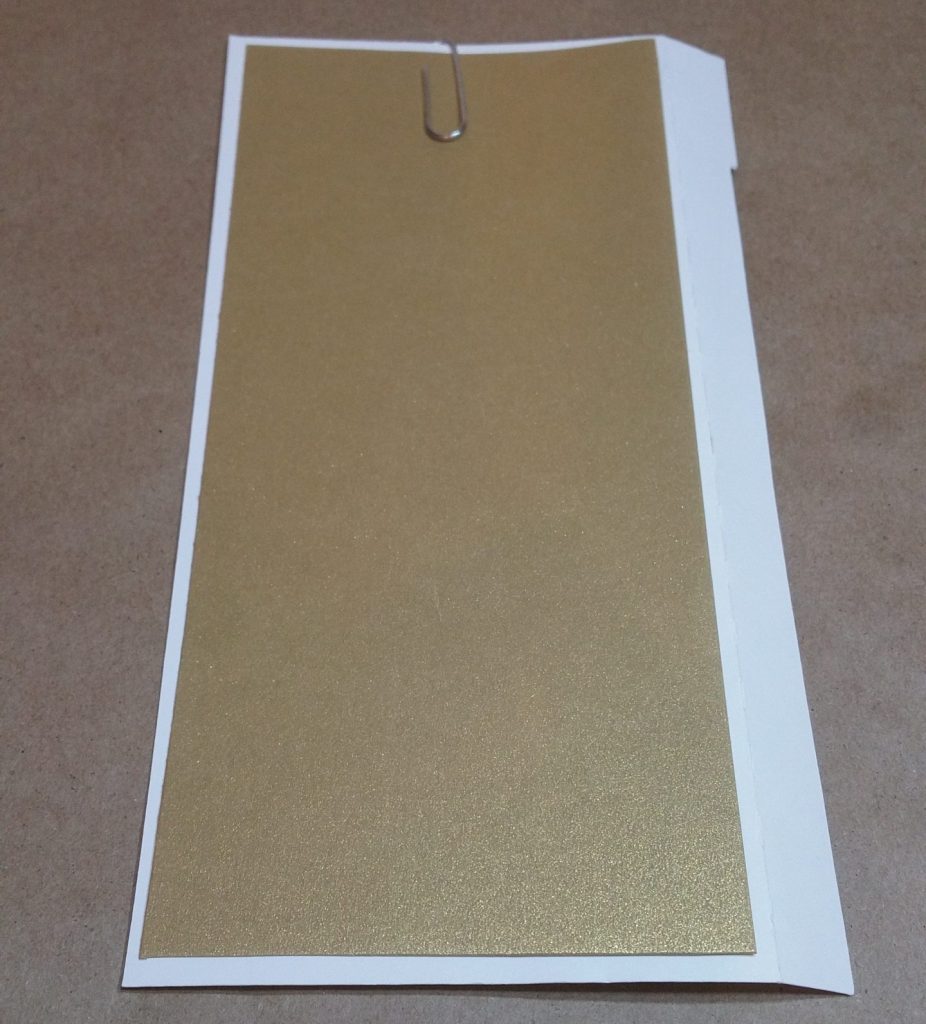
Note: I flattened the slotted insert: the original insert was 0.250 of an inch thick and I was concerned that this brag book could not accommodate the bulk.
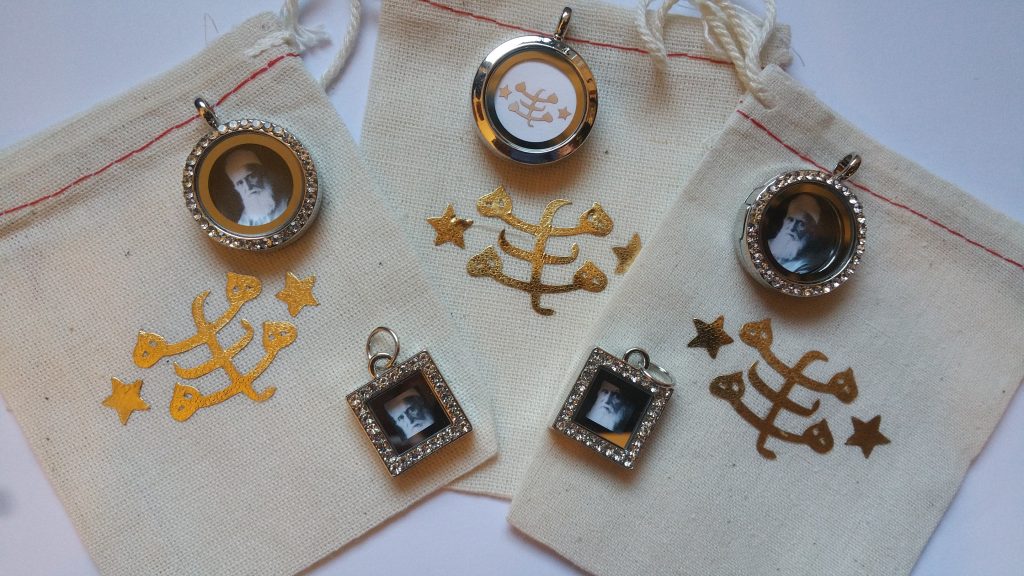
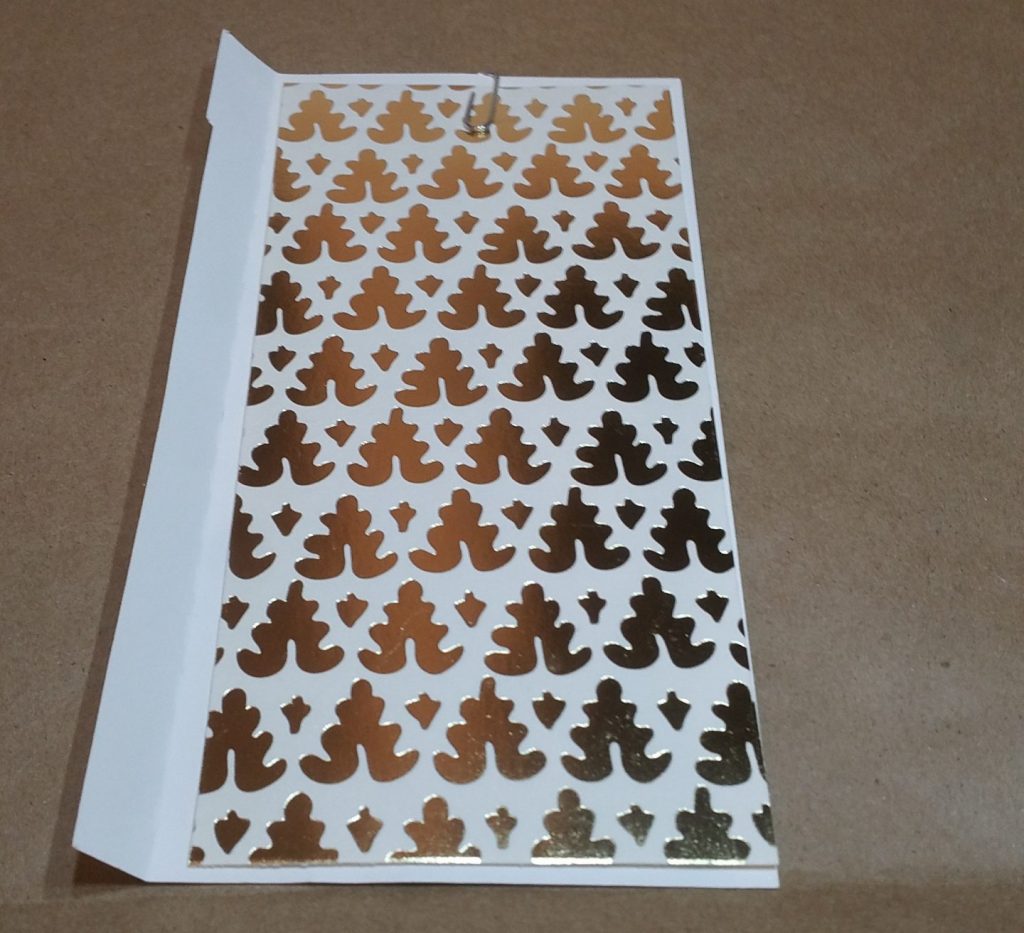
The tag I made may change and I used the method here to attach one of my files purchased from Silhouette Design Store. There are many other places to get images, I get from Creative Fabrica when they are free. Like this wedding set that was free and is now $15!
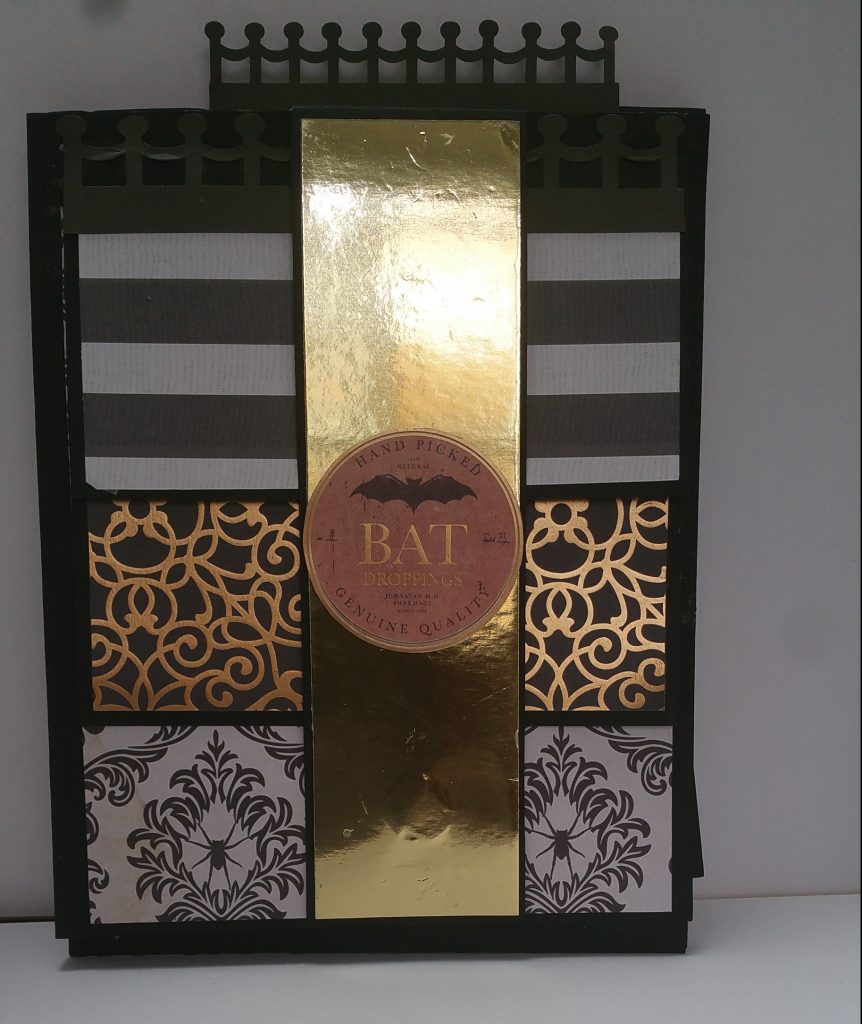
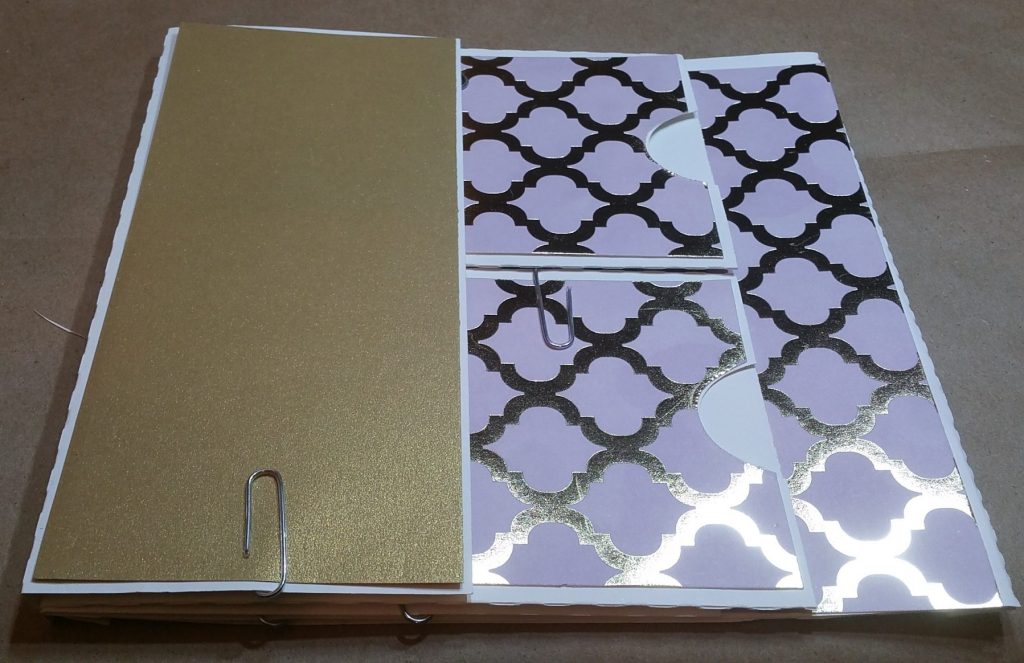
page 2 in brag book 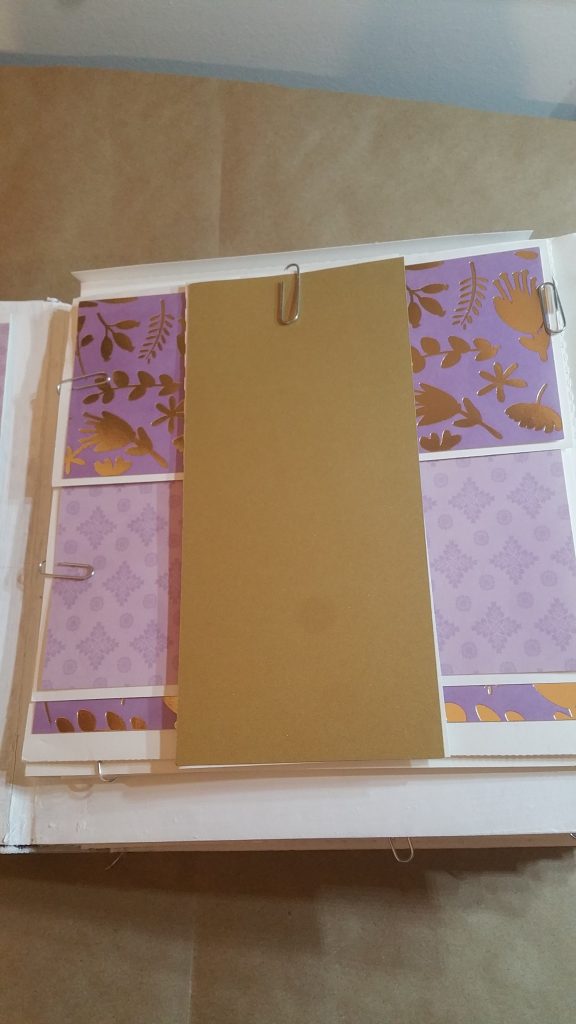
belly band closed 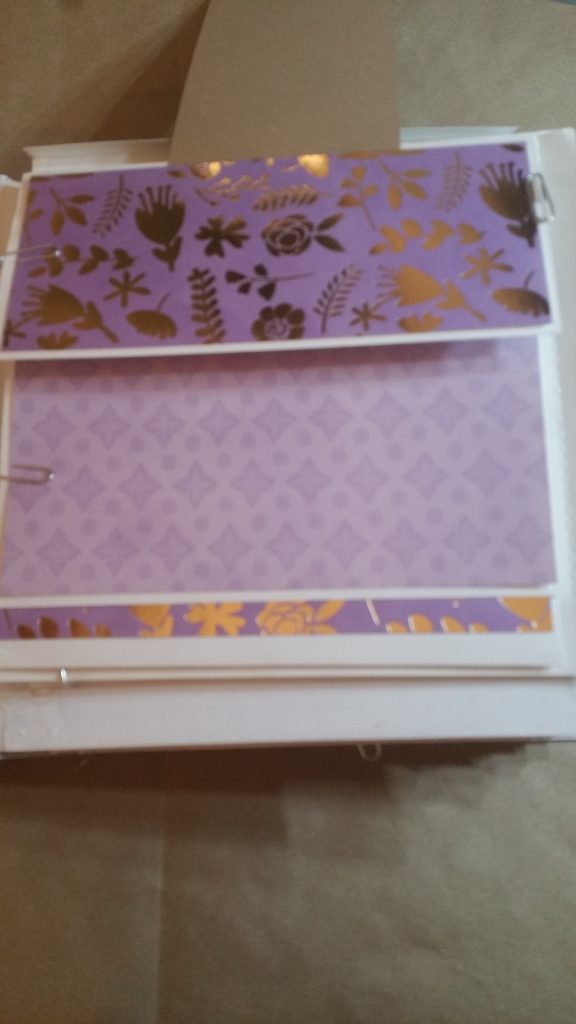
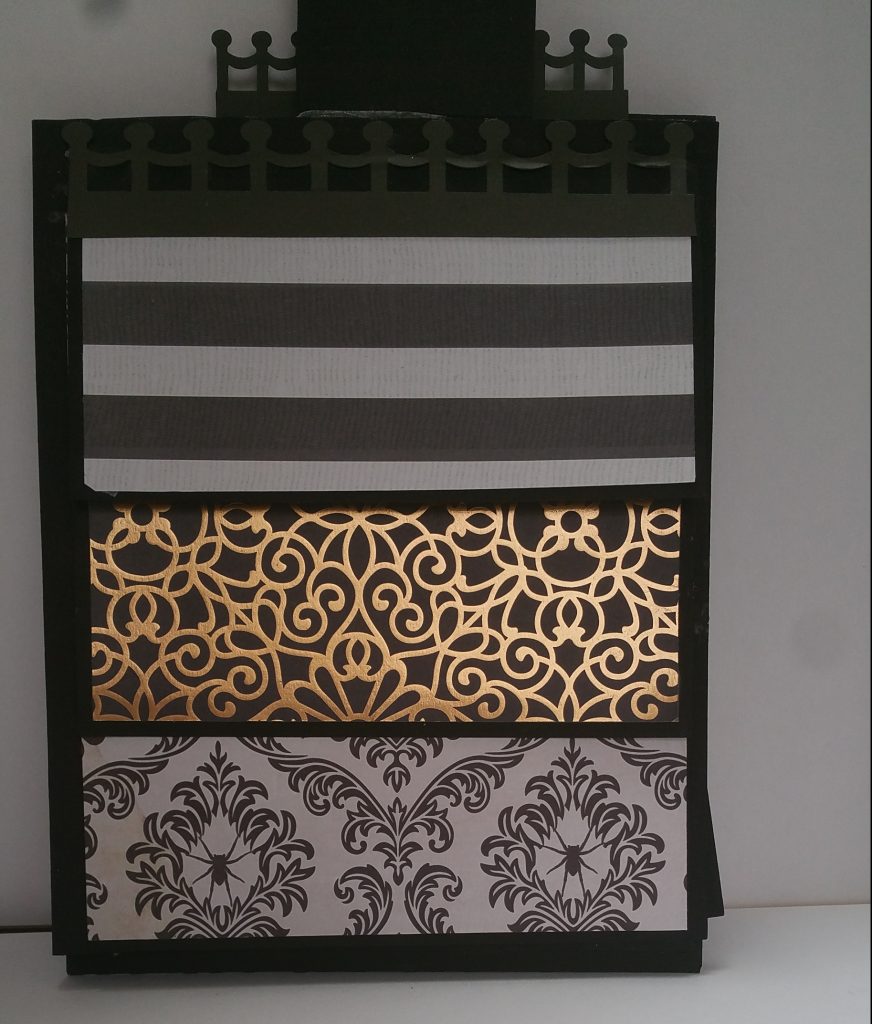
waterfall pages 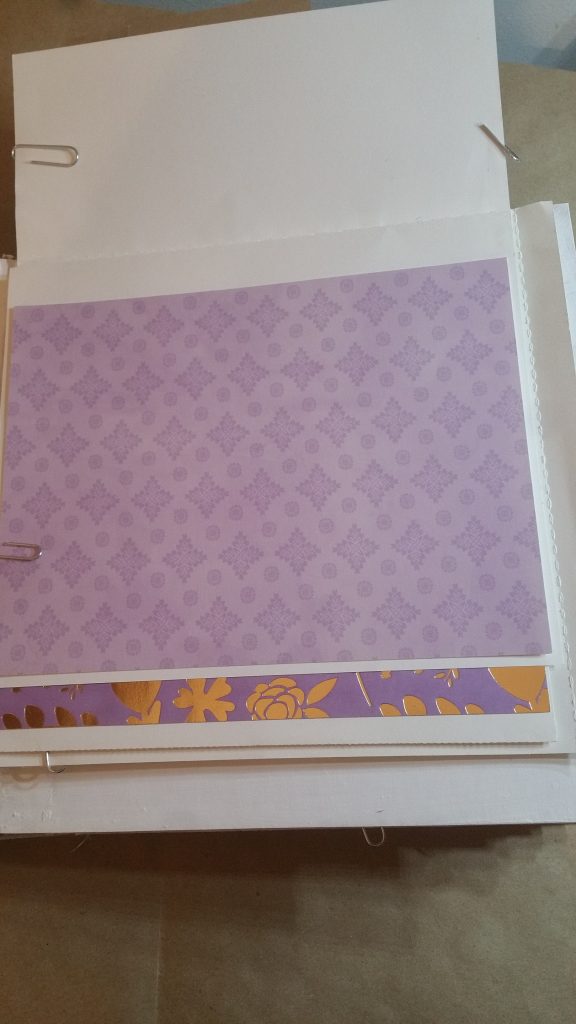
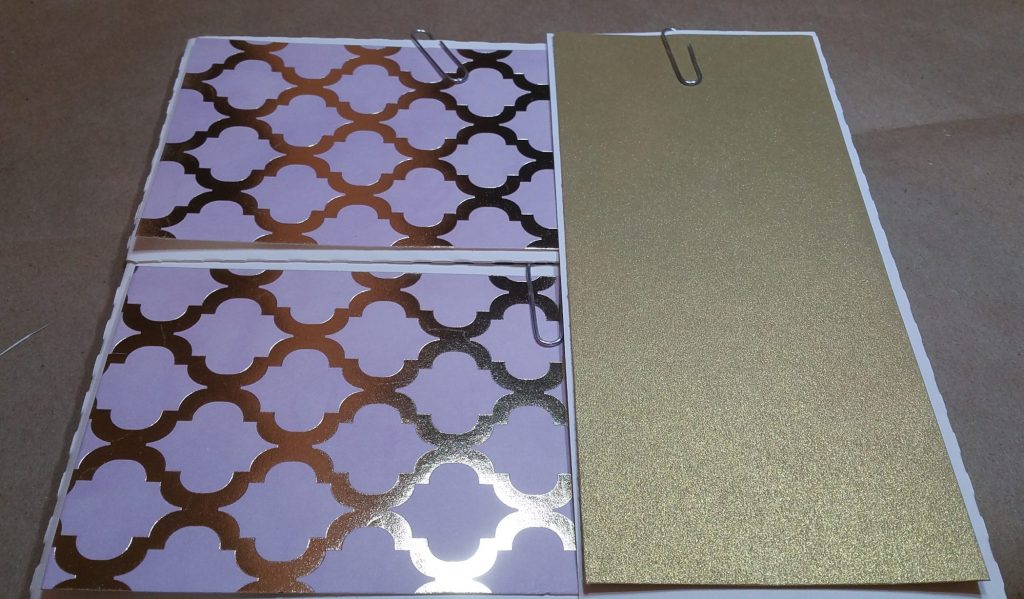
second layer of waterfall 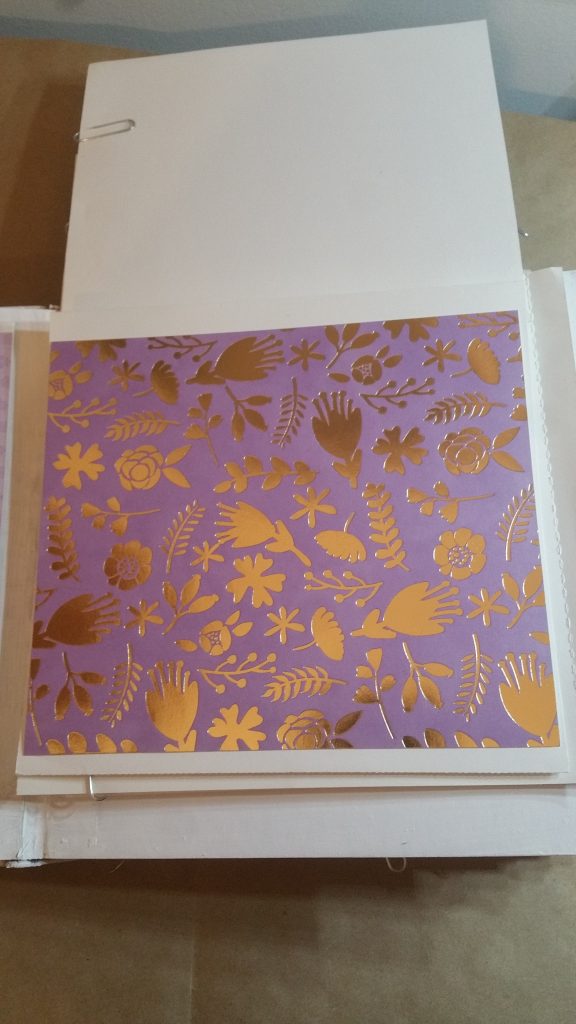
third layer of waterfall 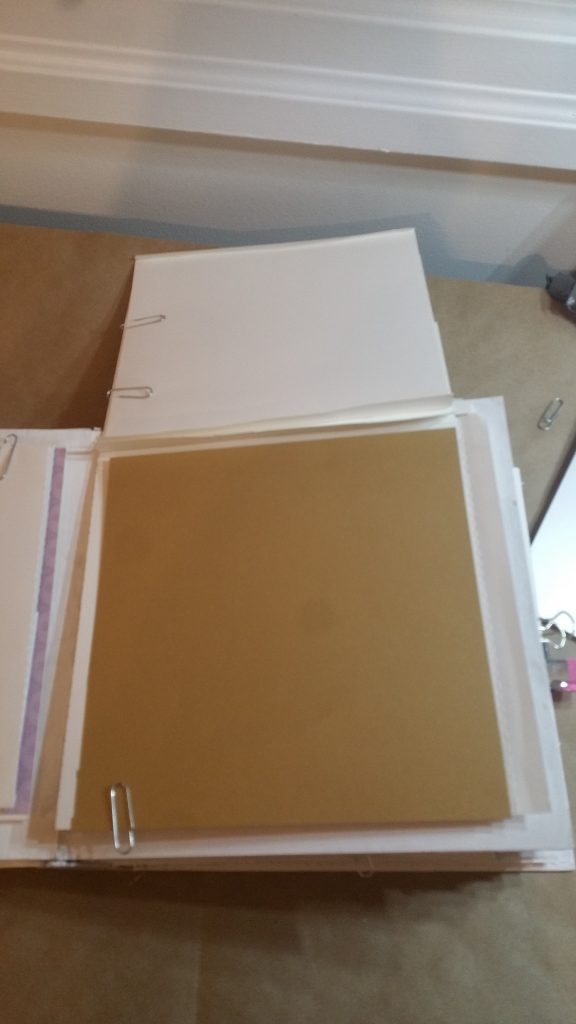
last layer of waterfall 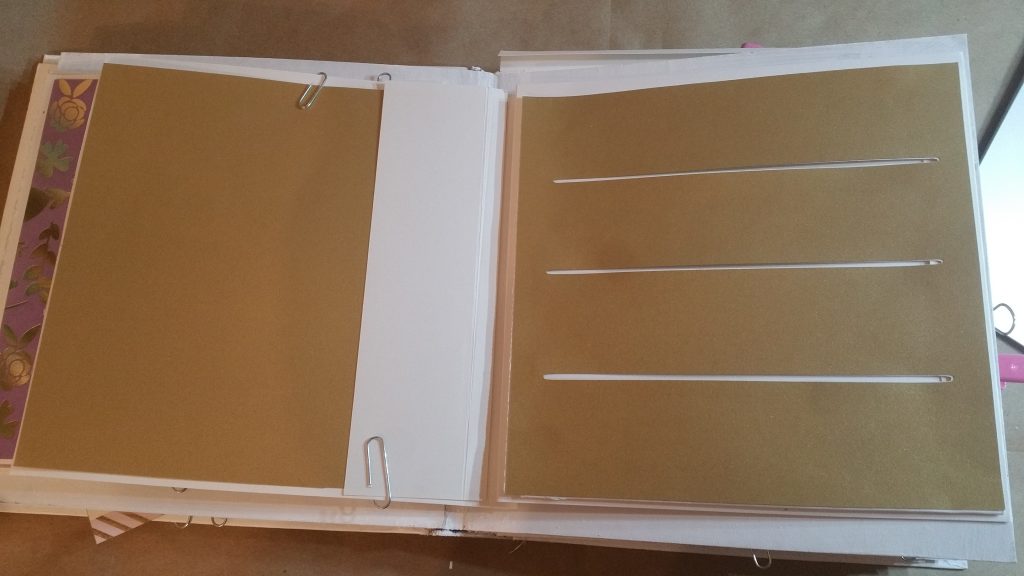
Waterfall pages all closed and opened left 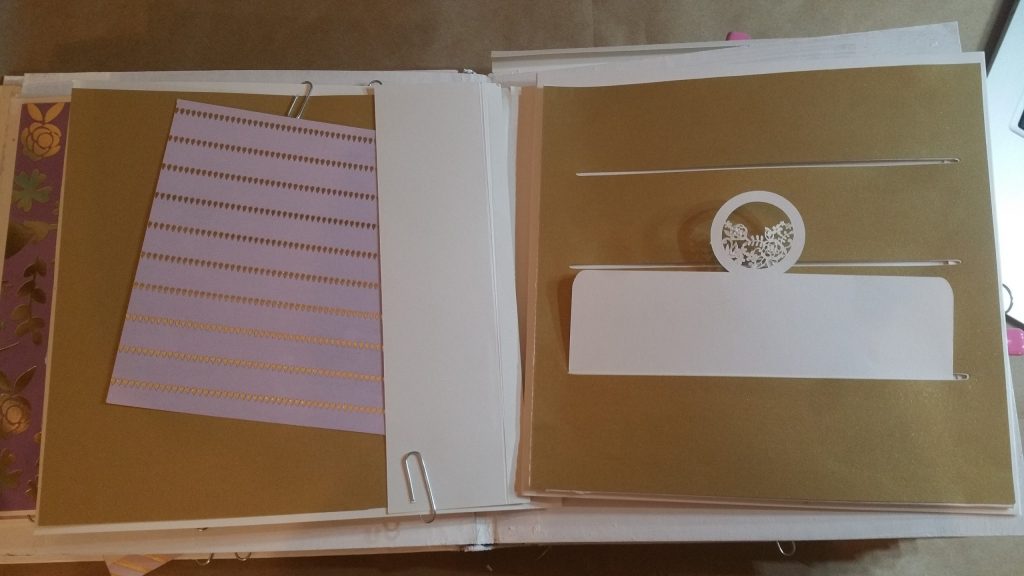
slotted page with potential tag
Page Two Side One is back on track all mattings cut and looks like the original.
Step 2: Remember Page TWO side TWO?
For a quick recap of what Page TWO side TWO was going to look like read the post here.
These are the photos below of what I was going to do: The two envelope pages are paired with the slotted page. This will change and I will show you what it changed to.
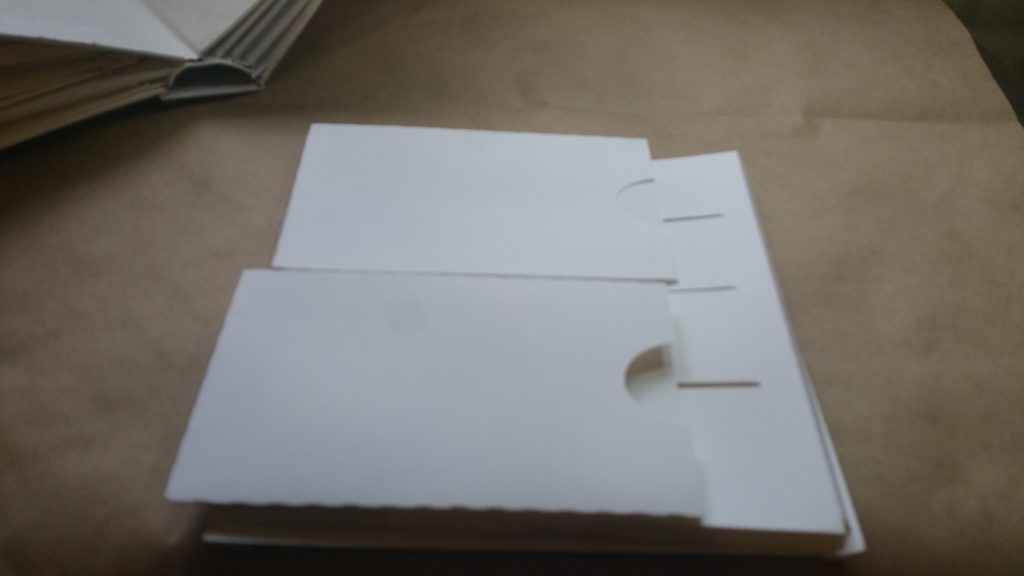
Envelopes to hold tags on page 2 of Wedding Album Brag Book 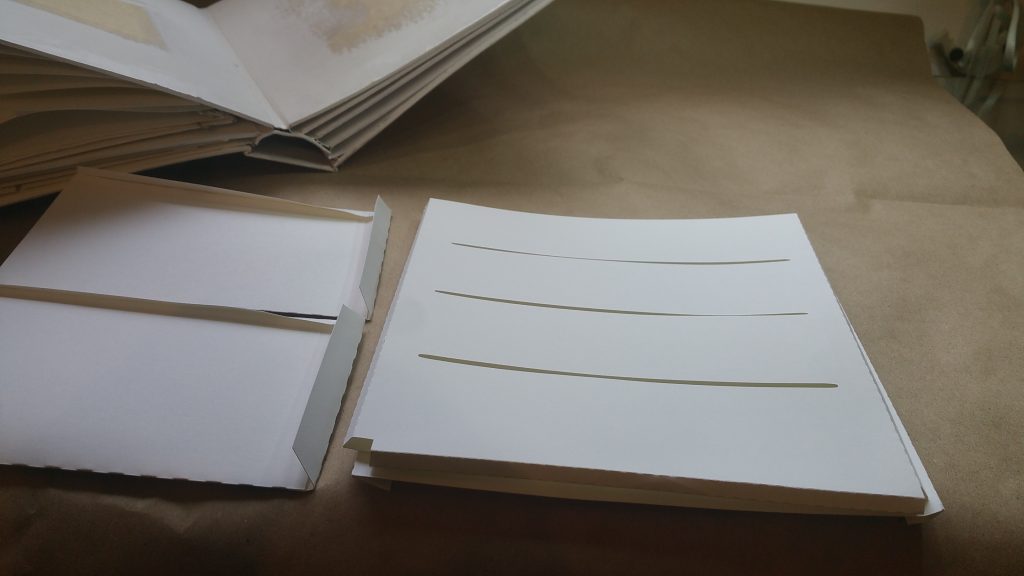
slots to hold tags in Wedding Album Brag Book
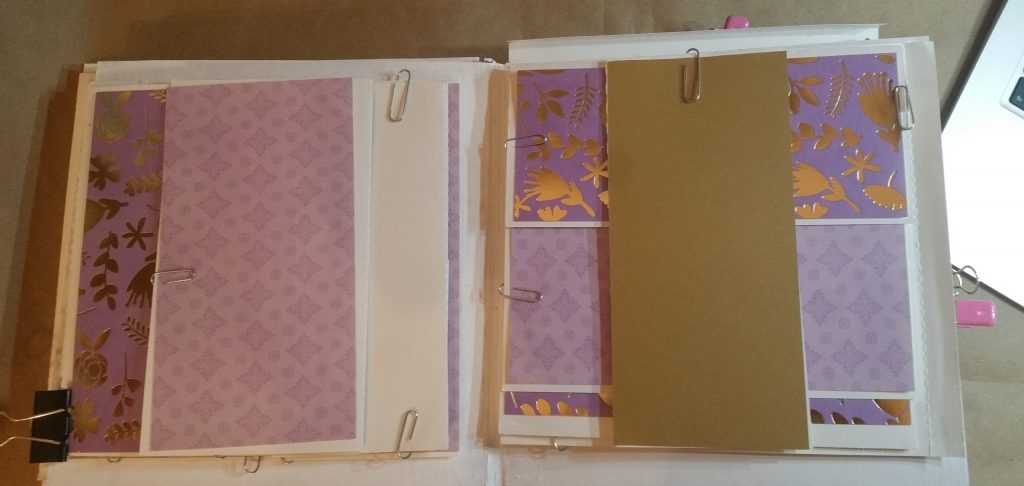
Finalized Page Two Side Two Layout
Already cut were:
- The two envelopes.
- The base page cut
Added:
- 3 extra pieces of paper, a cut here , a fold there and Voila! 3 flaps to position as I choose!
Layout: small flap 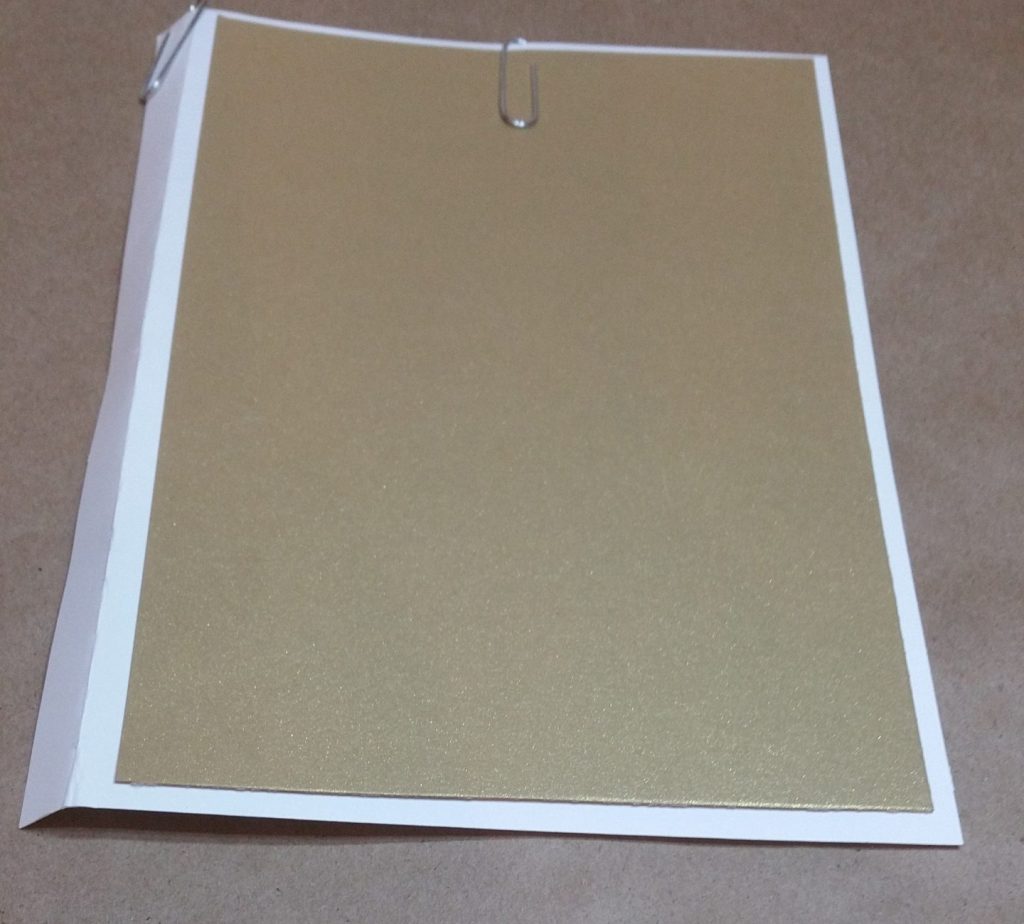
Layout: Medium flap 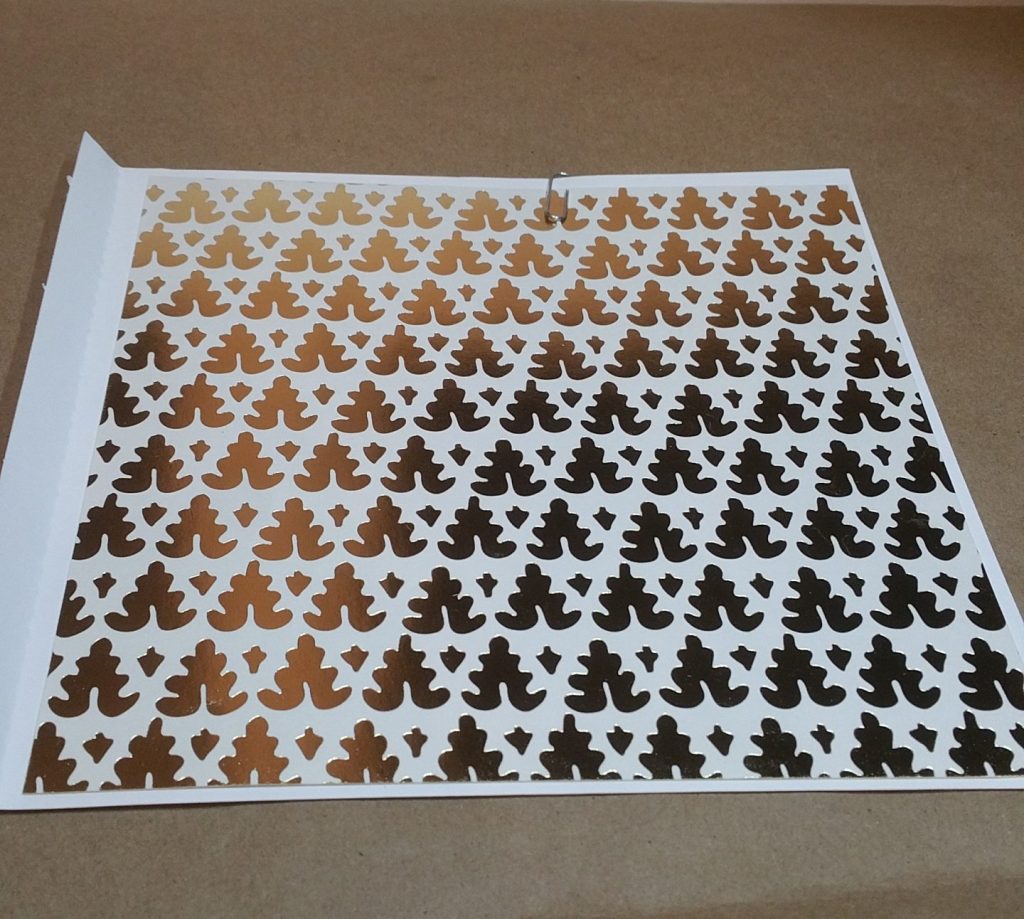
Layout: Large flap
Step 3: Layout the pieces:
- The envelopes will flip open to the left,
- There is a similarity to the Halloween Bragbook in that we have the pages that flip open but not quite in the same manner.
- I also used a small flap that will go on top of the envelope. This was done to reduce the number of magnets. With this flap keeping the page closed, I need less magnets YEAH!!!
small flap holds envelopes closed 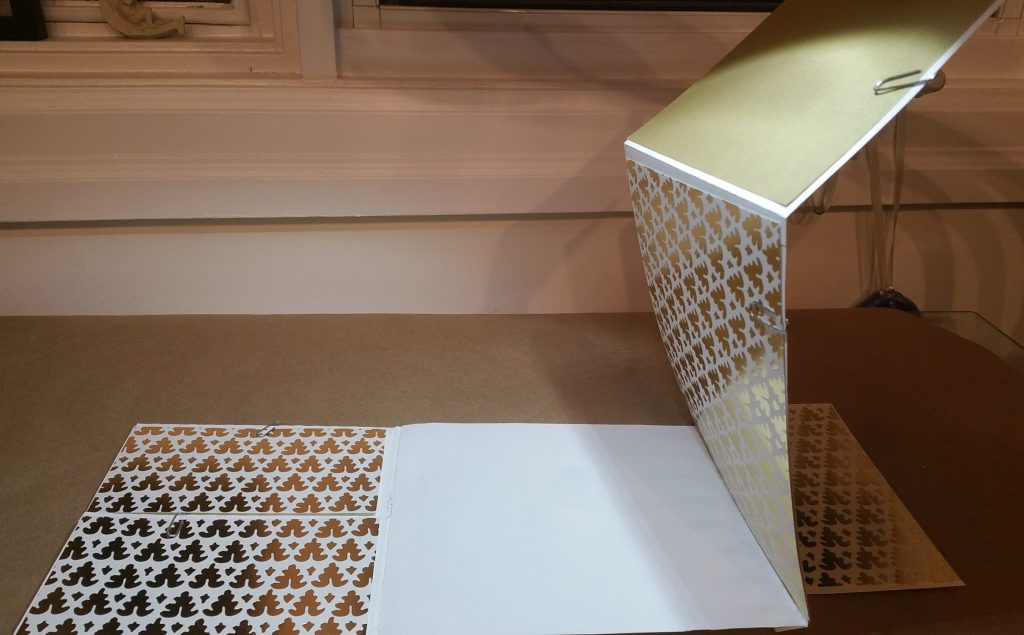
medium and large flap attached to open in accordion style
BTW, why are the matting not stuck down?
MAGNETS! or lack of magnets at this point. I am using magnets to hold my pages closed, but you can use ribbon or any other method.
My photo show the matting of the pages not yet stuckdown, as I need to make sure where to place the magnets before I finalize the pages.
Don’t worry, once I am finished showing all the pages with the matting, I will post the finalized pages…hope to keep the pages as they are and not have any last minute change of heart!
Extra
The basic steps 123 above are all you need to change any page in this 8×8 brag book: all inserts, flaps, pockets and envelopes can go on any page, in any order.
Photo below is the small flap positioned differently:
These are all the elements separate with matting for both sides.
- Small Flap side one and two
- Medium Flap side one and two
- Large Flap side one and two
- Envelopes side one and two
Layout 1: Matting Small Flap Layout 2: Matting Small Flap Layout 1: Matting Medium Flap 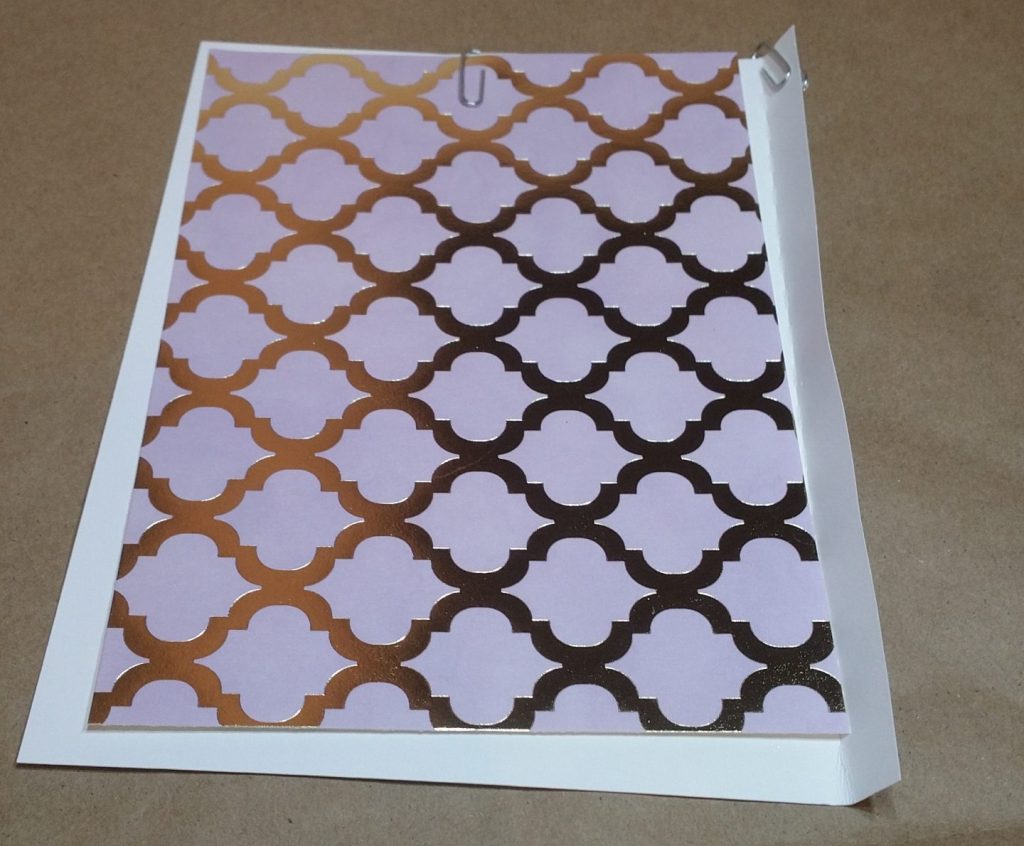
Layout 2: Matting Medium Flap 
Layout 1: Large Flap Layout 2: Matting Large Flap 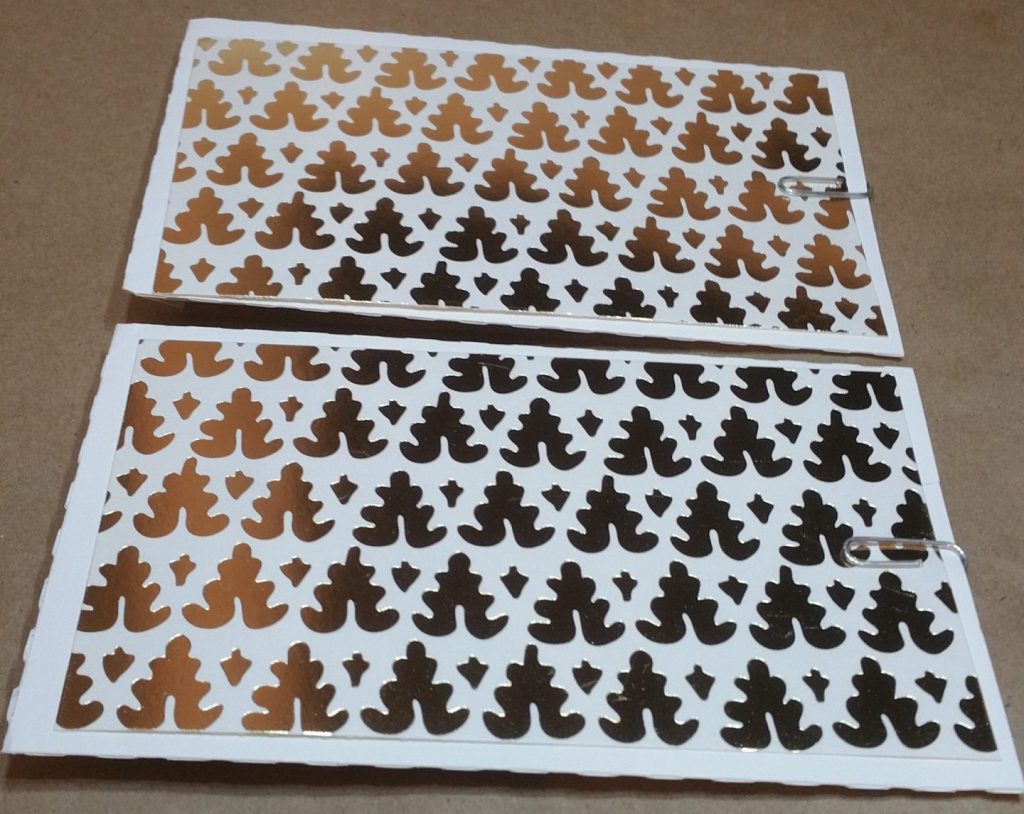
Layout 1: Matting Envelope 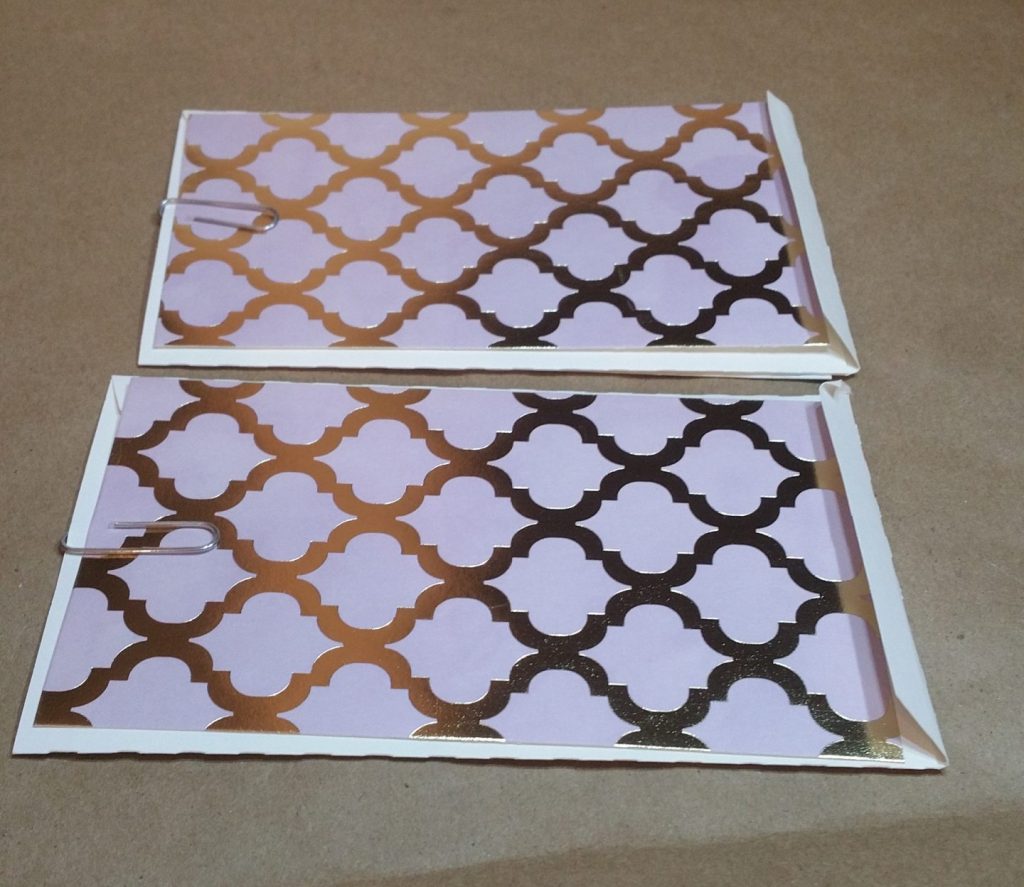
Layout 2: Matting Envelope
Subscribe and request any of my files!
I hope you enjoy making these pages.
Regards Carolyn