
Guilt free Crafting Day 1
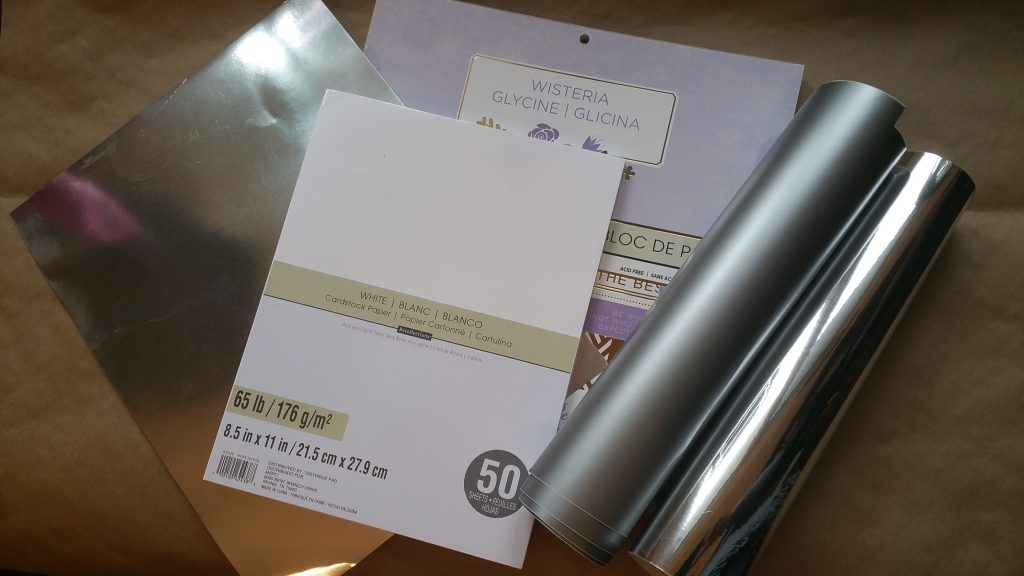
Craft guilt free while practicing social distancing and get free files.
Craft guilt free while practicing social distancing and get free files.
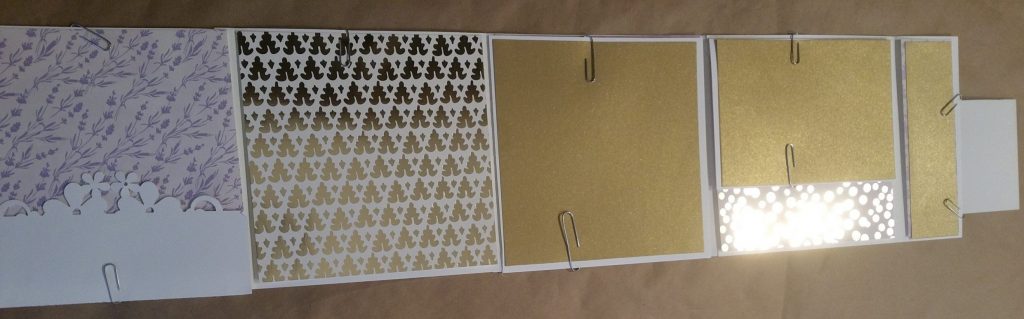
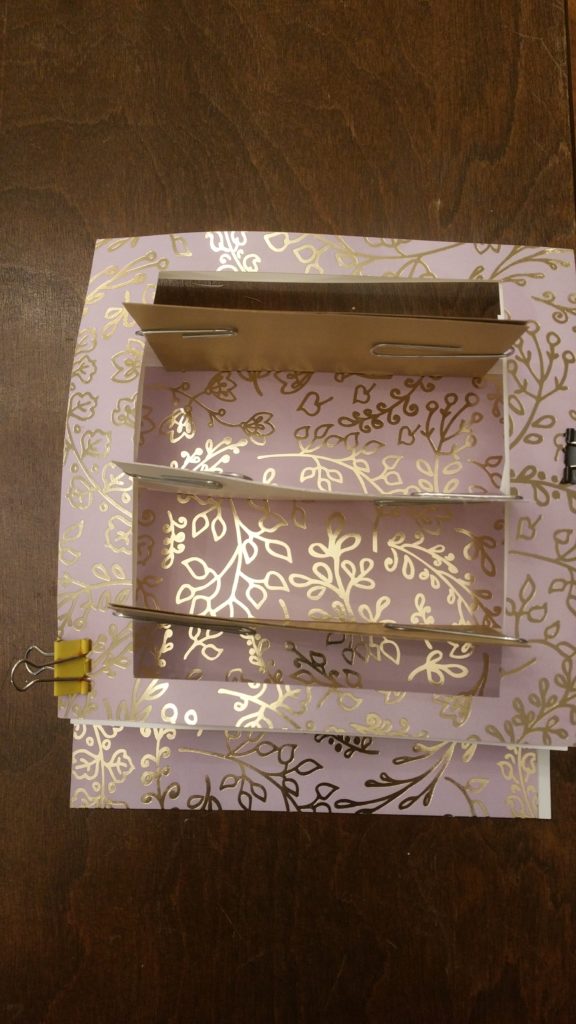
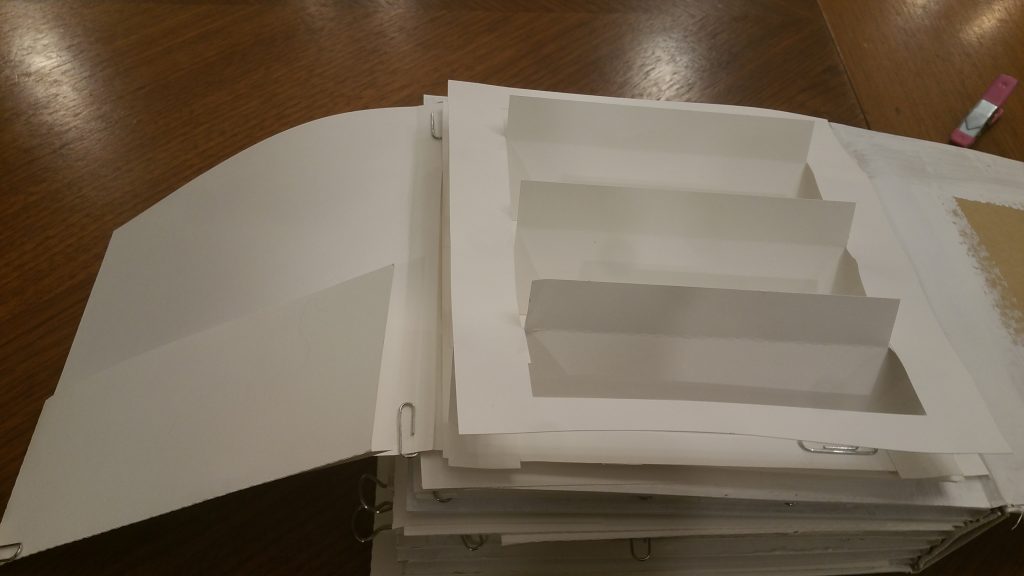
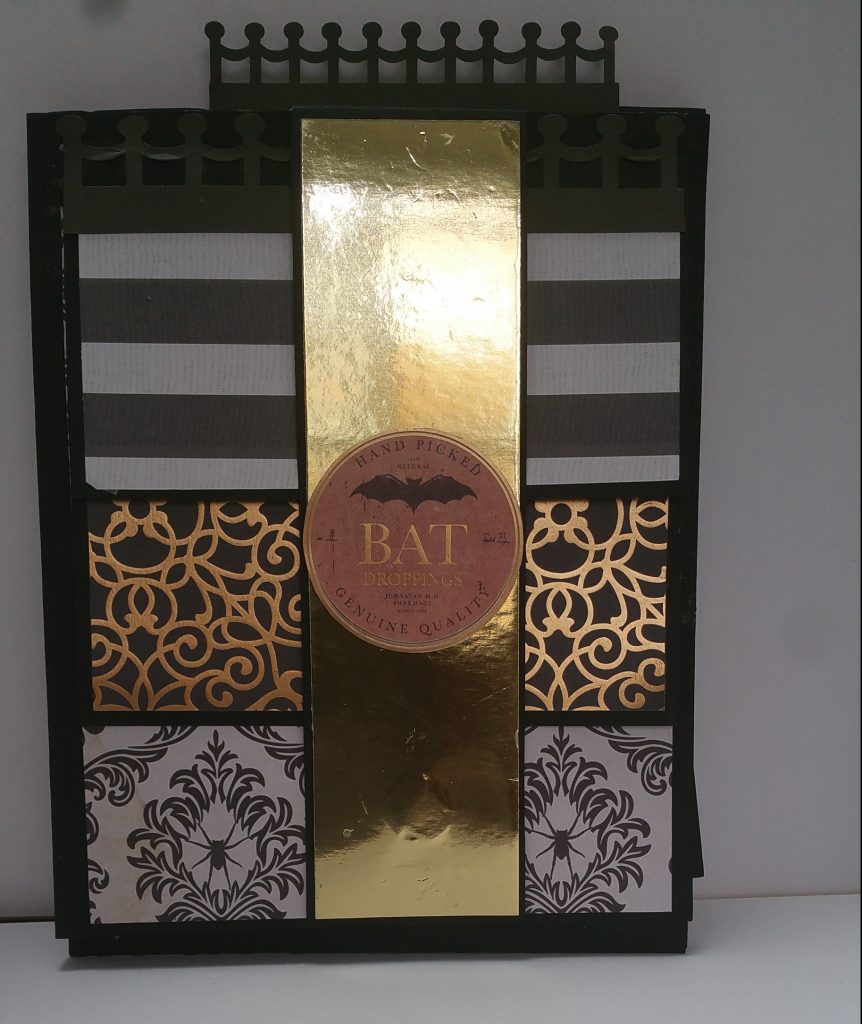
Hey! not only is this page 4 as long as the other folios: about 34 inches long when expanded, but
Is my Brag Book page 3 and 4 now too big? This will always a concern and issue for me
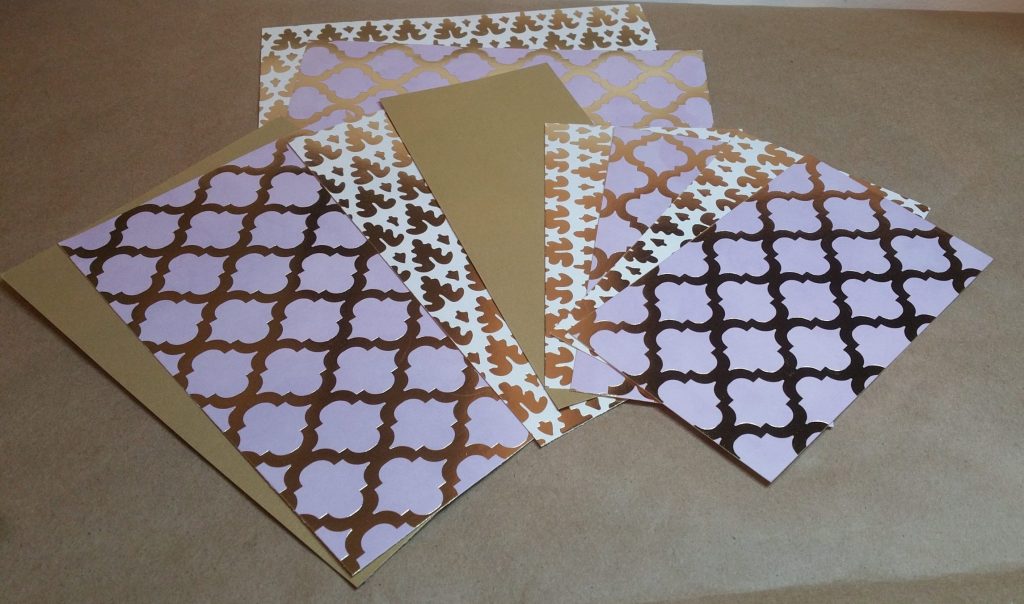
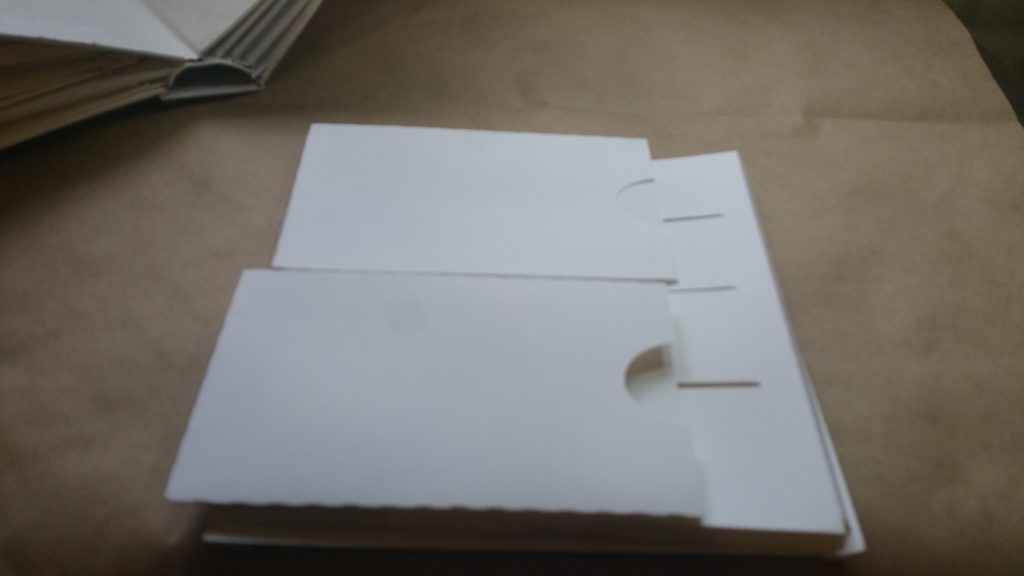
All the Matting is cut for both sides of small, medium and large flaps as well as for both envelopes.
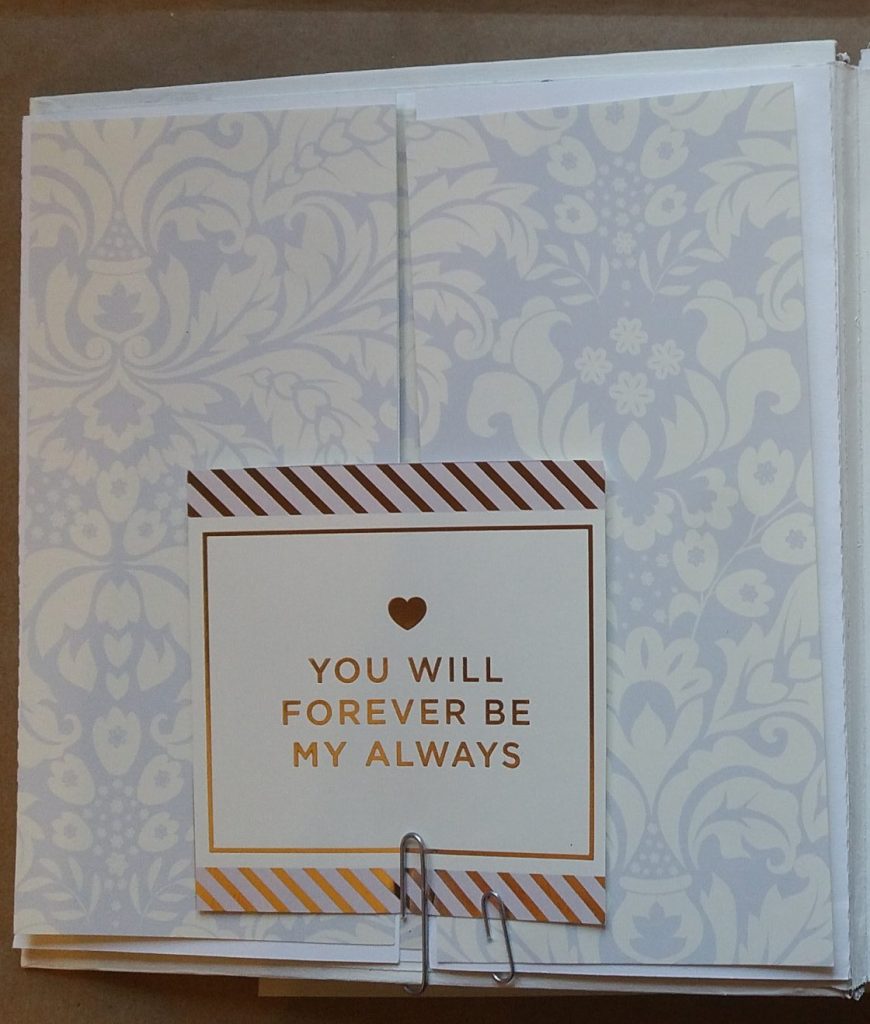
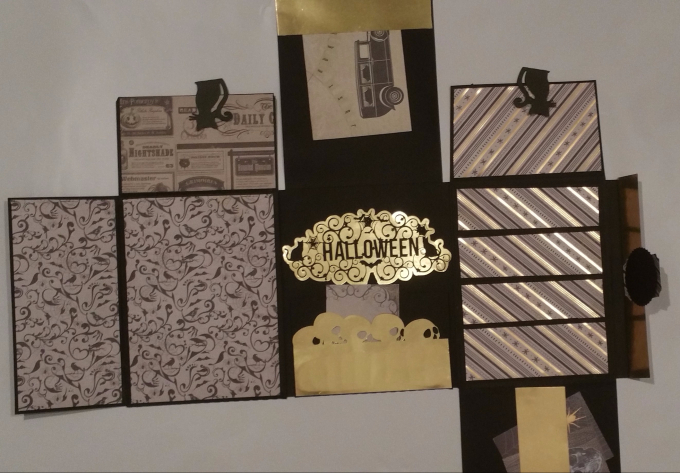
Template pages can be unique each time with custom paper and embellishments.
easy to customize a page with this cool insert
Pocket page for my best template folio #5
Assembling page 2 of the wedding album brag book
Using Digital files created for my Halloween Brag book for my Wedding Album

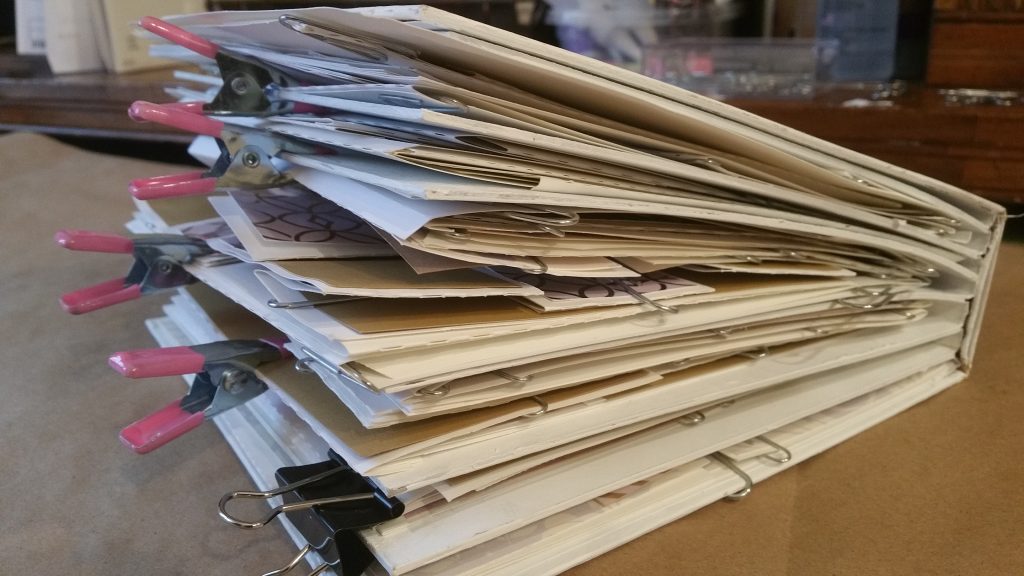
Last few pages. Getting to the last few pages and I am wondering if I will need to redo the
Folio page that is flexible in use and makes a beautiful gift as an album or greeting card.
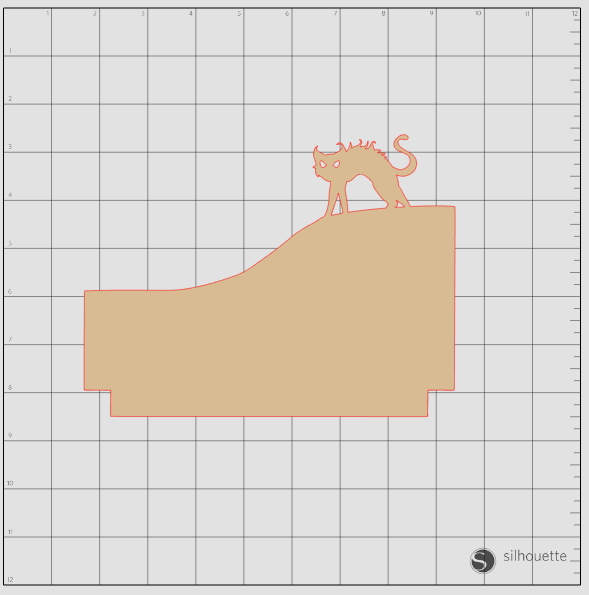
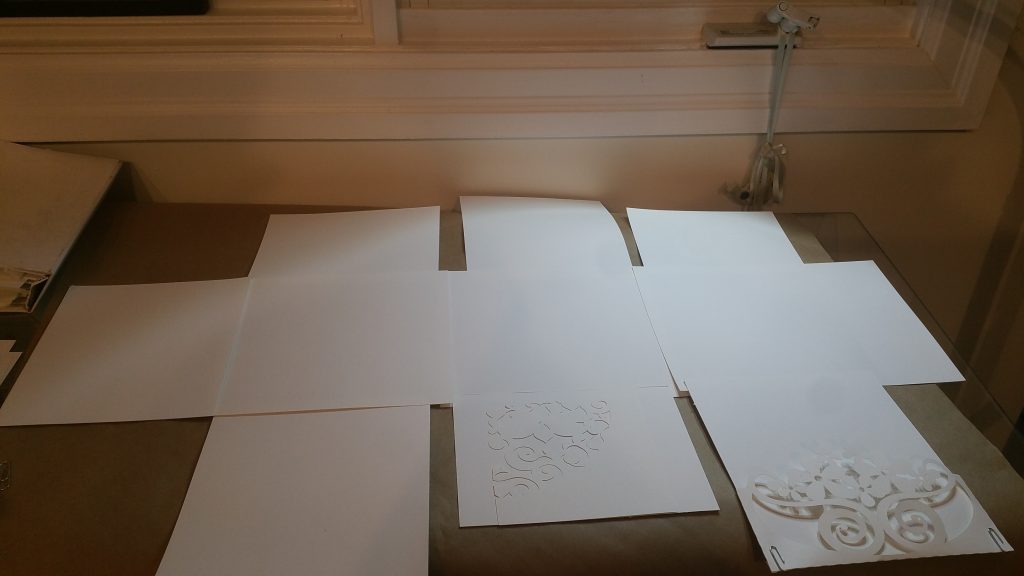
Before I continue to page 4 of the Brag book, I want to show the simple steps to weld an
Since my last post, I have been busy with real life :job and family but finally got to put this
After seeing all the beautiful projects on YouTube I really wanted to start building my pages, it is so exciting!

Scared yet? I have to say that this step took a long time for me to begin as I was

What is Too small or Too big? What is the ideal size for a brag book? In some of the
At last, I have started the process of creating a brag book from scratch. I must admit that this has