Before I continue to page 4 of the Brag book, I want to show the simple steps to weld an images with the pocket files I made.
If you would like any of the files I create, then subscribe below and send me a message with the file you would like!
I had a few request about the pockets files I used in the Brag Book and some of you wanted to know where I got the files. I made the pocket files myself and modified them using images that I purchased from Silhouette Design store or got from other sources like Google and Creative Fabrica
Weld in 6 Easy Steps
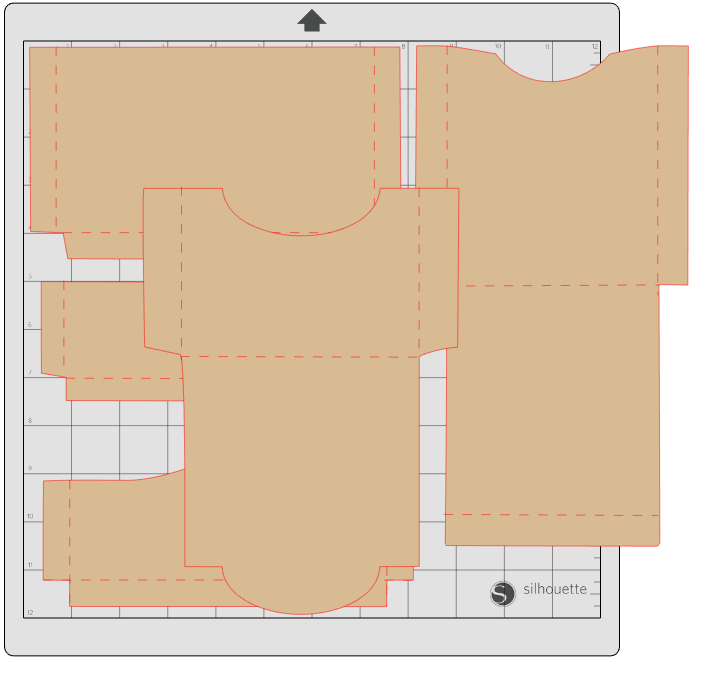
- First of all, open the pocket file in studio and choose the pocket you would like to modify.
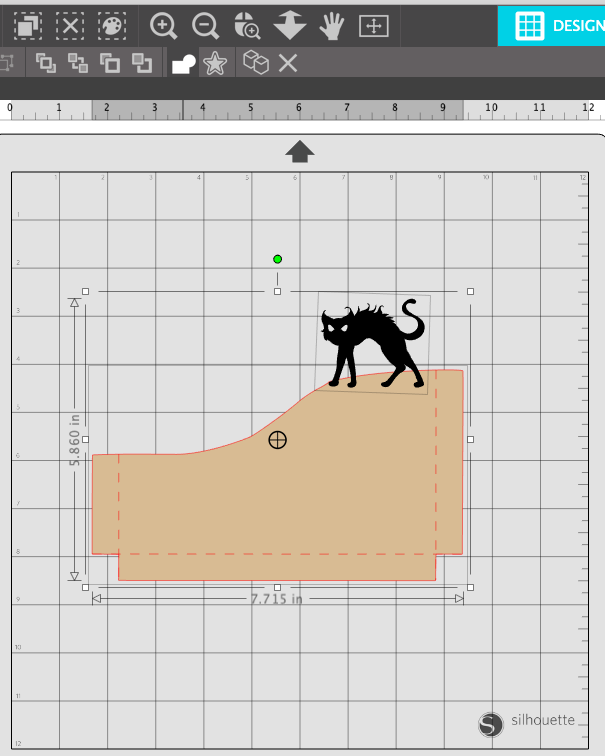
- Next open the image you want to attach and resize it to fit your pocket: I am using the kitty.
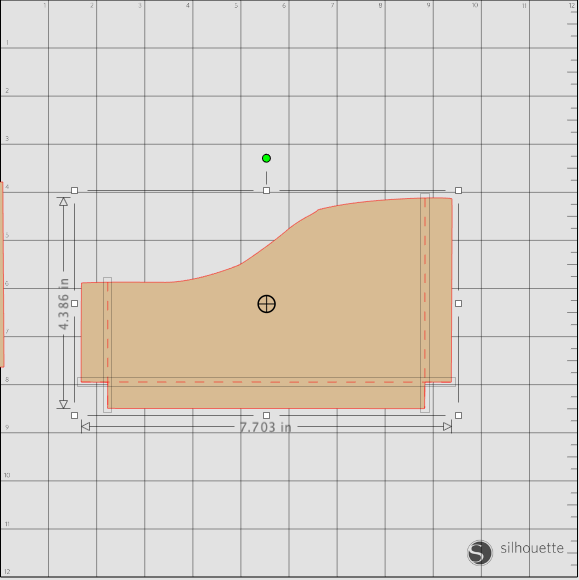
- Ungroup any score line
- Arrange your images: note if you move your image around, make sure you keep the score line together with image
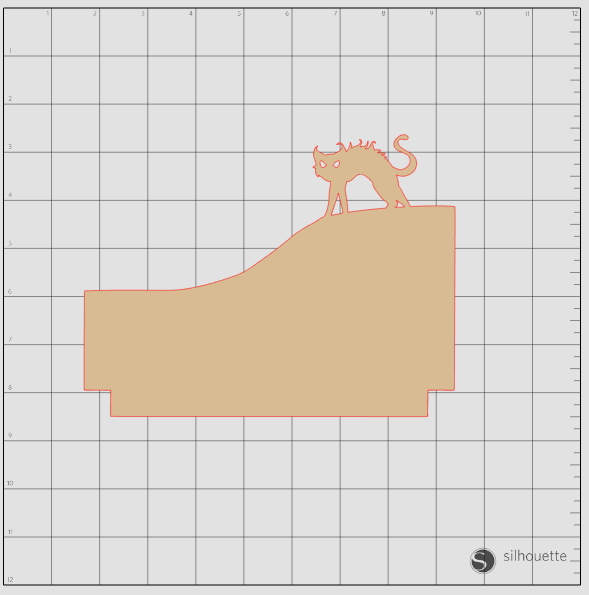
- Choose weld (its on top tool bar and loos like a rectangle with a circle attached) and image will weld together and become one image.
- Reattach score line as necessary. (the score line may have moved to the back so send the pocket to the back and score lines will now be on top)

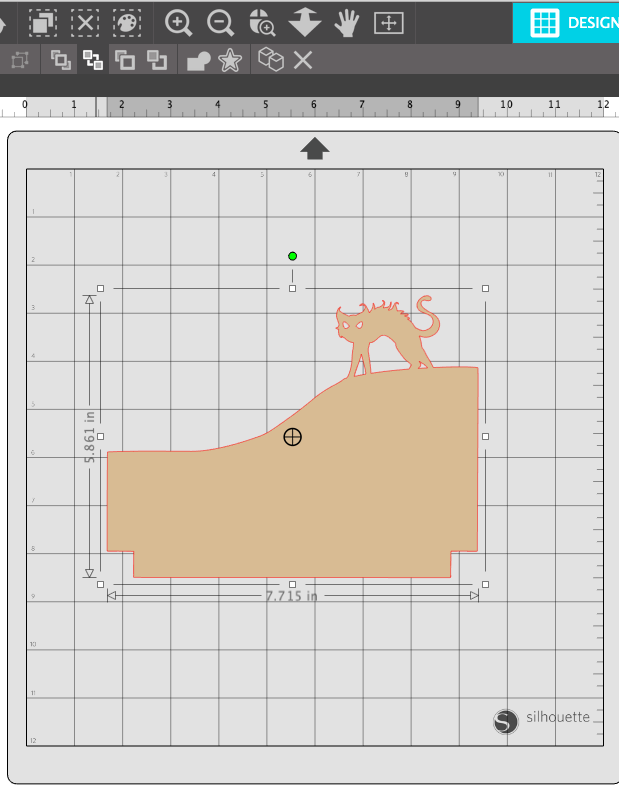
AND….. That is all there is to weld any image together. It is the same for any of the pockets and tags in my brag book : 6 very easy steps.
See how weld is used in past pages
Go here to access my Brag Book Pg 1
Go here to access my Brag Book Pg 2
Go here to access my Brag Book Pg 3
Hope you have Fun with Welding files. Please subscribe below!
Carolyn