After seeing all the beautiful projects on YouTube I really wanted to start building my pages, it is so exciting! Well, I needed to decide what my base page would look like. I decided to go with the “sleeve” page…this is made to two pieces of paper glued on the short ends and the long open ends are attached to the spine, or open for a tag to be inserted. This type of construction seemed sturdier to me; I could be wrong but that is the method I am going to choose.
Once I chose the type of page, the next consideration was the hinge method for the binding. Well did you know that the hidden hinge method is copyrighted/ patented?I DID NOT KNOW!
I did my version of a bookbinding hinges with different spacing and score lines. There is also stack the deck method that looks good. For an example of the hinge I use check out my Shadow card
Now, what will I include on each page?
With so many ideas running through my head, I feel paralyze and decide to sit back to watch people craft on Youtube. It really is entertaining, and I love it!
Eventually, though this blog post keeps calling and it won’t write itself so I decide “I can do this!” and start my page.
These pages are going to be Halloween themed ( coming up really soon! and I am creating them in no particular order. I also decided to make a wedding album since the pages will be the same only the embellishments and paper will be different! I am going to illustrate only Halloween but I will post my wedding album that will use the same files so you will see how flexible the digital files are.
First the digital file
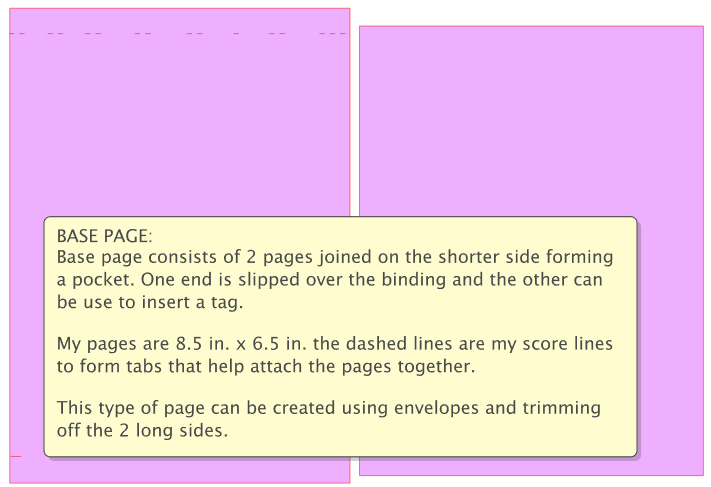
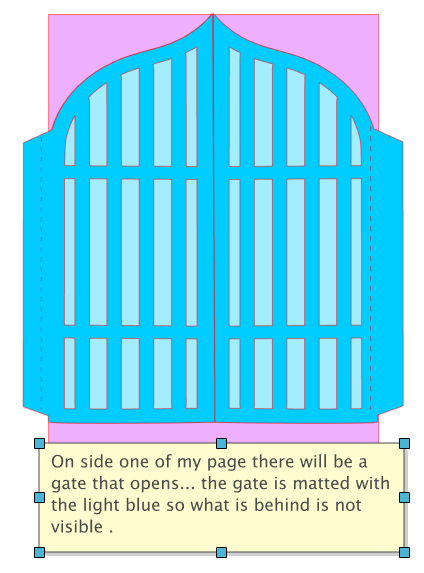
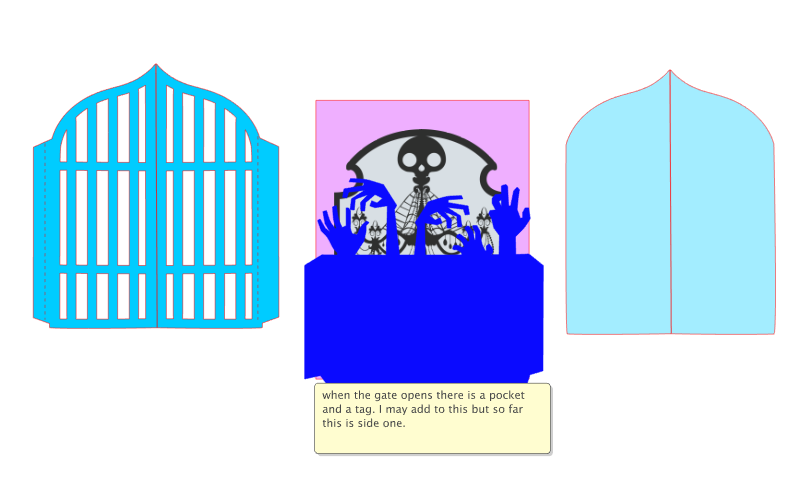

The Cut files
When I cut these files with the Silhouette Cameo, I noticed a few adjustments needed to be made.
On side one:
- the gate was too big
- the pocket under the gate was too large
One side two:
- the flap with the pocket would not close because the envelope with the zombie’s hands was too big!
- I redid the layout so that the zombie envelope is now on the outside, it also flips open. I added a flap to the inside and may add more see photos below
I have not stuck anything down as I am going to place magnets and cut the matting then glue it all together.
Each page really has two side that need pockets and flaps etc. so page one has a side A and a side B Side A will have the gate that opens to a pocket.

Open the gate and see the pocket where I will have a tag in the shape of a tombstone. This pocket will be on a page that flips up and there will be place for 2 large photos.
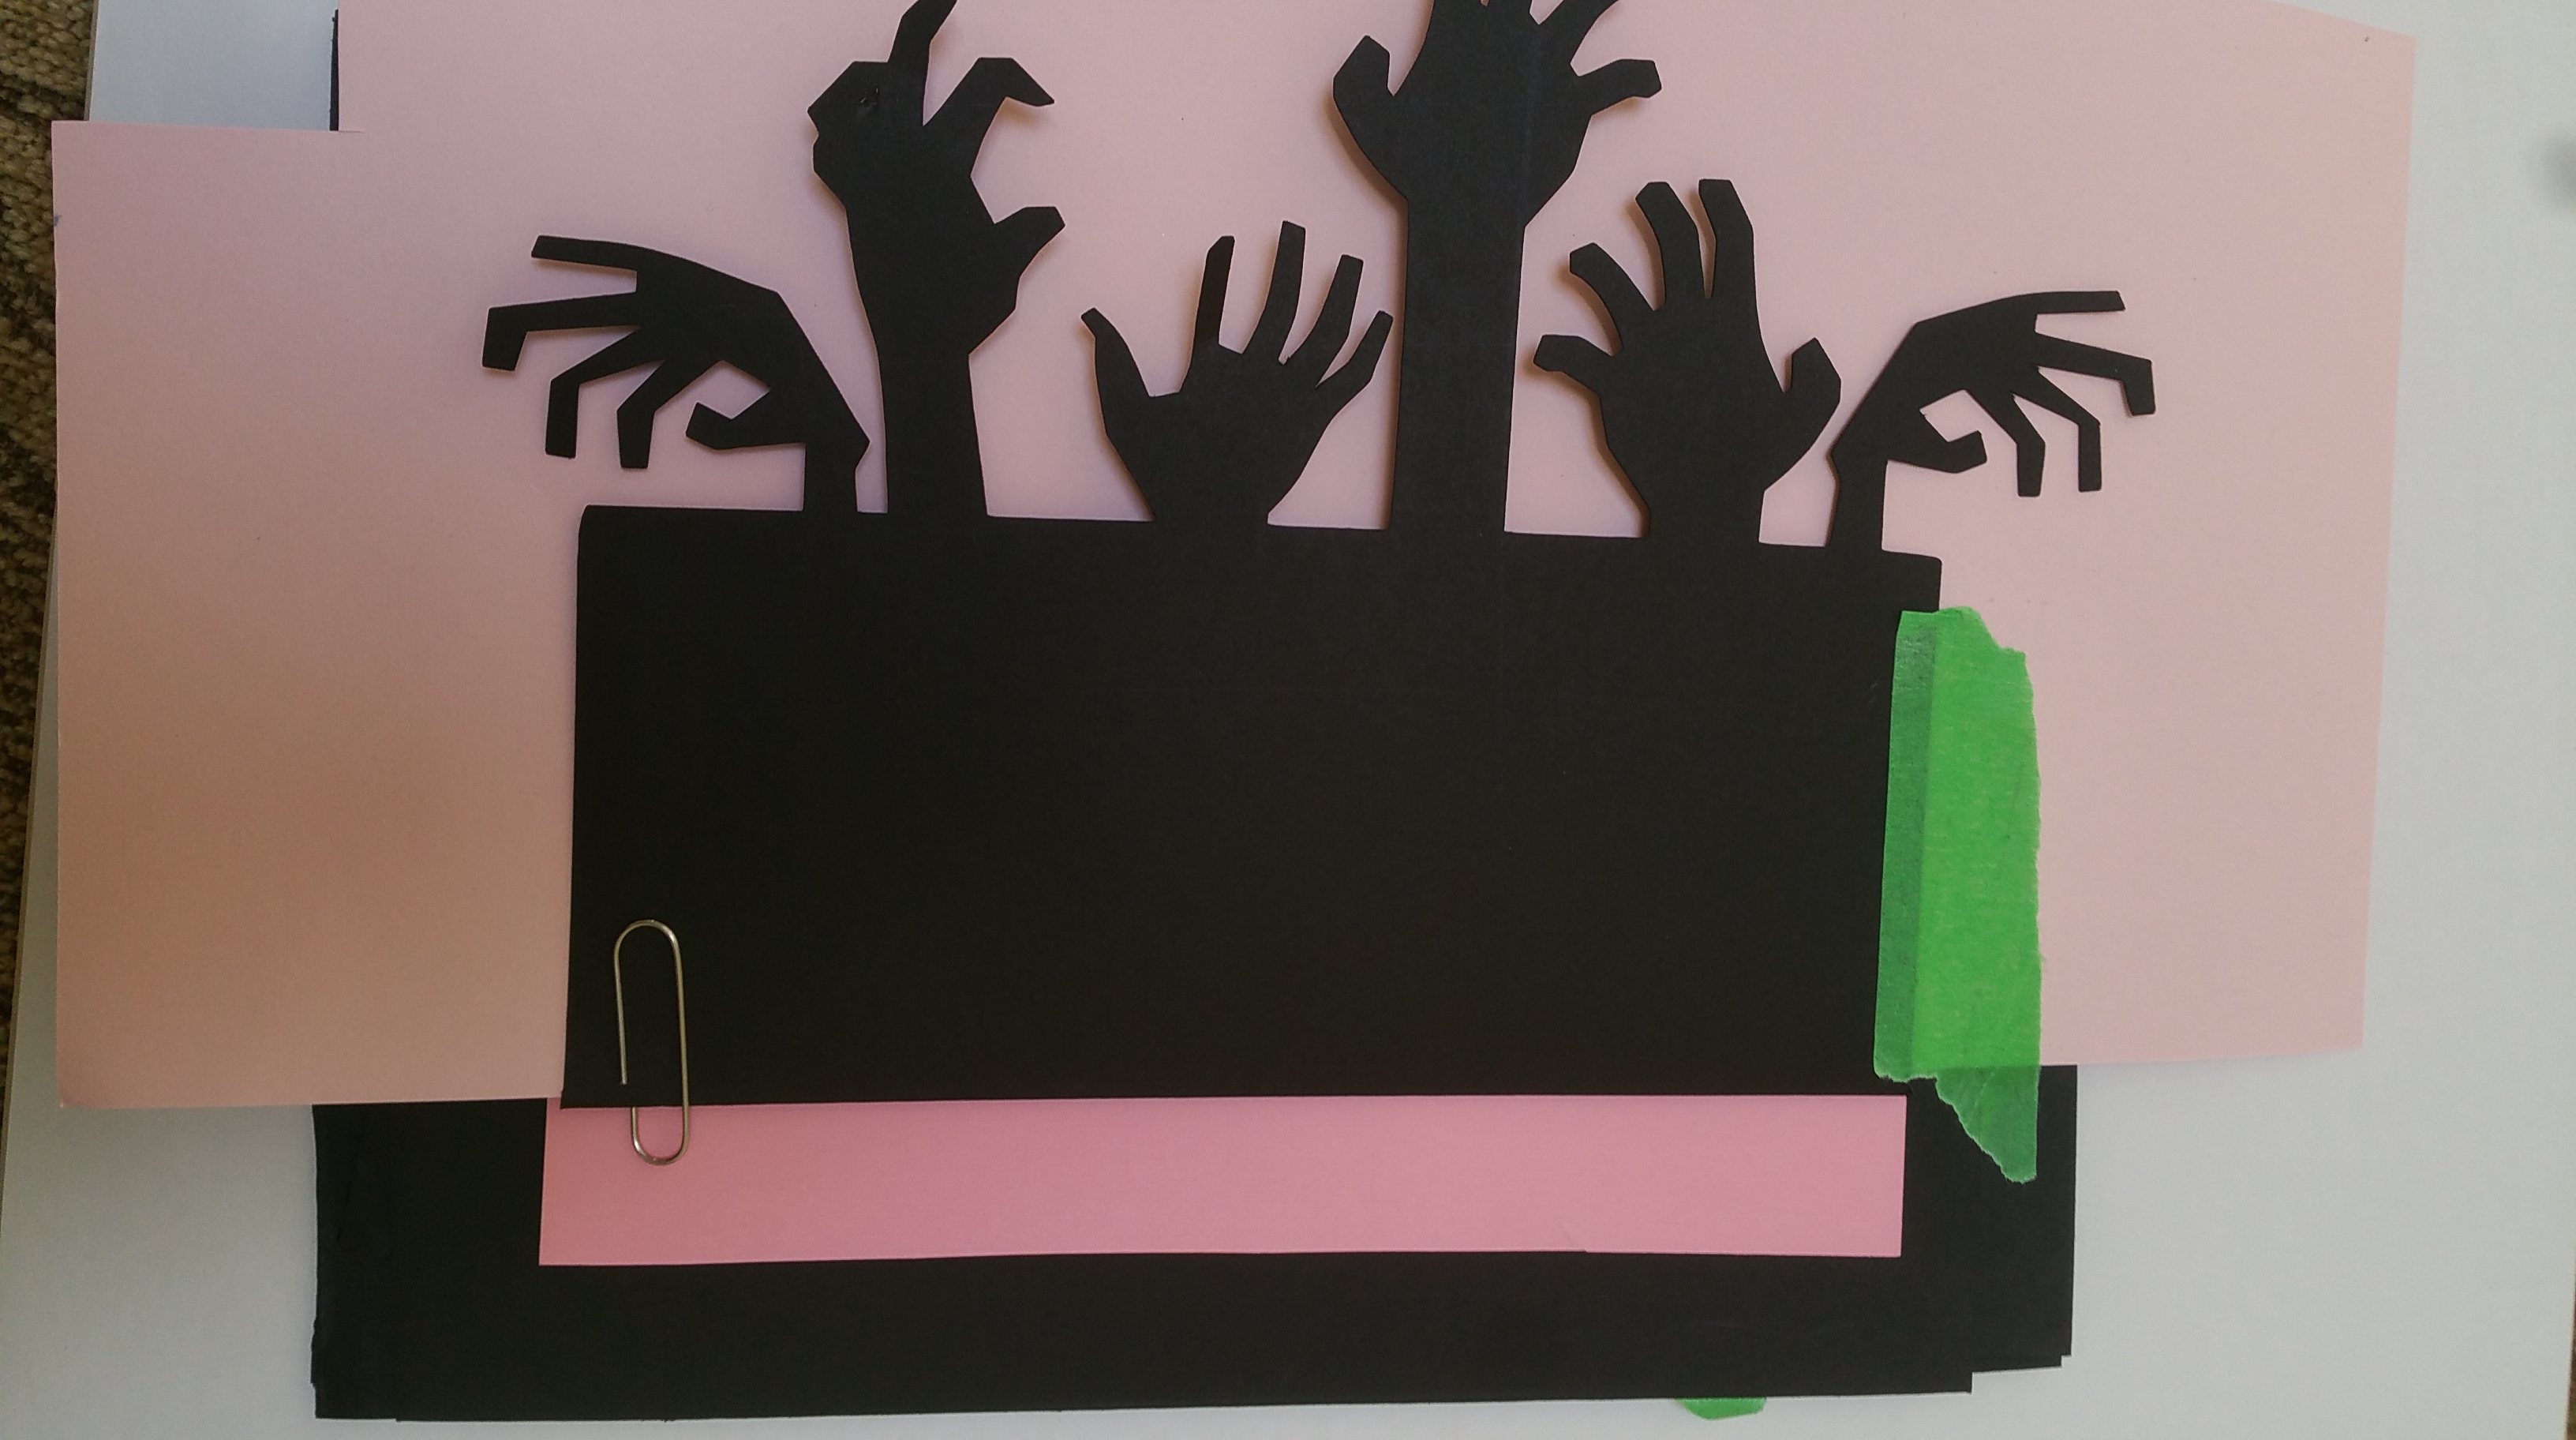
Side B of page one:
This is the large envelope.
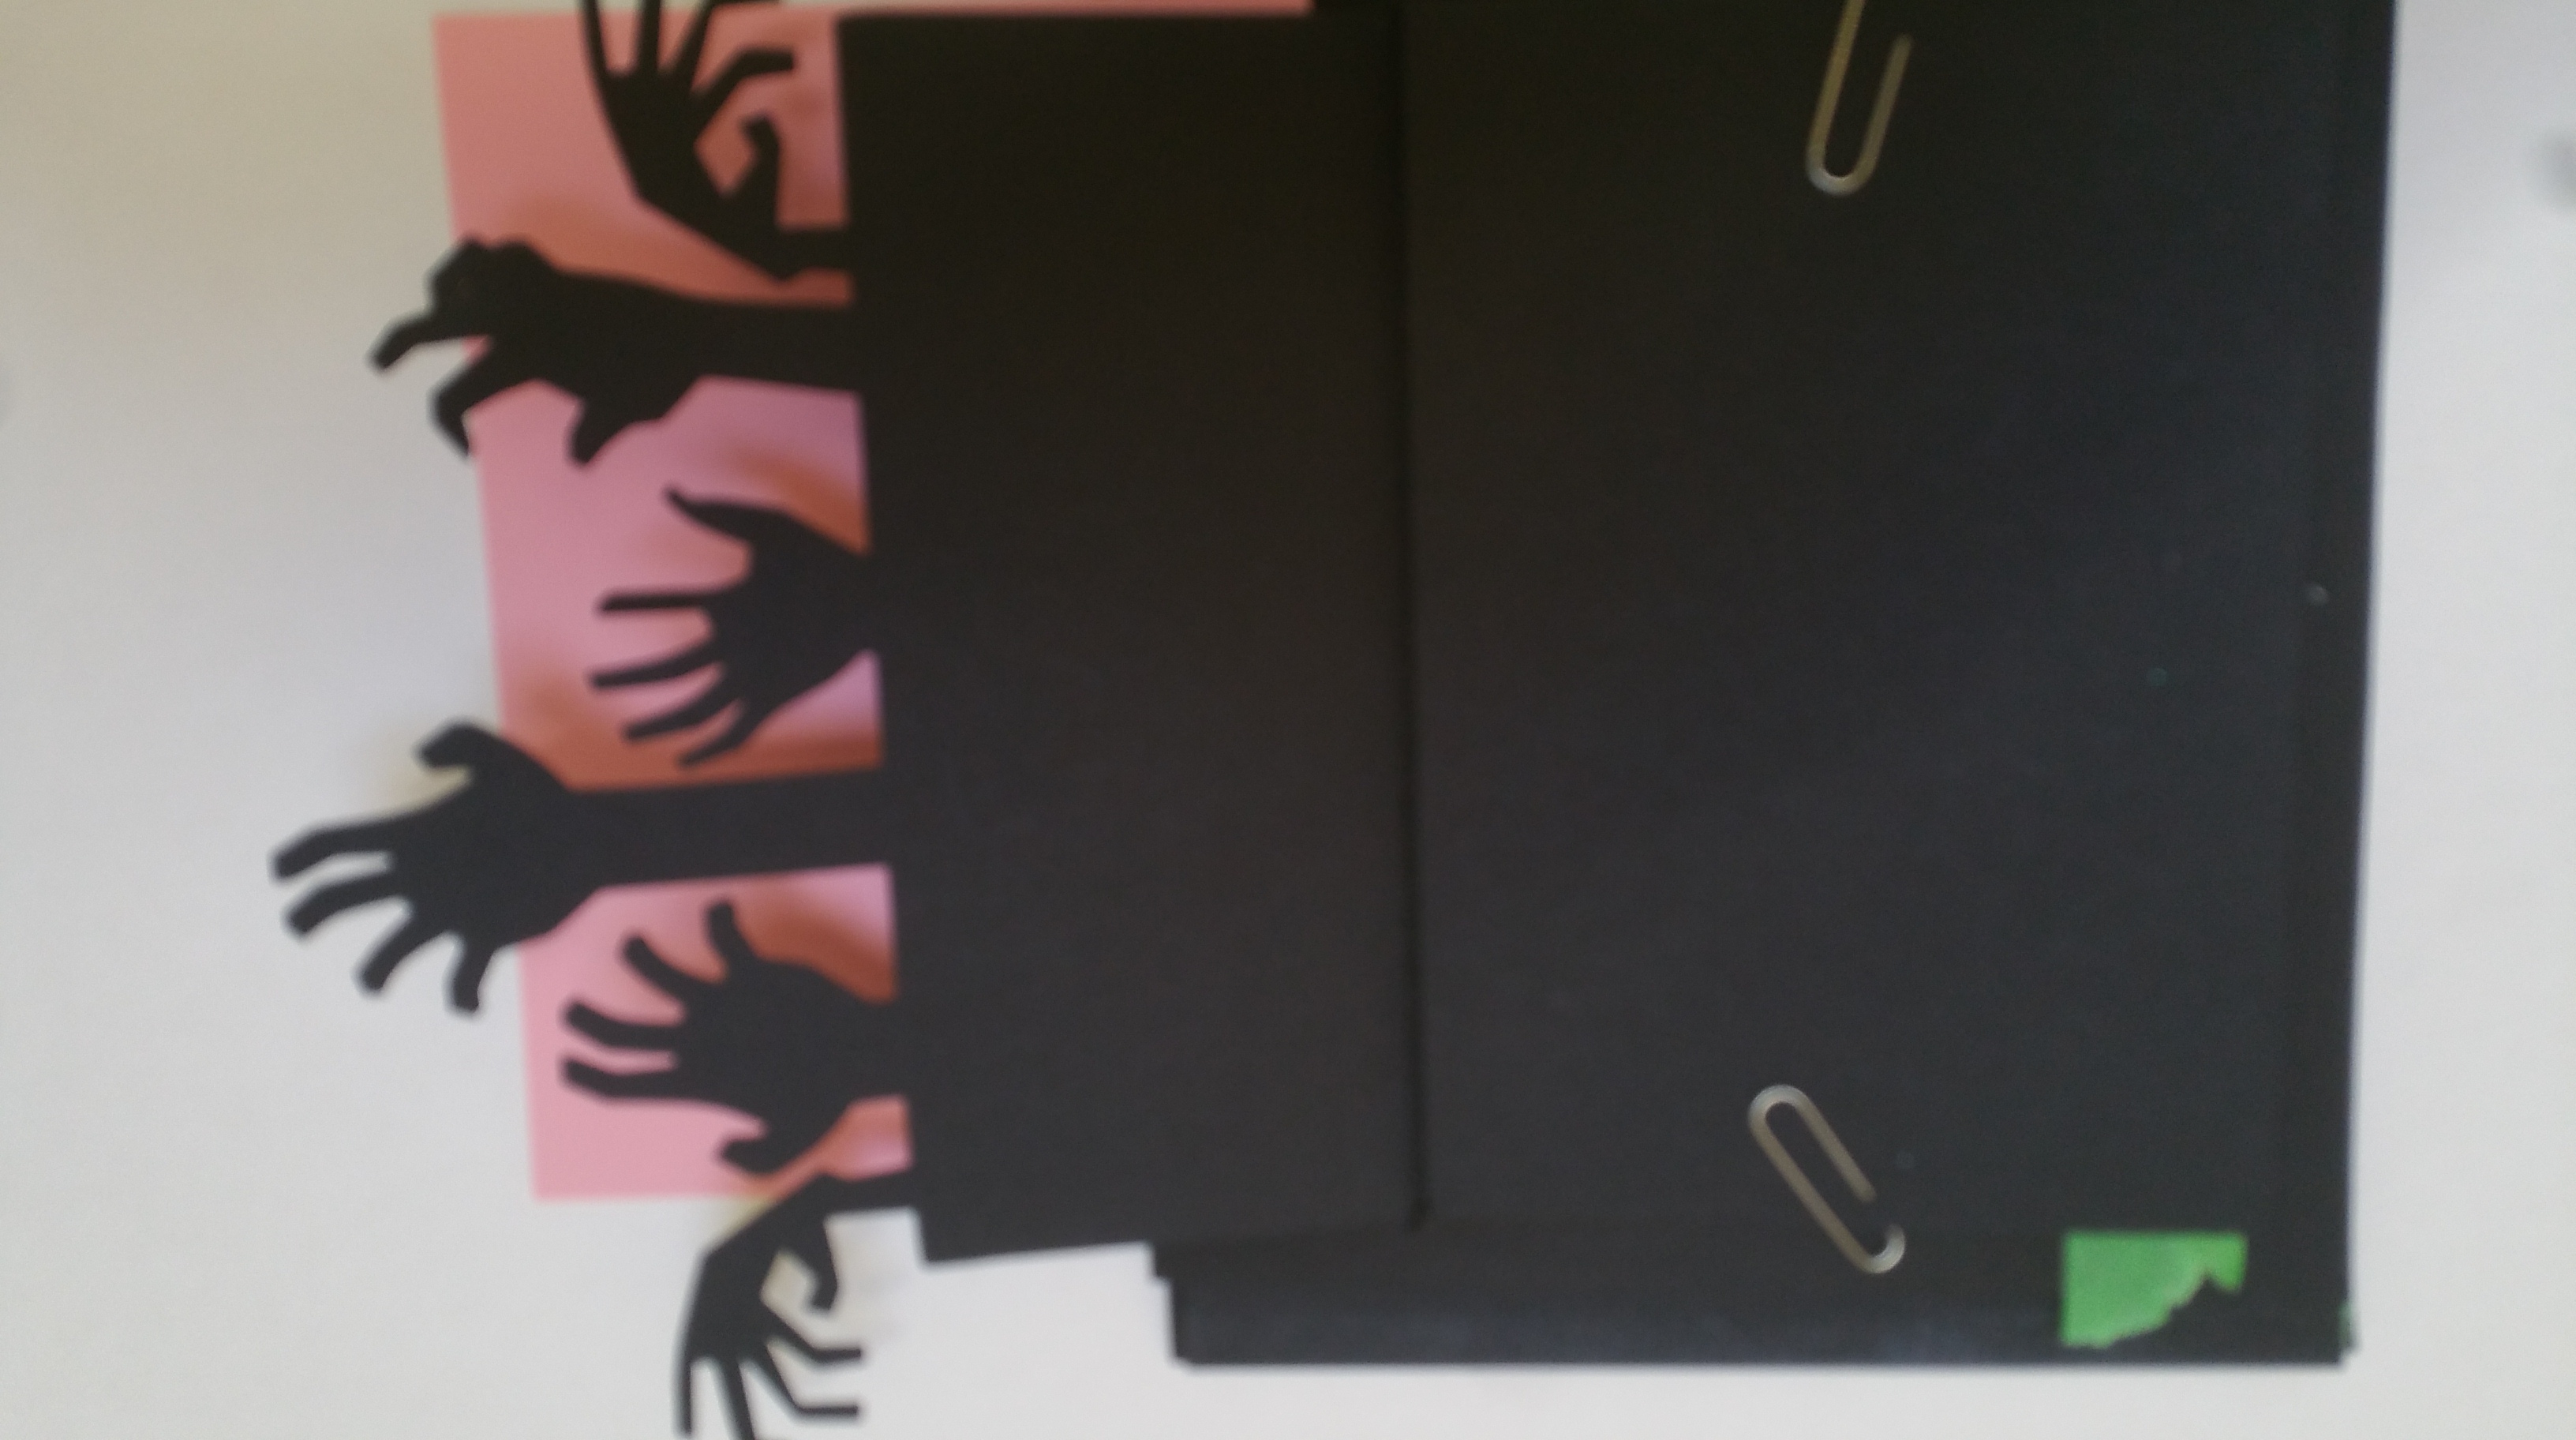
The envelope flips over to the left. Space for photos.

Again the page flips and there is a pocket to the right and a pocket to the left. The pocket with zombie hands is on a flap that opens for large photo mats…..see next photo.


It took a bit of time to mat the pages and there are a few places that still need matting. When doing the matting I placed my magnets first but found they were very thick so went and got some thinner ones but alas, they are not holding very well…next page I will try a different brand.
I am not going to attach to my binding until all the pages are complete because I want to make sure that I am absolutely finished adding flips and flaps to my page.
So here is the first page:
Side A of page one with the gate, now with the matting. I did not get a chance to go looking for cute doorknobs so I used small brads. This was one place my magnets did not hold. EEKS!
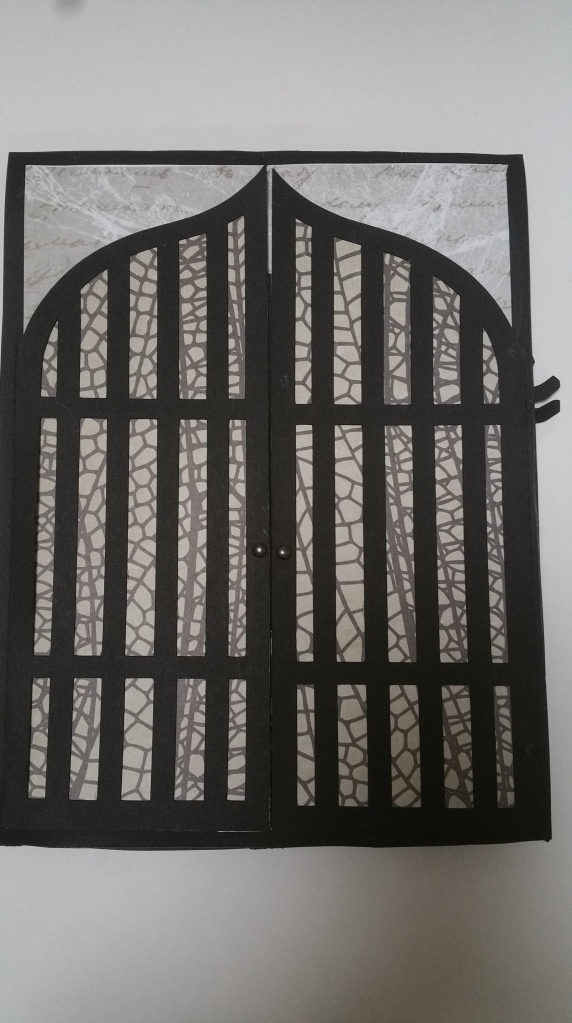
When the gate opens there is a pocket with zombie hands and a tag. the flat space behind the tag can hold a photo and the tag can be shorter.
This is to show the space for a photo mat that I have not yet completed but each page will have one in the side pocket.

Side B of Page :
A hinged page pulls to right for photo mat space. On the other side of the zombie’s hands is an envelope

this opens to reveal another envelope no matting yet and the page opposite has another large envelope with more zombie hands
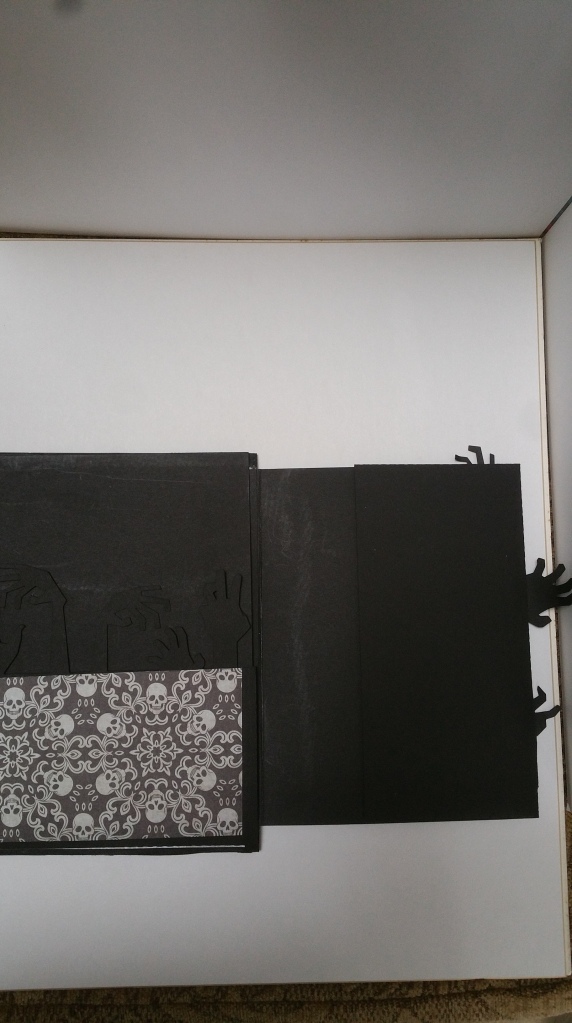
This zombie envelope is on a page that flips up

That is the end of the first page…..
I use the tombstone and zombie hands from the Silhouette design store and the paper is Recollections Halloween Ravenshead Manor collection.
For my template page subscribe and email me your request.
Carolyn

