
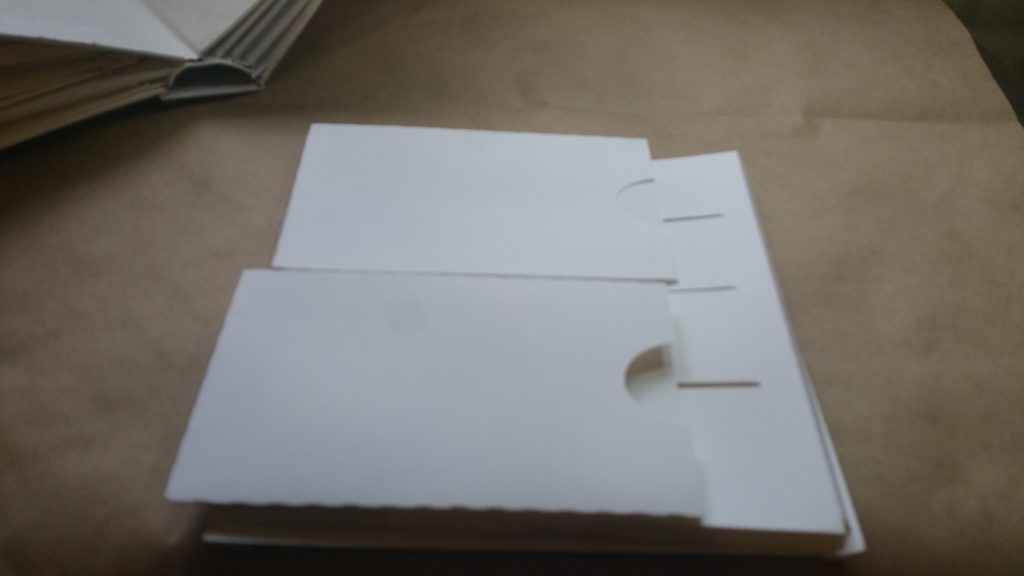
Wedding Album Brag Book that is Easy to Assemble:Page 2
Assembling page 2 of the wedding album brag book
Assembling page 2 of the wedding album brag book
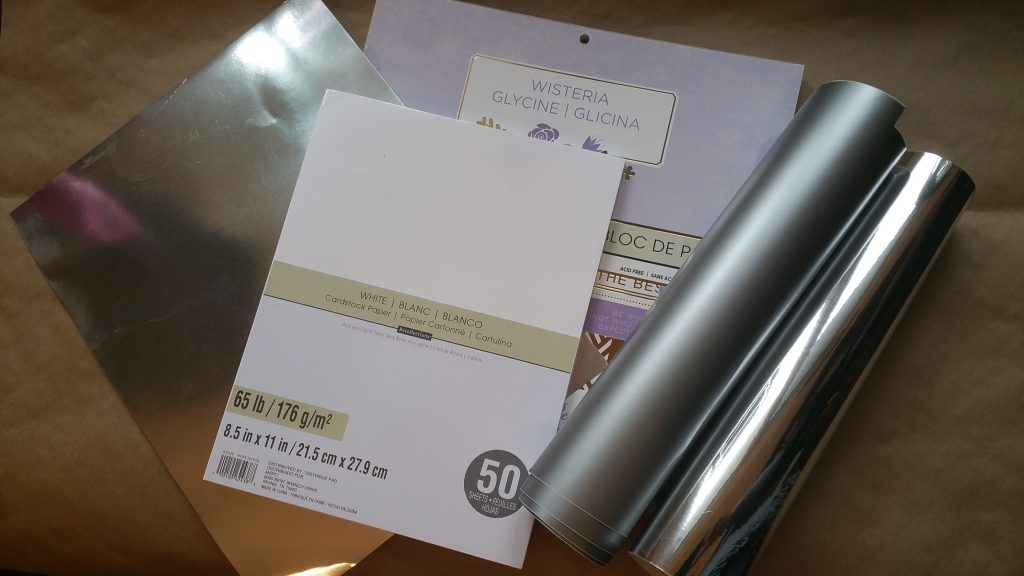
Using Digital files created for my Halloween Brag book for my Wedding Album
My popup card was made by the children when they went to deliver gifts of old blankets to the animal
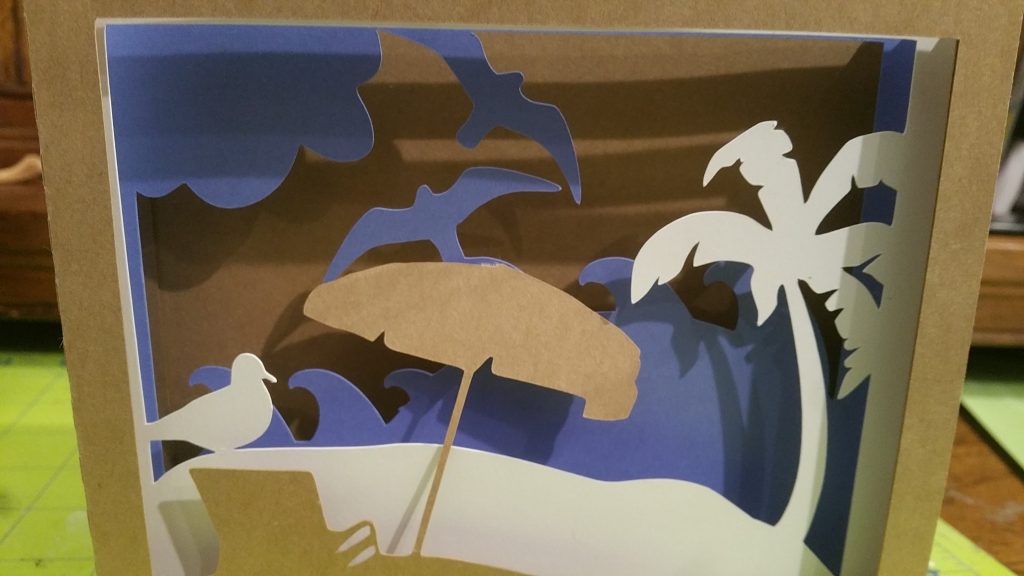
A template to download to make a shadow box card