
Grab the Free Folio Now
choice of 2 free folio for you.grab it now!
choice of 2 free folio for you.grab it now!
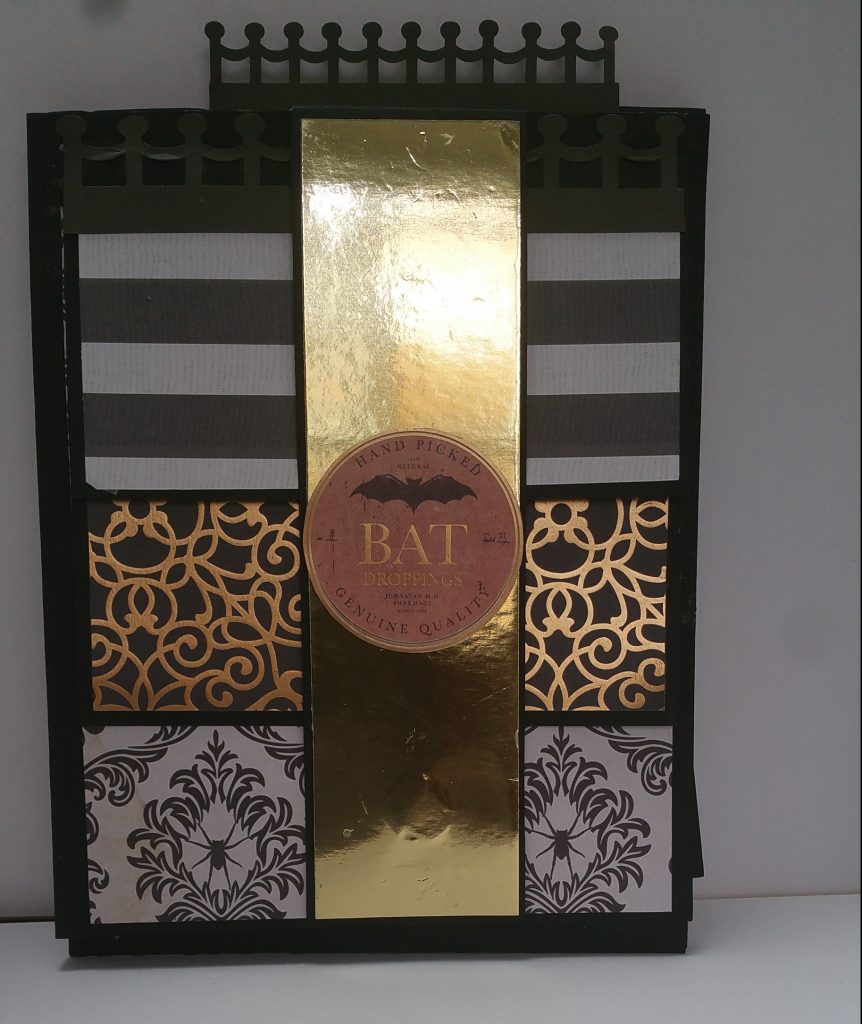
Using Digital files created for my Halloween Brag book for my Wedding Album
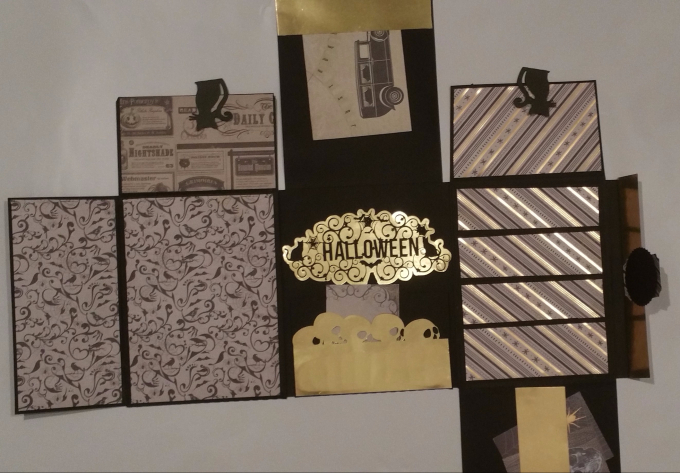
Folio page that is flexible in use and makes a beautiful gift as an album or greeting card.
Since my last post, I have been busy with real life :job and family but finally got to put this
After seeing all the beautiful projects on YouTube I really wanted to start building my pages, it is so exciting!

Scared yet? I have to say that this step took a long time for me to begin as I was

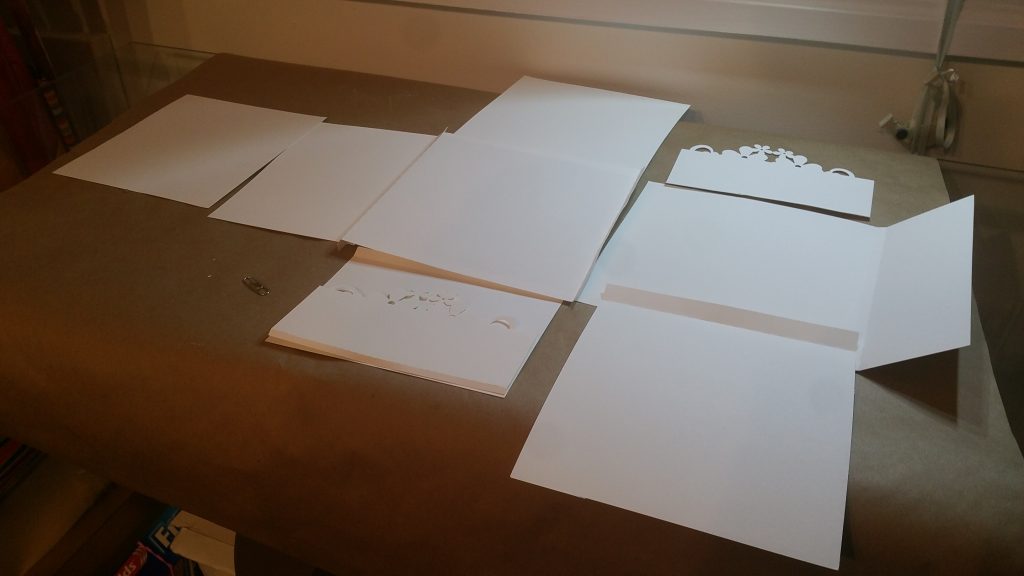
What is Too small or Too big? What is the ideal size for a brag book? In some of the
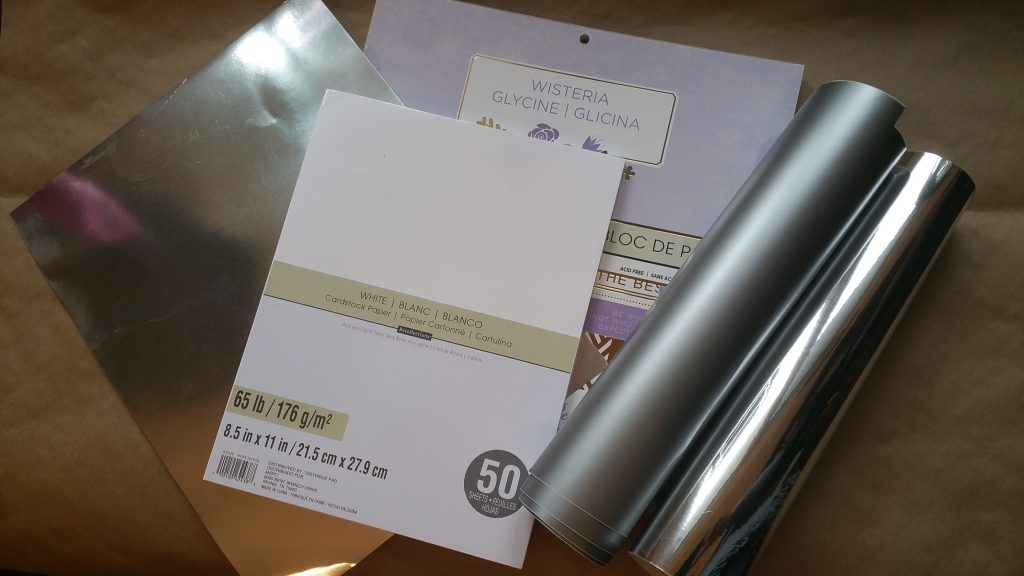
At last, I have started the process of creating a brag book from scratch. I must admit that this has