
Feast of Words/Kalimat
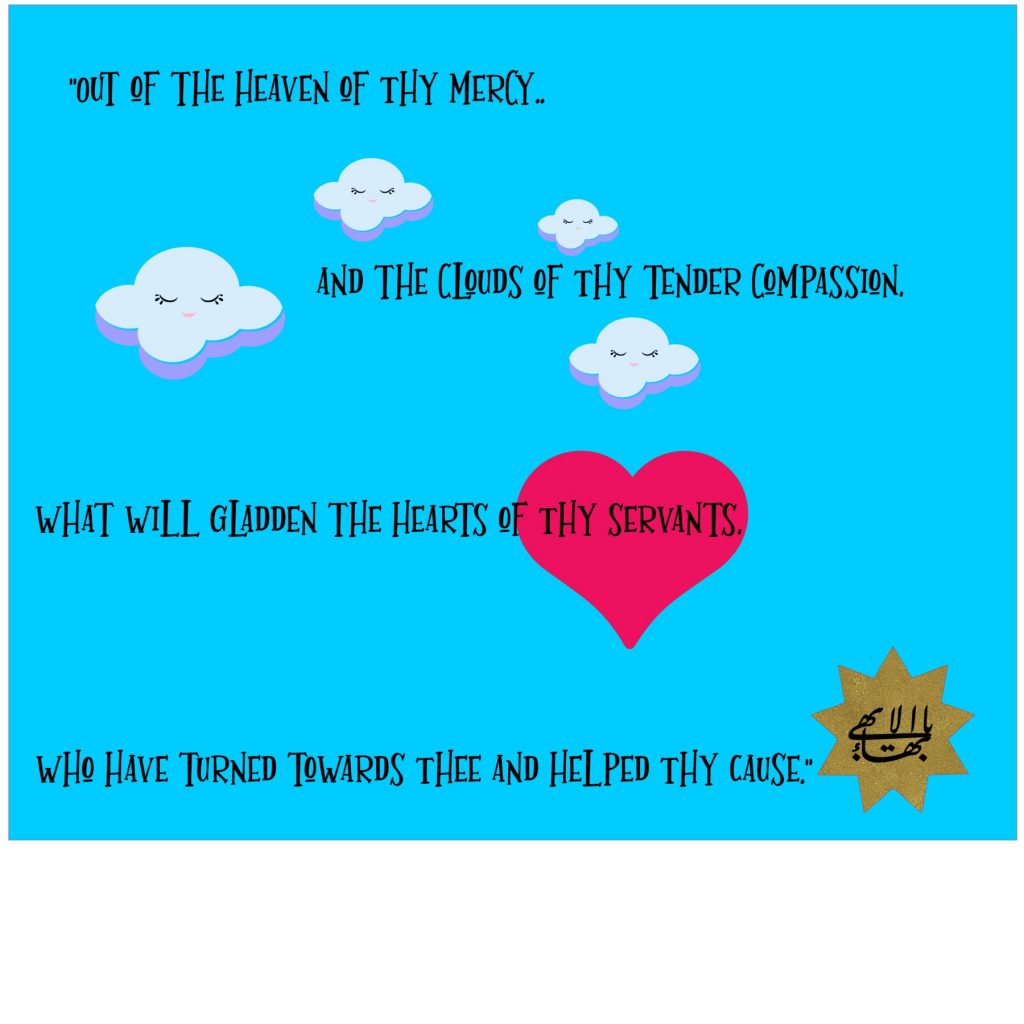
“The Word of God hath set the heart of the world afire; how regrettable if ye fail to be enkindled […]
“The Word of God hath set the heart of the world afire; how regrettable if ye fail to be enkindled […]
My popup card was made by the children when they went to deliver gifts of old blankets to the animal
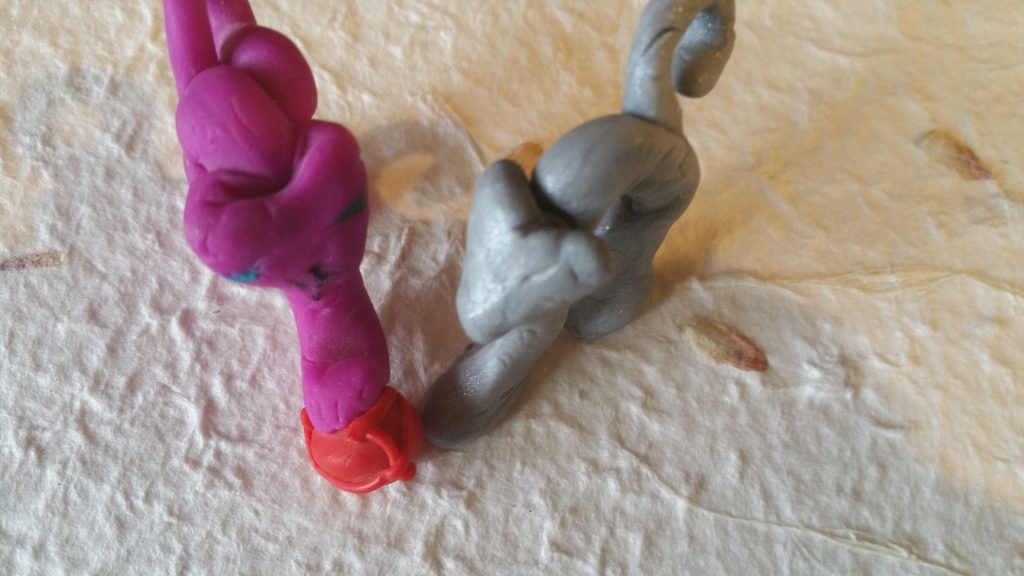
Just lost my beautiful 16 year old cat Coco . The next few crafts are dedicated to him. I made
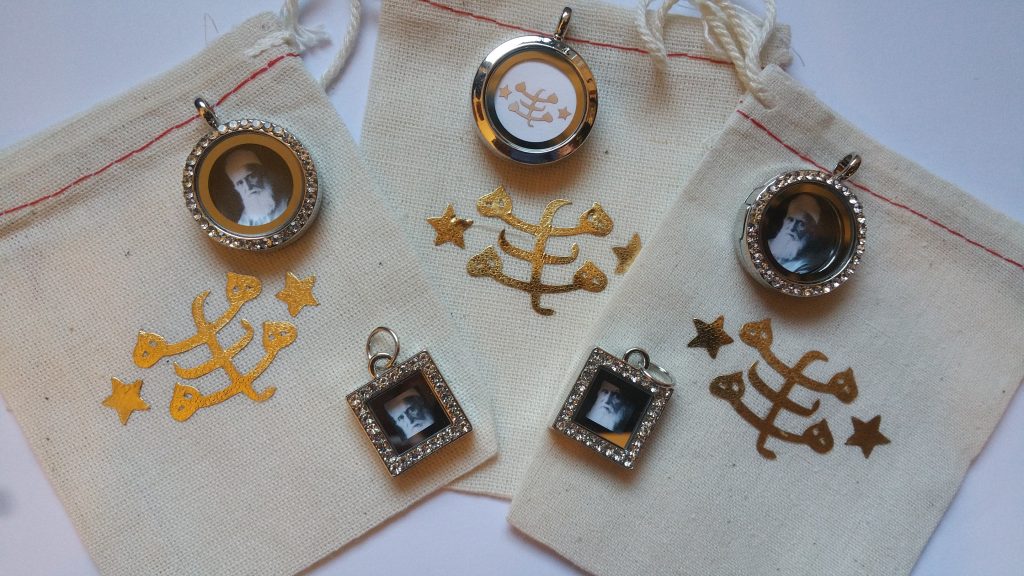
Beautiful gift that kids can help with finished in under 10 minutes