
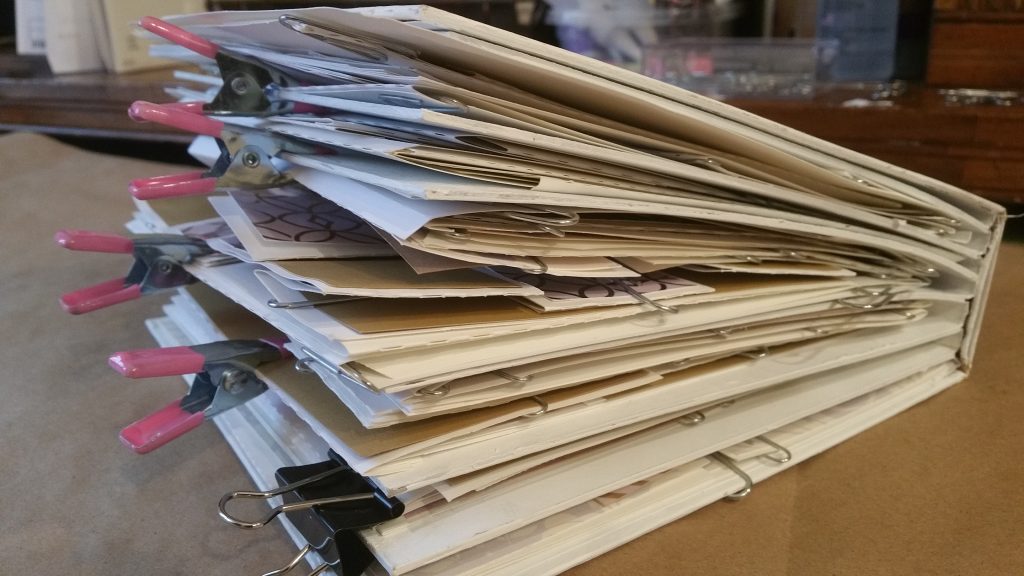
Too Big? Guilty Me!
Is my Brag Book page 3 and 4 now too big? This will always a concern and issue for me […]
Is my Brag Book page 3 and 4 now too big? This will always a concern and issue for me […]
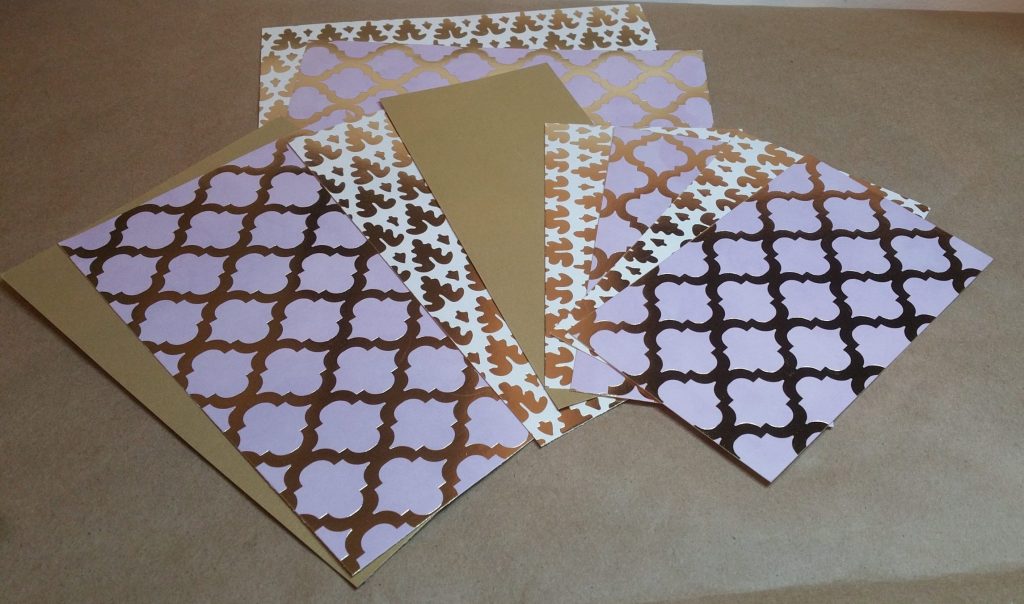
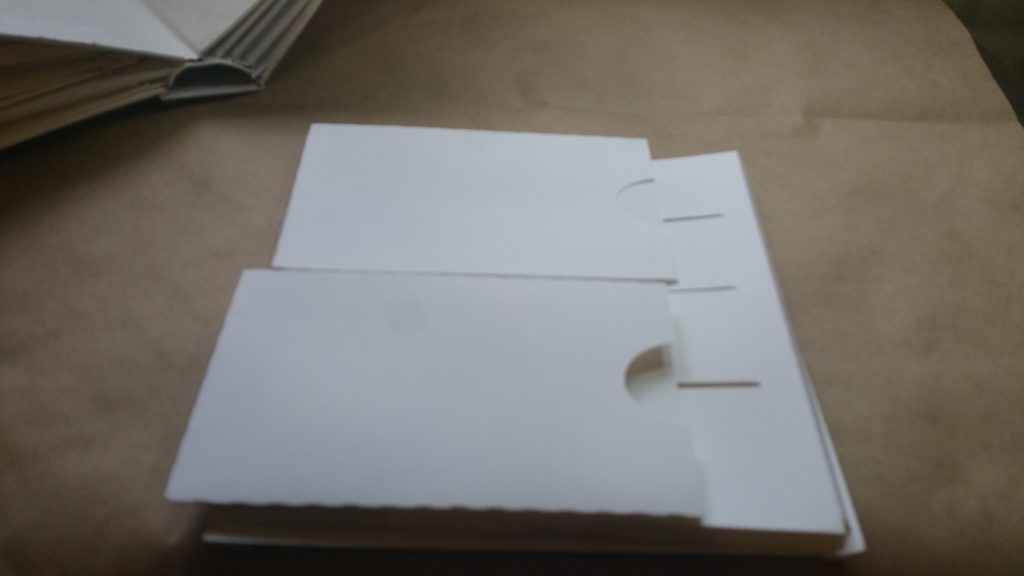
All the Matting is cut for both sides of small, medium and large flaps as well as for both envelopes.
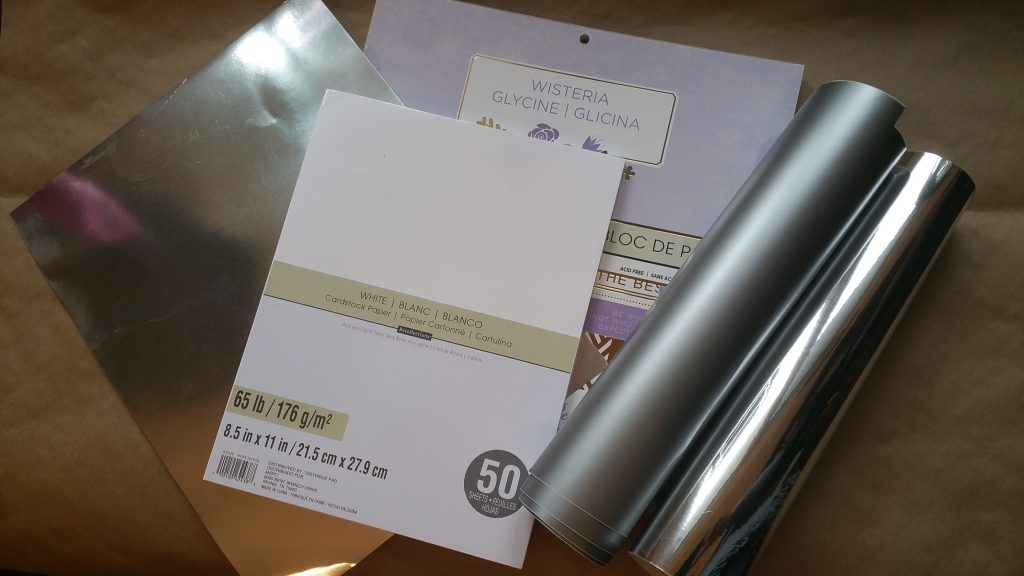
Template pages can be unique each time with custom paper and embellishments.
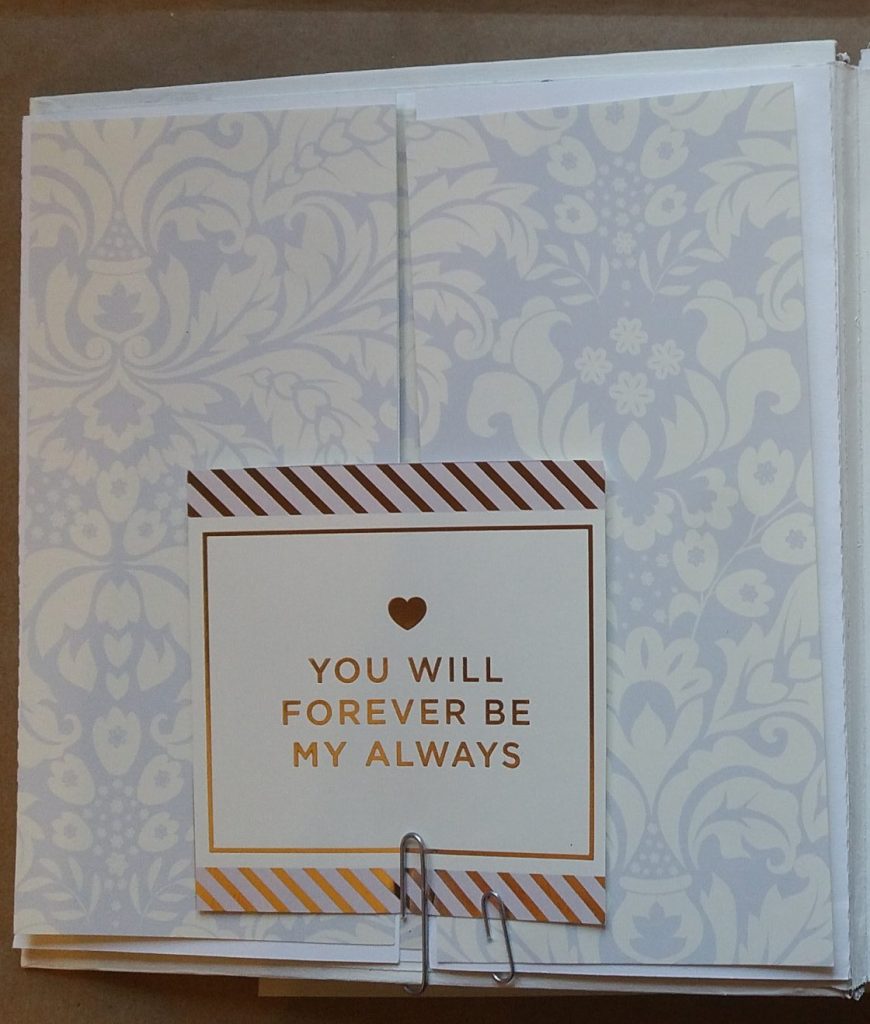
Pocket page for my best template folio #5
Assembling page 2 of the wedding album brag book
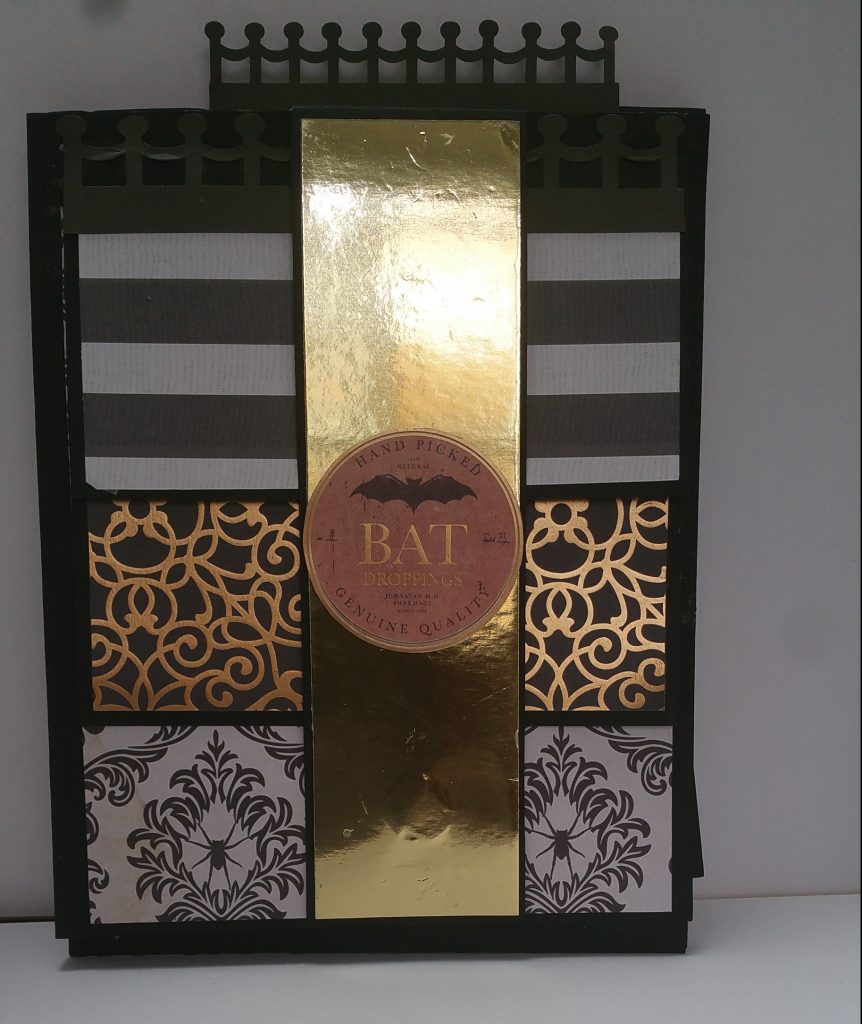
Using Digital files created for my Halloween Brag book for my Wedding Album
Since my last post, I have been busy with real life :job and family but finally got to put this
After seeing all the beautiful projects on YouTube I really wanted to start building my pages, it is so exciting!

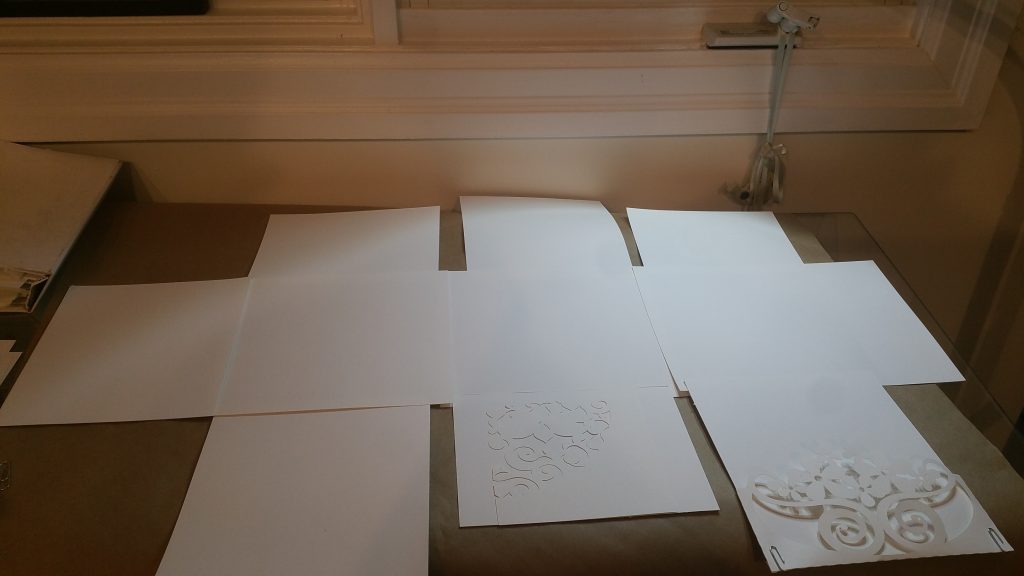
Scared yet? I have to say that this step took a long time for me to begin as I was