
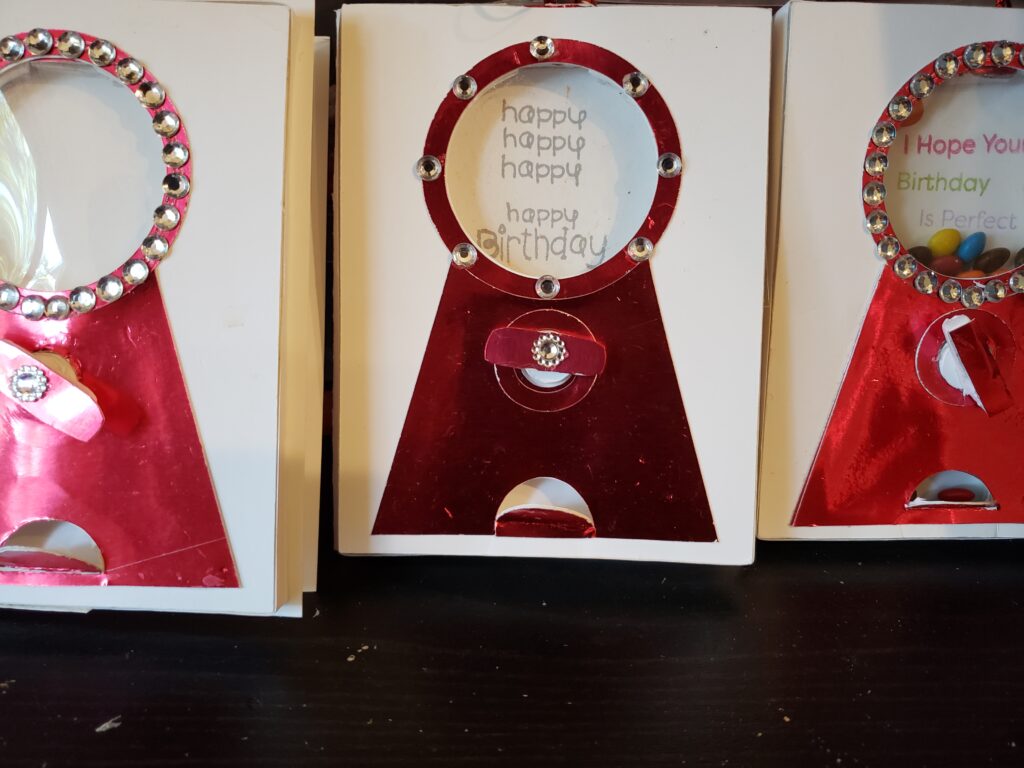
INTERACTIVE WORKING GUMBALL MACHINE CARD FREE
I was looking for an interactive card to make as I LOVE paper creations that move when I came across […]
I was looking for an interactive card to make as I LOVE paper creations that move when I came across […]
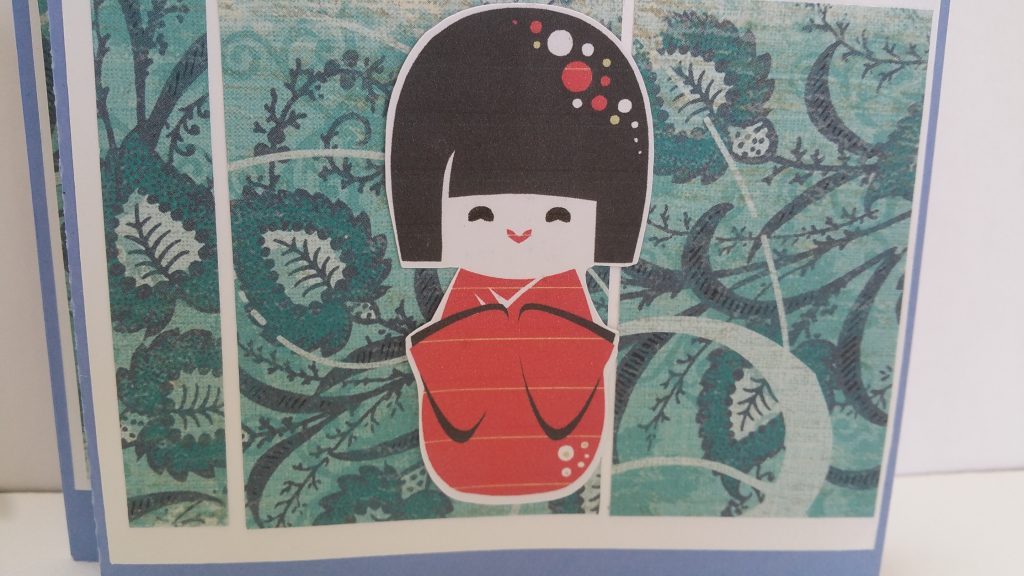
make a wiper card using any image. I use d cute kokeshi doll images from Silhouette design store.

Have you seen those awesome shadowbox cards that are 3 dimensional and look like an artist, graphic designer and engineer
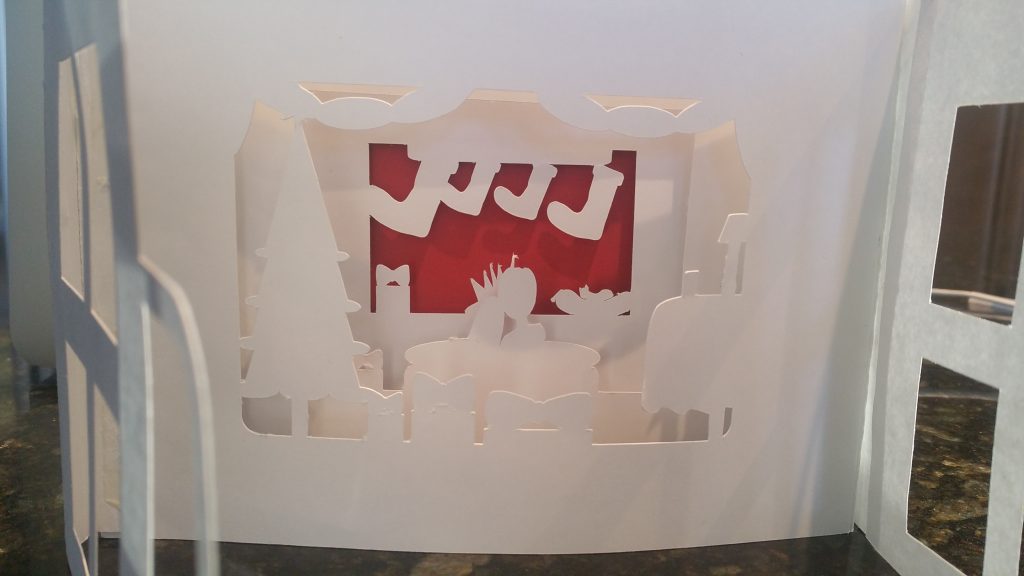
I made another version of a tunnel card with windows that open and close. When I made the card and