
Guilt free Crafting Day 1
Craft guilt free while practicing social distancing and get free files.
Craft guilt free while practicing social distancing and get free files.
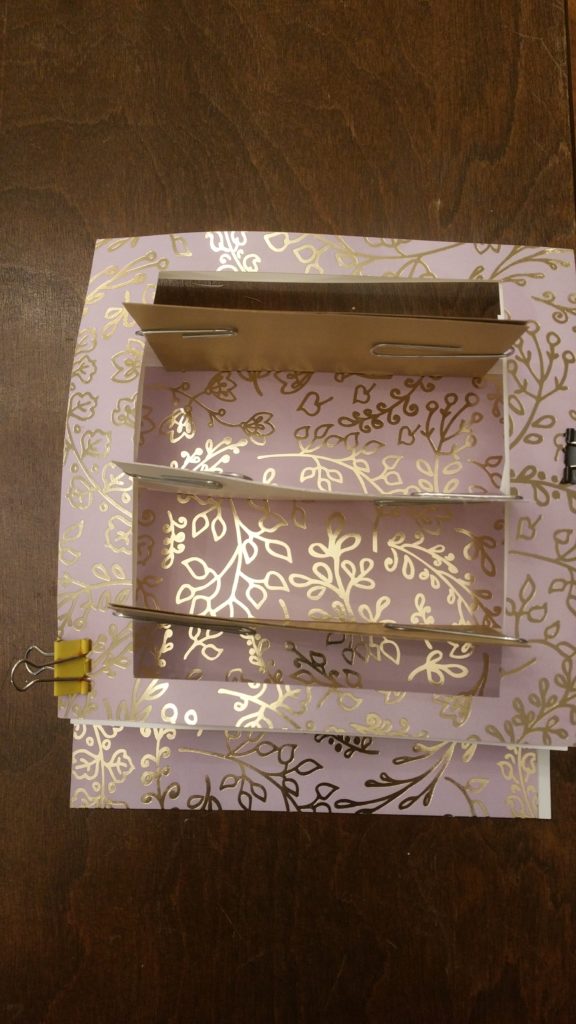
Is my Brag Book page 3 and 4 now too big? This will always a concern and issue for me
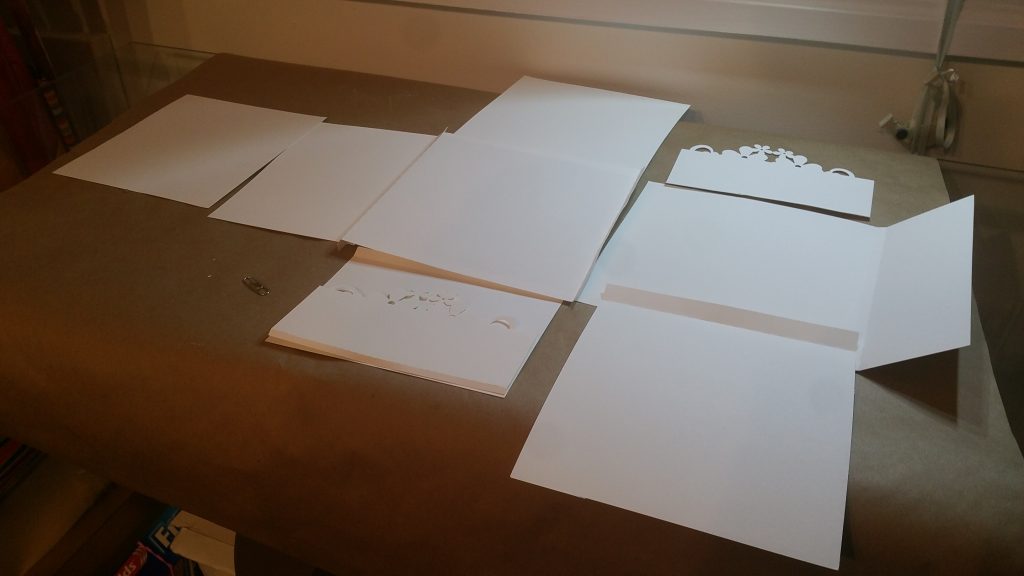
All the Matting is cut for both sides of small, medium and large flaps as well as for both envelopes.
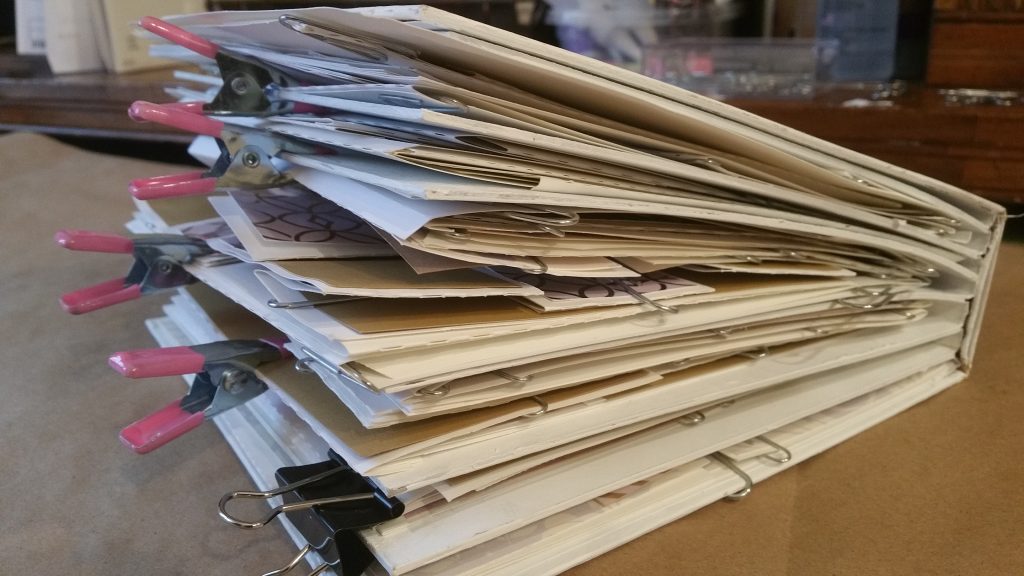
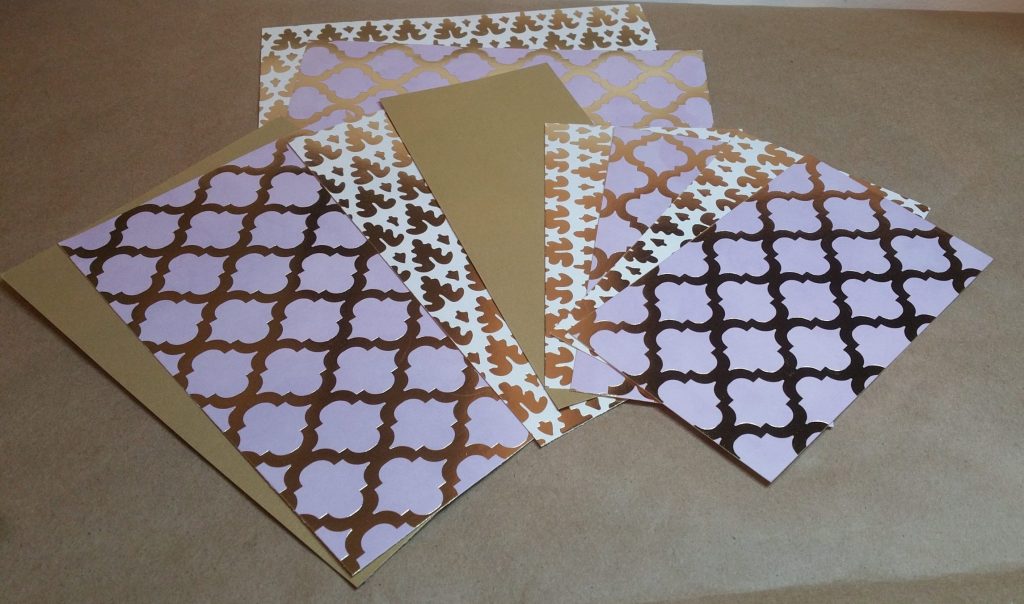
Template pages can be unique each time with custom paper and embellishments.
choice of 2 free folio for you.grab it now!
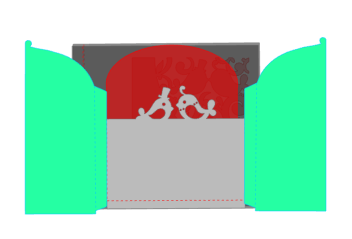
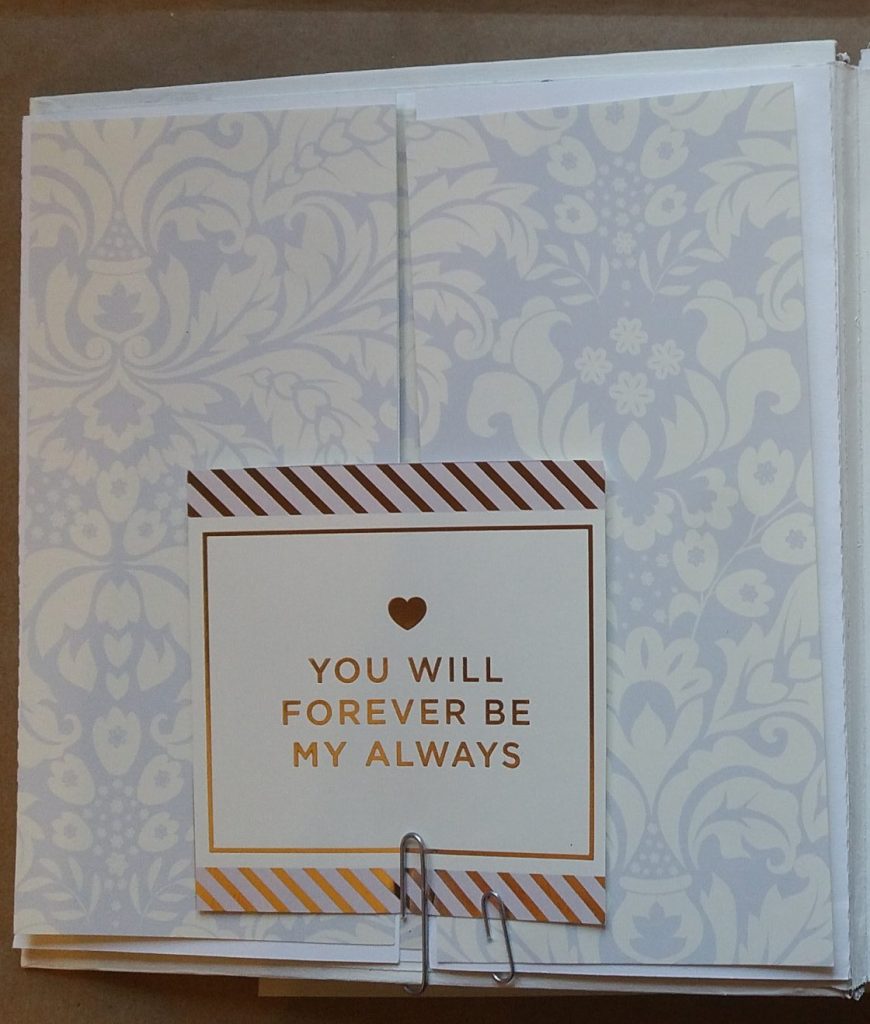
Inside cover The inside of the cover will be a simple gatefold opening to allow for a photo or wedding