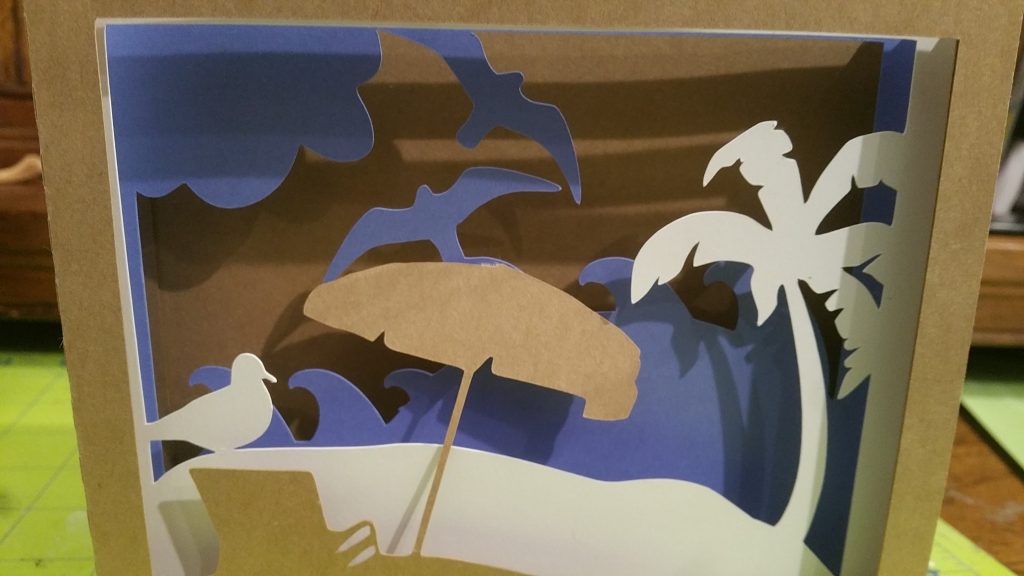
10 minute craft, Cards, Greeting Cards, Kids Can Do, Naw-Ruz, Ridvan, Template, UncategorizedShadow Box Template Carolyn / April 23, 2019 A template to download to make a shadow box card
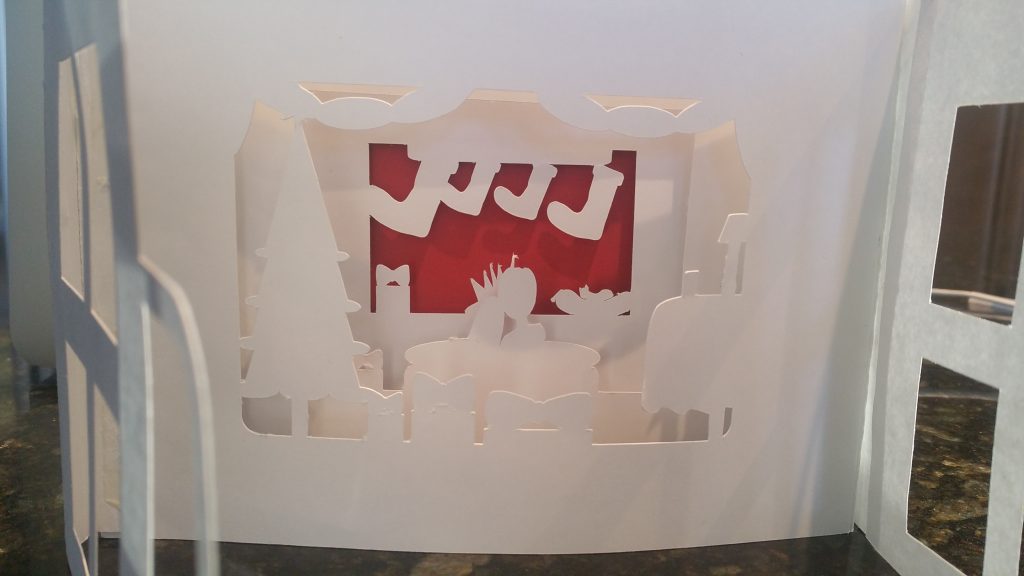
Celebrations, Free, Greeting Cards, Pop Up Cards8 Steps to making a Tunnel Card with a Christmas Scene V2. Carolyn / December 14, 2016 I made another version of a tunnel card with windows that open and close. When I made the card and