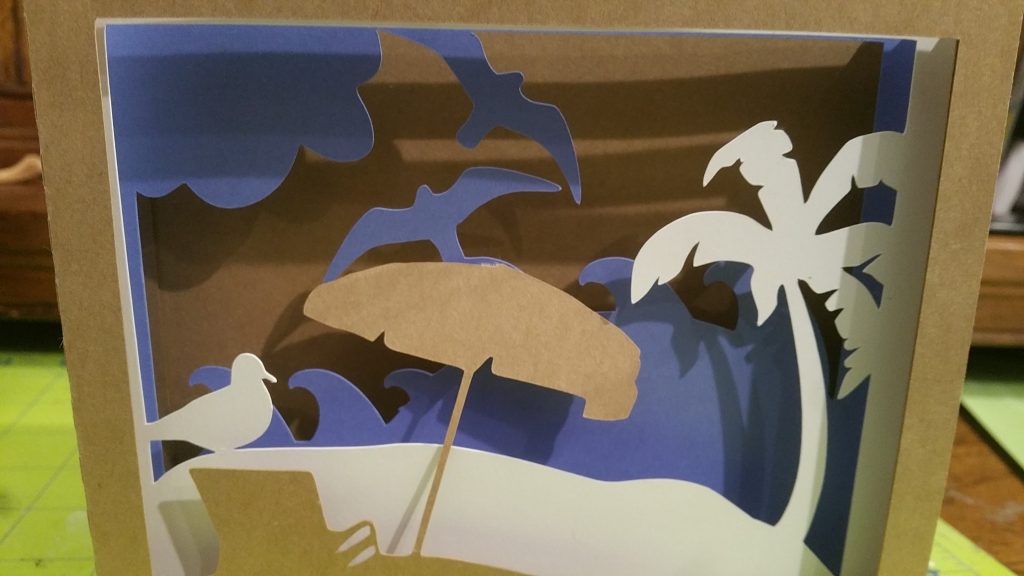
10 minute craft, Cards, Greeting Cards, Kids Can Do, Naw-Ruz, Ridvan, Template, UncategorizedShadow Box Template Carolyn / April 23, 2019 A template to download to make a shadow box card
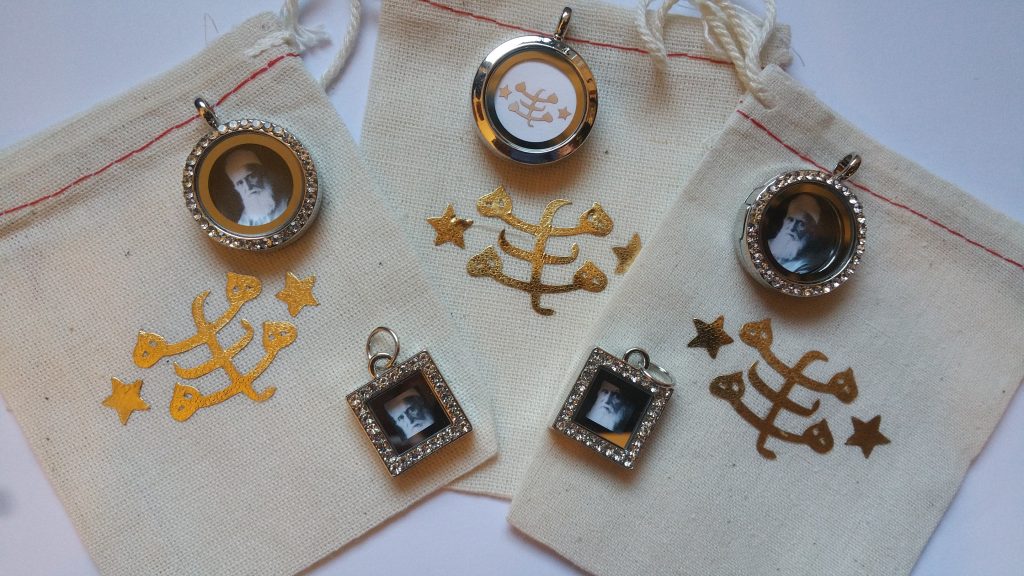
Baha'i Holy Day Ideas, Celebrations, Events, Free, Kids Can Do, TemplateDIY easy craft in 10 minutes: Kids can help! Carolyn / March 18, 2019 Beautiful gift that kids can help with finished in under 10 minutes