Categories
10 minute craft Free Kids Can Do

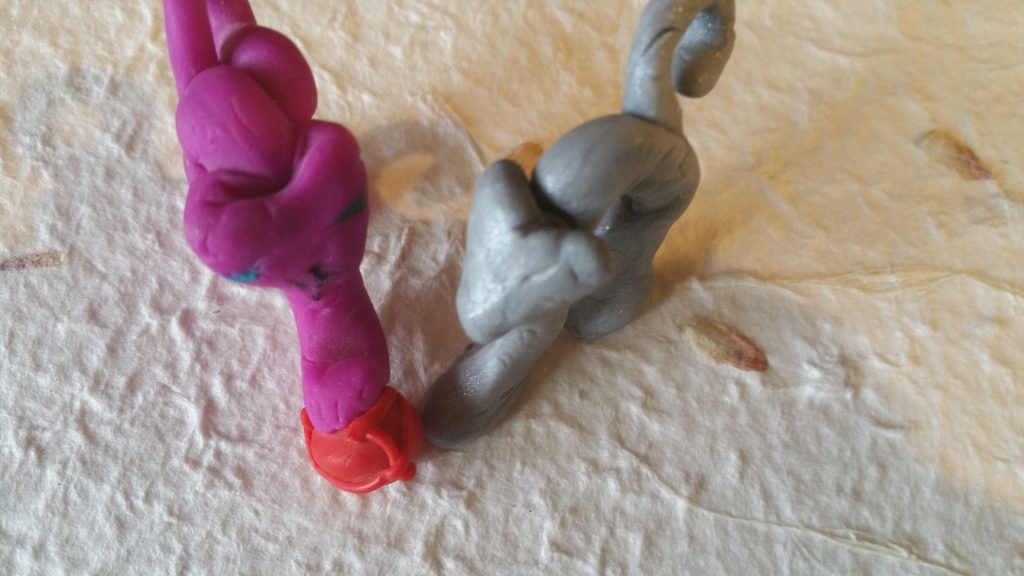
Cat Crafts: Necklace or Ornament

Just lost my beautiful 16 year old cat Coco . The next few crafts are dedicated to him.

I made this little kitty about 17 years ago when my daughter was 6 years old. It is easy to make, looks like a cat using basic shapes and needs no modelling skills, can be make with plasticine, Fimo or Sculpey Clay or home made dough.

Cat ornament or necklace

If using plasticine, this will be just an ornament as the string will cut through the plasticine material.

For Fimo clay you will need to bake the object so that it hardens and can be used as a necklace or an ornament.

Home made dough depends on recipe you use and if it will be air dried or baked. I have a few recipes pinned on my Pinterest board if you are looking for the ideal dough.

Materials needed

  • Any colour Clay/dough/plasticine
  • Ruler or Mat with grid
  • Plastic knife or other cutting implement
  • Toothpick or wooden skewer
  • Tray to bake item

Instructions for Cat

Body of cat

Use a small ball of your clay material about 1 inch diamiter

sparkling gray Fimo clay. 1 inch Diameter
Small ball of clay

Roll your ball of clay to about 5 to 6 inches long snake like piece.

clay rolled to about 6 inches long
6 inch long “snake”
  • Cut a piece about 3 inches long and form an arch ( upside down “U” ) the two ends are the front and back paws of the cat.
  • You can form little paws, I did not.
  • Make sure that your “U” balances correctly and that it will stay standing. This is important if using as an ornament

Head of cat

  • Cut a dime size piece of clay and form it into a triangle
  • Pinch the two points of triangle to form “ears”

Tail of Cat

A small piece rolled into a rope /snake shape will form the tail. You can choose to use about 1 inch piece or longer.

Finish the cat

Attach the triangle head

Bake as instructed. Enjoy!

Categories
10 minute craft Cards Celebrations Free Greeting Cards Kids Can Do Paper Pop Up Cards Template

Pop up Tulip Card for Mum

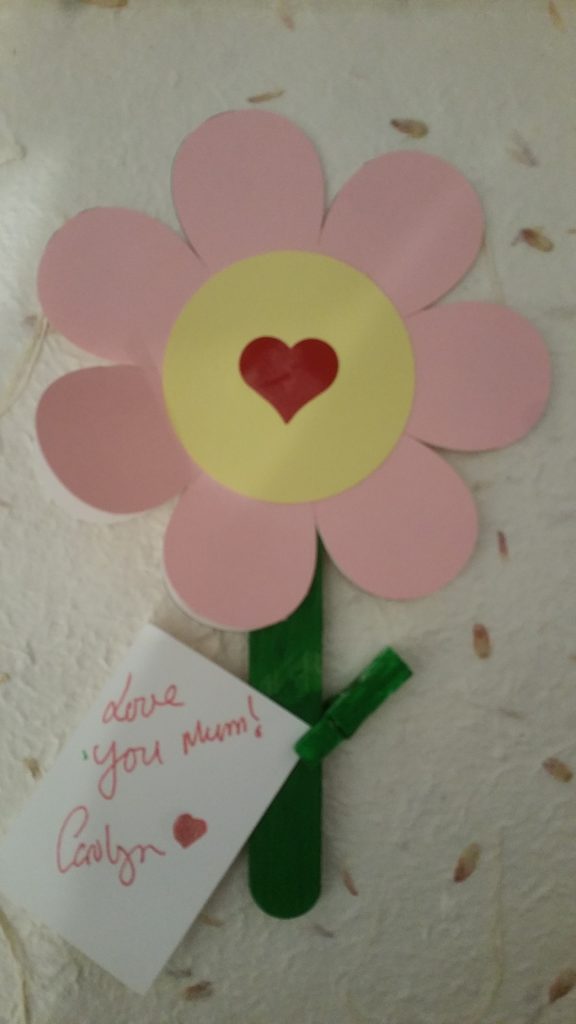
Tulips can be use for a Mothers Day card or Spring or get well card: It’s a pretty generic image.

The pop up card we will make today is from my Pinterest board that I saved as it looked so easy to do.

And, it is very easy! My template took less that 10 minutes to cut: that included changing paper colour and reloading the mat. It took me about 5 minutes to glue everything together.

If you have a Silhouette or a Cricut machine, you can use my free template to cut everything you need for this card (SVG, STUDIO 3 Files included) . There is also little tag to cut out and put on the front of the card if you like.

Don’t own a Silhouette or Cricut Machine? No worries, I have included my pdf version for you to print.

Steps to make the Pop up card

  • First of all cut all the pieces needed: the inner card base that has the cut in the middle, the outer card to use as a cover and the flower and leaves parts.
  • Next you need to fold 2 of the flowers in half and glue them on to the third flower at a slight angle. the top of the flower looks like a “W”
  • now glue the flower onto the pop up strip
  • attach the leaves
  • Line up the edges of the inner card with the outer card and apply glue.
  • Write your sentiment or print the one I have included.

Download the template here

Categories
10 minute craft Cards Celebrations Free Greeting Cards Kids Can Do Template

Pinterest tries: Mothers day card #2

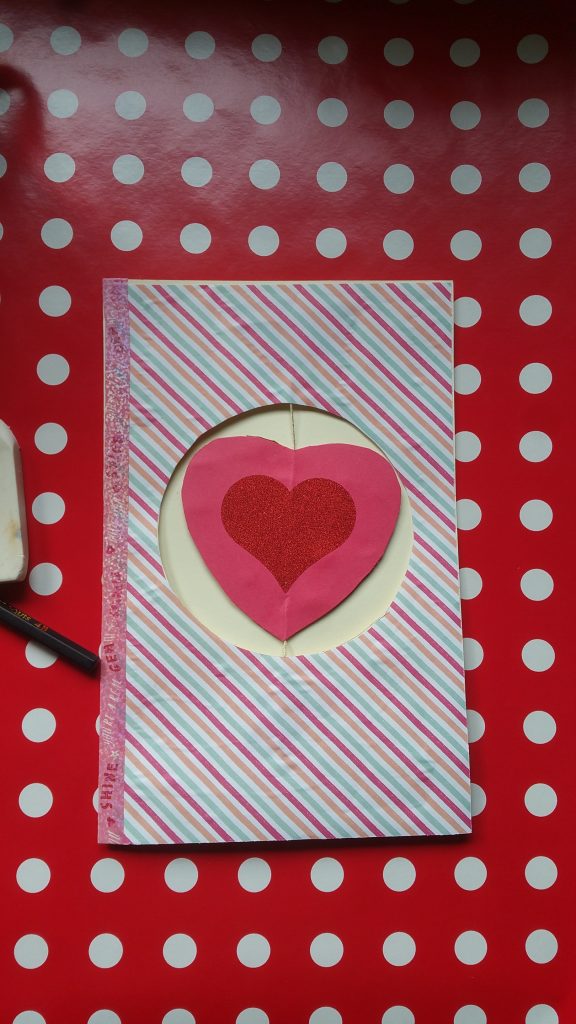
I love to Pin stuff on Pinterest and I have many boards dedicated to paper crafts, templates, cards, journal ideas, mini scrapbooks, brag books and more.

Some of the pins are my own and lots of them are just suff I find that I love but never seem to do more with these pin than file them away.

How about you? Do you do the same? One of the things I am looking for is easy crafts for kids and families. The one below seems to be very easy so here goes!

The craft I am going to attempt is a simple craft from Pinterest that is a flower shaped Mothers day craft and I will include my template version.

By the Way, if you need another Mothers day Card then get my twirling heart Mothers Day card template here.

The list of items you will need are:

  • 2 flower shape cut out of card stock, one white and one painted or cut from coloured cardstock
  • popsicle stick painted green
  • small photo that fits in a 2.5 inch circle
  • glue
  • small clothes pin/peg
  • pen to write message
  • Use my FREE template available in SVG, PDF,Studio 3

Assemble the card using my template:

  • If using my template, cut out the pieces by hand (PDF). OR if use your machine cut out pieces using the files included (STUDIO 3 or SVG files included)
  • Put the white flower with the writing on the bottom
  • Glue the pink flower to the centre of the white flower
  • Glue the photo to the centre of the pink flower
  • Glue the flowers to Popsicle stick
  • Add little clothes pin to look like a leaf. You can clip a Mothers Day greeting to the stem.

Assemble the flower without using my template:

I get it, you love to do it from scratch yourself.

  • Cut out two flowers the same size
  • cut out a small circle for the centre of the flower
  • cut out a photo to fit the small circle or write a message in this circle.
  • Attach a photo to small circle
  • paint the popsicle stick
  • Paint one flower any colour you like
  • On the white flower write your messages
  • Glue the painted flower on top of the white flower
  • Glue the circle with the photo on top of the painted flower
  • Glue both flowers to the painted popsicle stick
  • Add a small clothes pin.

Finishing Up:

to finish up I am adding a heart to the centre of the flower and not a photo as I did not have a photo small enough. Here is what I did:

If you want to use my Template, you can download it HERE.

I hope you enjoyed this craft. think its pretty easy as I took me 5 minutes to cut and 2 minutes to assemble .

Categories
10 minute craft Cards Celebrations Free Kids Can Do Template

Easy Craft for Kids: Mothers Day Card

Mothers day is fast approaching and I know some of you amazing dads want to help the kids make a gorgeous card for mum. Or Maybe you are just amazing parents and want to make a card with the kids for a grandparent. I am going to use Pinterest as my best friend and resources and try a few of the cards that I have pinned on my board Easy Crafts For Kids. I will also try to keep track of how long it takes!

The first craft I am going to try is a twirling heart and can be used not just for Mothers Day but also for Valentines day, or any occasion/ lesson for heart theme . The cards original video can be seen via the link twirling heart.

Material Needed

  • You will need a piece of cardstock 8.5 x 11 inches any colour. You can use any size but my instructions and template attached will be for these sizes.
  • piece of pattern paper 8.5 x 5.5 inches
  • 2 Red hearts same size
  • A piece of string approximately 8 inches long
  • something round to draw circle.
  • tape
  • glue
  • scissors
  • pen to write your message

Steps

Fold 8.5 x 11 inch cardstock to be a 8.5 x 5.5 inch card. You can orient the card to be any direction you like (landscape or portrait)

8.5 x 11 inch cardstock folded in hald

Use something round like a lid of a jar or a drinking glass to draw a circle on the front of the card. I used a mug that was about 3.5 inches in diameter

Glue heart on to string, centring the heart on the string as much as possible so that there is an even amount on top and bottom of heart.

Place the second heart on top of the first heart so that string is sandwiched between the two hearts.

Place heart on the front of the card, centred as close as possible over the cut out circle.

Tape the string on top and below circle

Glue the patterned paper on the front of the card so that the string is hidden

Twirl the heart and close the card.

Give the card to your Mum

When the card is opened, the heart will spin. Twirl the heart and close the card and when opened again, it will spin…. continue as much as you like.

From Start to Finish

With my PDF template to print, cut out and glue it took 15 minutes. Without my template it took longer as I had to draw the circle, and hearts and then cut out : this took about 20 to 25 minutes. Using my silhouette to cut took under 10 min.

My free template of this card can be downloaded as an SVG file, A studio 3 file or PDF here.

Carolyn