Categories
Free Mini Album and Brag Books scrapbook silhouette design store Template

Brag Book 101: Page 3

For this page, I wanted to be a bit more creative but not sure if this is a good idea…let me explain why: Paper. Yes. Paper… It takes way too much paper to mat all the pages and inserts. I am thinking I will not have enough to finish my 6 pages!

BUT… I still ended up making this 3rd page with lots of interactive parts such as pull out, flaps and there is a lot of space for photos.

To get my digital files, subscribe below and send a message requesting exactly what you need: page 1 of brag book , page 2 of brag book etc.

Links to review

Page 3

My page theme for page 3 is Witches, Bats, and Cats. Most are from the Silhouette Design store

Here is my layout

Side one

The first page is basic with a pocket. I am introducing gold cardstock so my patterned paper will be enough for the entire 6 pages I plan. The gold cardstock is from Dollar tree and comes in a pack with green, blue , red and silver.

20171101_105442.jpg
Witch pocket first page. side 1

This opens to an accordion page on the right and a pocket on the left.

20171101_105425.jpg
20171101_105404.jpg
20171101_105339.jpg

There are pocket inserts for this side of the accordion pages and a large page for a photo under the accordion page.

20171101_105321.jpg

Digital Images of files

Note that the pockets have not been changed to be pockets with a Halloween images attached but are plain basic generic pockets. To make the pockets themed, you need to weld the image of your choice to the pocket.

Side 2

There is a double tri shutter pull mechanism with a belly band holding it closed.

20171101_105514
20171101_105545
20171101_105557
20171101_105633.jpg

My Digital File

This is a simple double trifold. I am using another from a video tutorial by Brahm Craft ideas

Close it up again, flip it open to show a double vertical flap on the right and a pocket on the left.

20171101_105757.jpg

….. this opens to a horizontal flap

20171101_105817.jpg

Which in turn, opens to a large base page for  a photo.

20171101_105837.jpg

The digital file

Hope you enjoyed!

Side 2 of page 3 the second part
page opens up.

Please Subscribe to my blog and don’t forget to message me with the file you would like.

[wpforms id=”1223″ title=”false” description=”false”]

Carolyn

Categories
Celebrations Free Greeting Cards Pop Up Cards

8 Steps to making a Tunnel Card with a Christmas Scene V2.

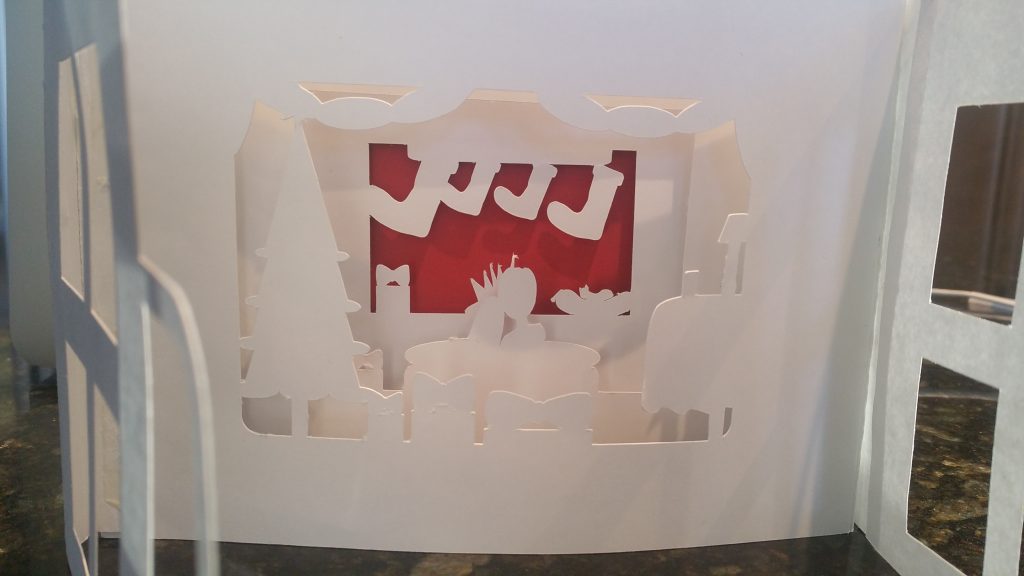
I made another version of a tunnel card with windows that open and close.

When I made the card and assembled it I realized I need to do a few adjustments, so I will share the steps on how I put the card together, but  the link to download is the  updated version.

First step

First of all, I wanted to have a “cover” for the card that wrapped around it, so this is what I came up with:

  1. A solid back, made from cardstock that is is 100 lb weight, this also has side tabs to stick the panels on.
  2. The bent sides shown here is where I will stick the bookbinding inserts shown in  the next step below.

20161214_140806

Second Step

The bookbinding method I am using is a little different from the first card. This method has 3 mountains and 4 flat spaces.

The card stock is 100 Lb weight and I found it a bit too heavy. I also think that I like the first method in my previous post of attaching and spacing the panels.

As you can see from the photo below, the image on the right is the flat paper with score makes to fold and the image on the left is the folded mountain piece.

it is important is to make sure the mountain parts are very well stuck together.
20161214_140704

Third Step

I added a bit of color to the background piece (Red Card Stock). This was cut on regular cardstock, 50 lb paper.

The two short sides are glued down and so will the bottom edge.

This will form a pocket and allow for an insert. The insert is for writing a greeting.20161214_140850

Fourth Step

The red back piece is stuck first then the window side panels.

The windows in the updated version will be held close with a Christmas bell, for this version it did not cut as expected.

The bookbinding pieces go next.

20161214_142313

Step Five

Start with the 3rd panel, the one with the smallest opening with the stockings and fireplace,

Attache the edge to the closest “mountain ” tab.

Next attach the 2nd panel, the one with the couple on the sofa

Last is the panel with the Christmas tree and gifts.
20161214_143050

Step six

Attach all the panels to the other side in the same order.

It would have been very easy if I had not attached the bindings to the back of the card in step 4!

Insert the roof with Santa stuck in chimney  into our little red pocket.

Step Seven

All attached but not yet complete! Cute right? As you notice, my windows have cutout panels.

Step Eight

You need to write a greeting so here is the prefect spot to place it: this tab has Santa stuck in the chimney…so grab his little foot and give a tug!

Here are the studio 3  files in Dropbox, it is for personal use.

Carolyn.

Like us on Facebook and post your card