
Have you seen those awesome shadowbox cards that are 3 dimensional and look like an artist, graphic designer and engineer must have collaborated to make it? Also You can buy these cards for $2.99 and more but why would you when you can make your own?
If you have not see theses cards then you are in for a treat because not only will someone love getting one from you, I will give you the basic template and you can customize as you see fit.
Shadow Box Card
Ok now lets back up a little and give you some ideas of what I am talking about and then we will go into what you need to make these cards. Below is a Christmas Santa card that I made a few years ago. Notice that there are layers and this gives the 3D effect. These cards are called shadowbox or tunnel cards.

This Santa Card what cut on a Silhouette Cameo Machine, so for those of you who own a machine like this, I will show you how to use my template to make any card you like.
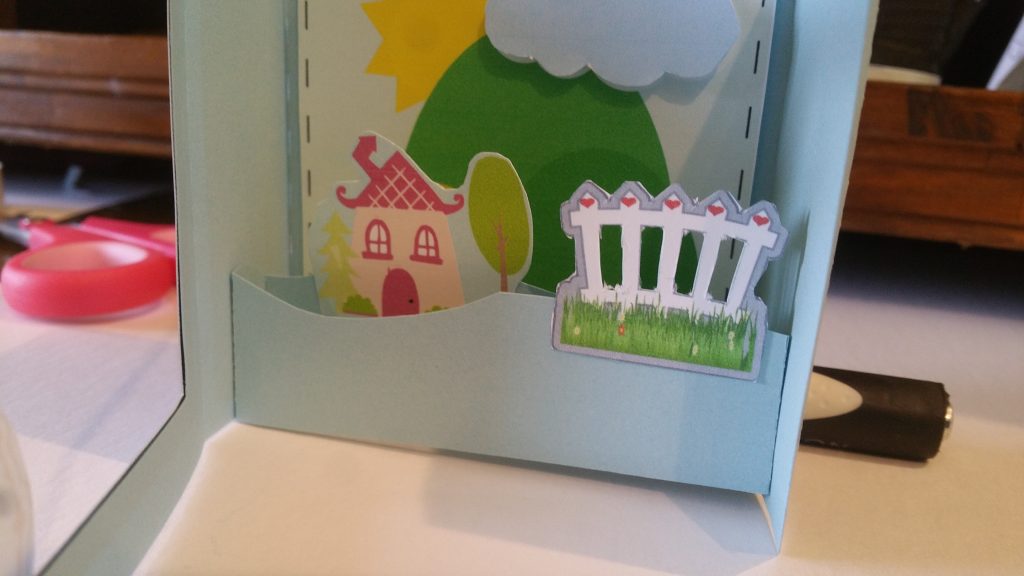
For those of you who don’t own a machine, I will show you how you can still make beautiful tunnel cards, just will a little bit extra work like the one below. This will be a separate post that I will put up later. In the mean time, download the free template and use any pictures or embellishments ….for all you know, you may end up with some tricks to show me!
So, for those of you with machines like Silhouette Cameo and Cricut, the first thing you will need is my template for the card itself. You will need to open the SVG file in Silhouette Studio. see my post here.
If you can’t open SVG files let me know and I will send the studio files.
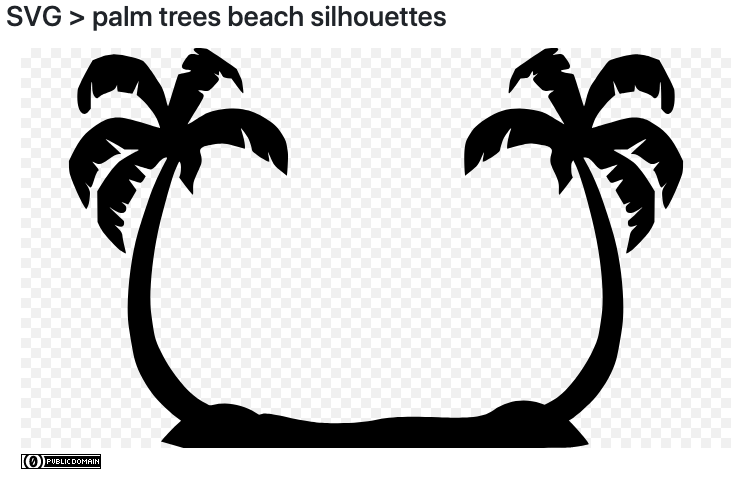
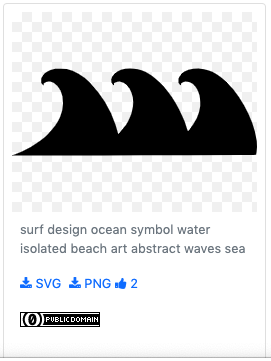
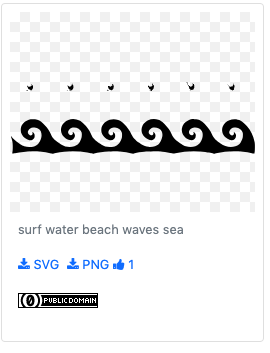
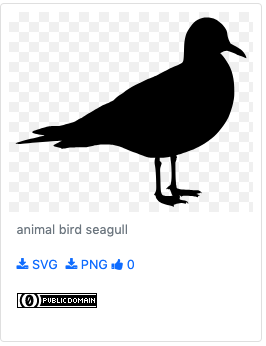
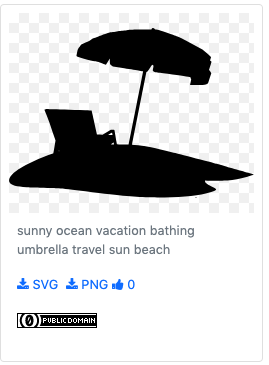
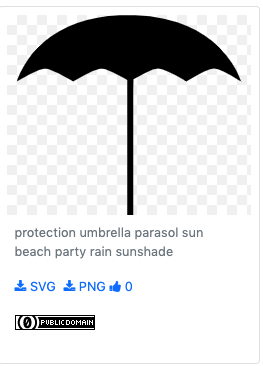
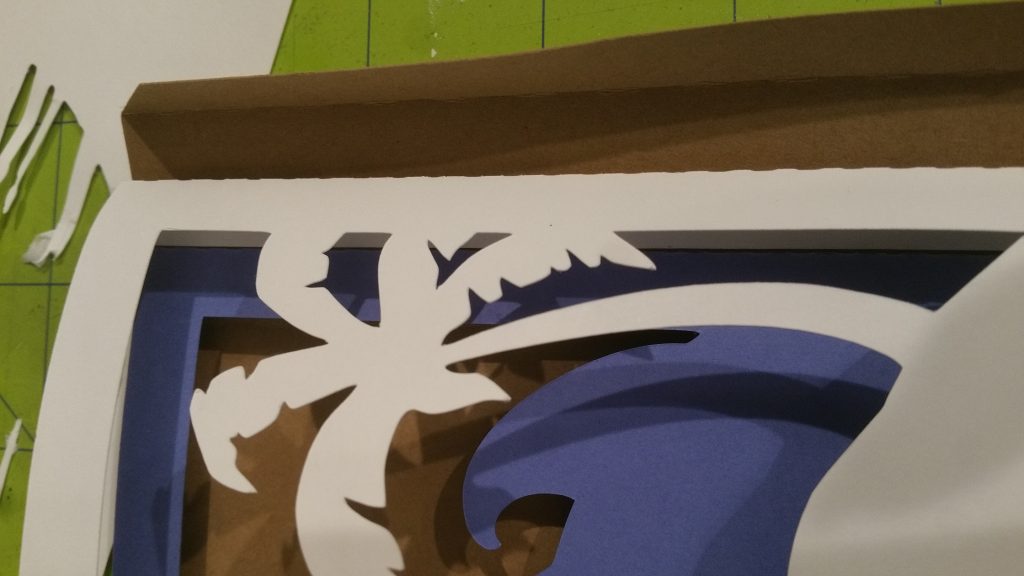
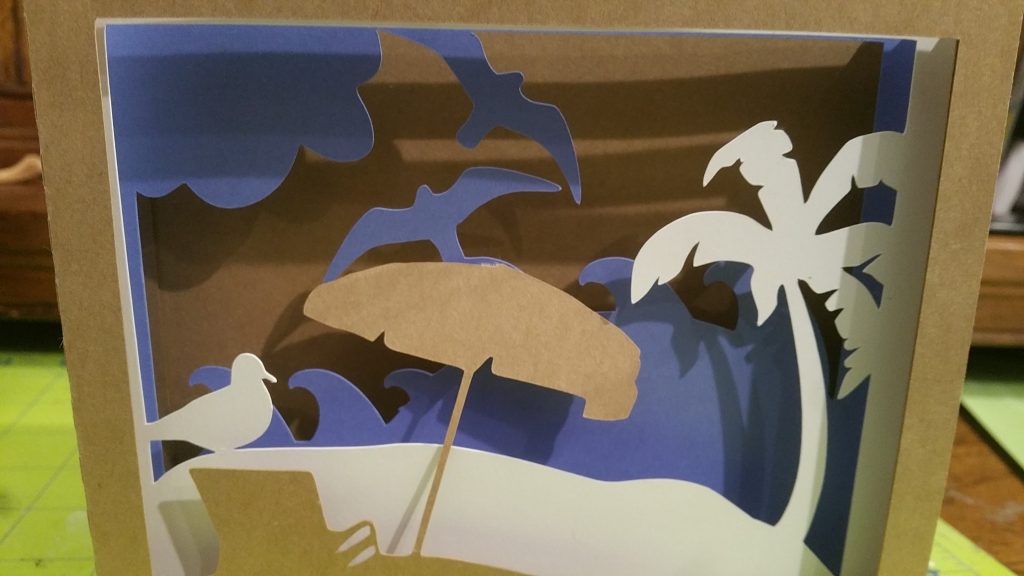
Now that you have the template, think about what you want the card to be about and spend a few minutes looking for free images on Google. I wanted a beach scene as summer is on the way. Here are some of the images I found. I used the trace feature to trace them and then resized for my card.
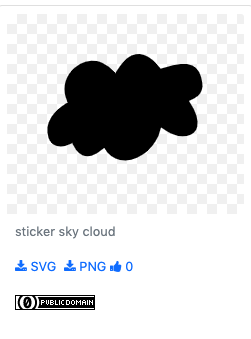

In my free template, I included 2 images that looked like “hills” or “clouds” I use these to create different heights for each layer and welded it to my frame. Remember to ungroup the fold lines (dashed lines) before you weld.

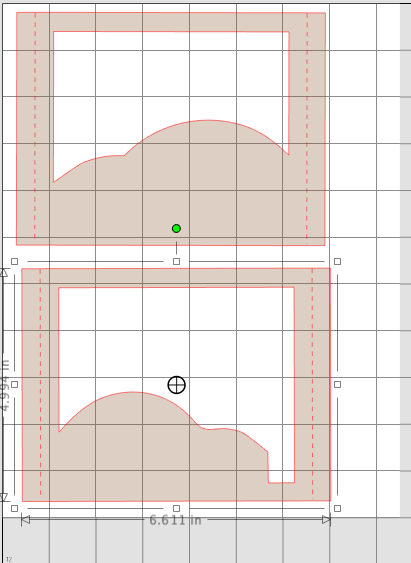
Next I arranged my images and welded to card pieces. Below are the pieces cut out and compared to the template with no images welded.
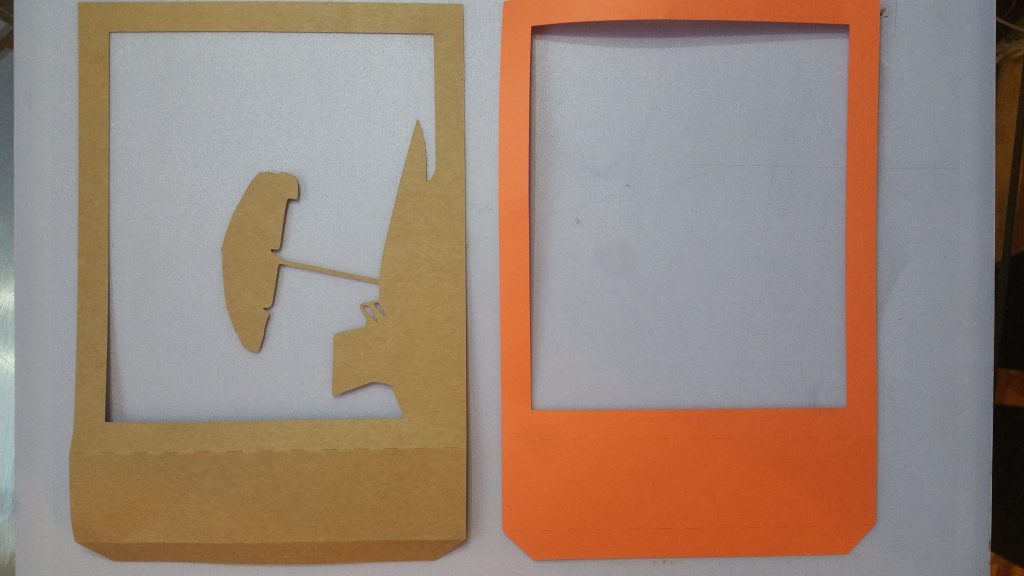
front card with image welded 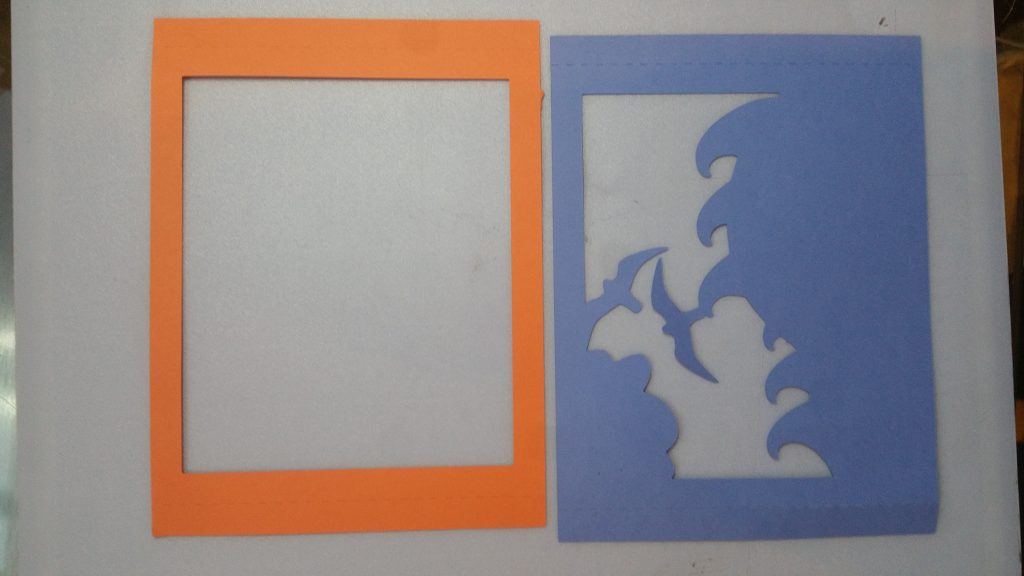
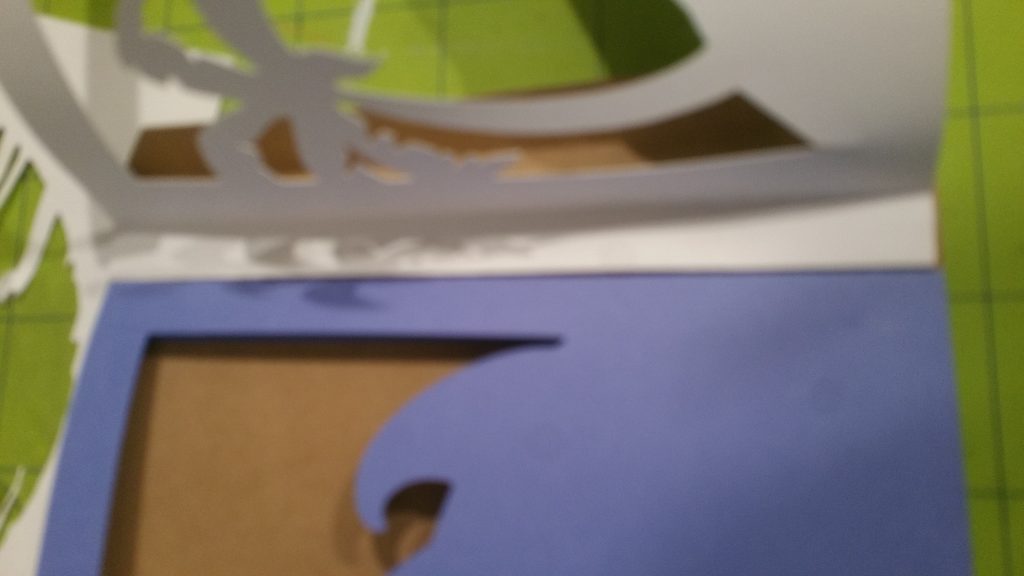
inner card piece with and without image welded 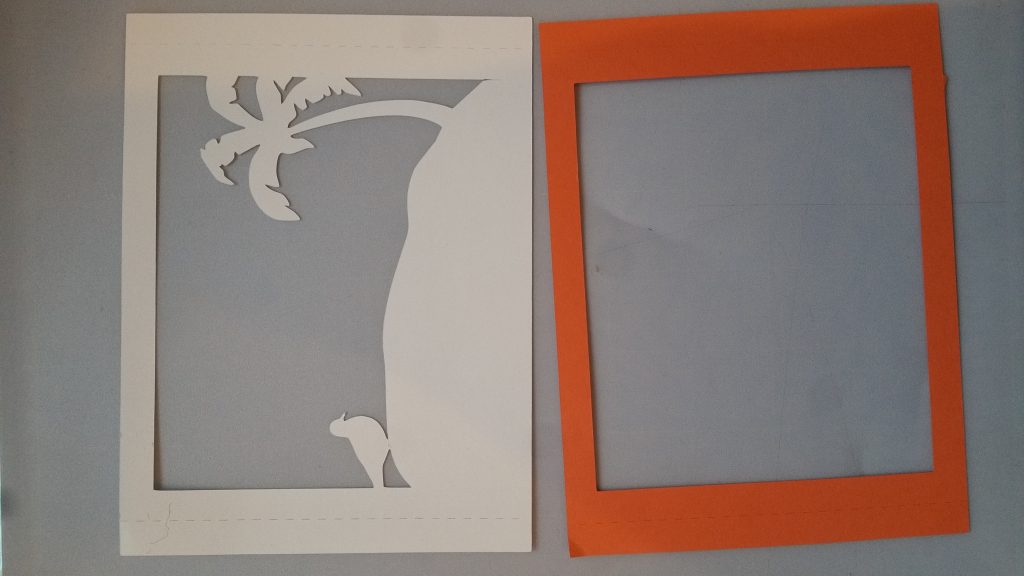
inner card piece with and without images welded
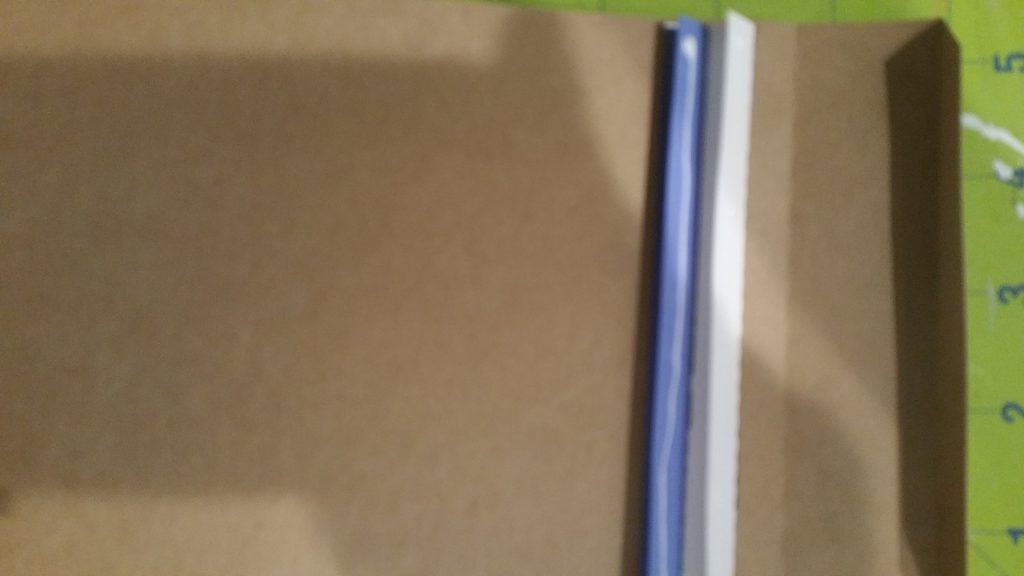
Assemble
- To assemble the card bend all the fold lines.
- Lay the back piece flat
- Glue the tab of inner card so that it is up against the fold line. The tabs of each card is great for spacing if you place them right up against each other.
Carolyn
Leave a Reply to Jessica Yoder-Jones Cancel reply